Introduzione

  1. gjtH3SXCHrOQoSPu
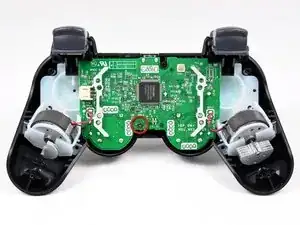
    • Rimuovi l'unica vite a croce Phillips da 7,2 mm che fissa la scheda madre al case anteriore.

    Most of the times, the only thing you need to repair to fix random key-presses is the soft plastic under the input-board connector to the motherboard.

    At step 6 just move the motherboard upwards and you'll be able to see the connector.

    Take the black soft-plastic-thing under it, and make it thicker with some tape. ( roll some tape around it 3-4 times - cut the tape properly so it can fit afterwards )

    Now put everything back.

    Random Presses are gone. Both of my controllers had this problem after a few hot summers and many hours of gameplay... both are fixed now.

    Nick Preveza -

  2. TJmxpXaZyTRtSVUm
    TJmxpXaZyTRtSVUm
    6FBNTTHyZPDsN4tU
    WAAQI4et6A5AkHPM
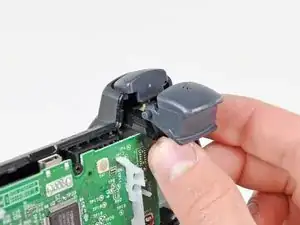
    • Fai scorrere i fermi dei grilletti leggermente, allontanandoli dal case anteriore.

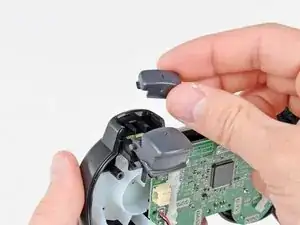
    • Rimuovi il pulsante #1 da entrambi i lati.

  3. uumFgW1CLNTpmwKO
    uumFgW1CLNTpmwKO
    gHpaFEWxULjZ6ebH
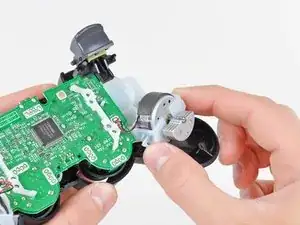
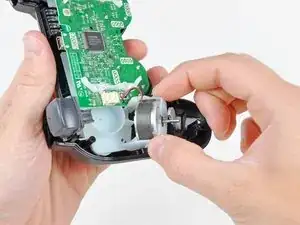
    • Rimuovi i fermi del motore di vibrazione dal case anteriore per spostare il gruppo della scheda madre.
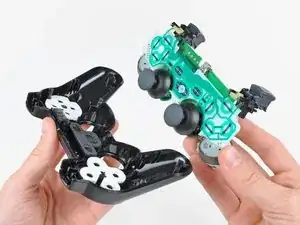
    It should be noted that my controller (Australian) has the motors mounted directly the the housing. Once the two retaining screws were removed each motor was connected to the motherboard assembly by the wires alone.

    Arthur N -

    Yes, my NA controllers were like this as well.

    geoff -

    My ~2012 EU controller (CECHZC2E) differs from this point as well. The entire white assembly comes out of the black shell by pressing in the latches on both sides of the vibration motors (you can see a small bit of white plastic stick out from under the black shell, that is where you press down).

    Martijn Storck -

  4. QyQpSxhxpYCy5FPE
    • Rimuovi il gruppo della scheda madre dal case anteriore.

    • Quando rimuovi la scheda madre, cerca di non capovolgere il case anteriore, poiché il pulsanti e le loro coperture potrebbero cadere.

    On my controller the button contact filament stayed inside the controller housing. Concerningly this exposed the contact ribbon for the buttons and sticks against the back of the logic board. However, the rest of the service with without issue, and the controller worked fine. This controller had a gray battery inside of it, and was likely a 60GB launch controller.

    geoff -

Conclusione

Per rimontare il dispositivo, segui queste istruzioni in ordine inverso.

Andrew Bookholt

585555 Reputazione

0 commenti