
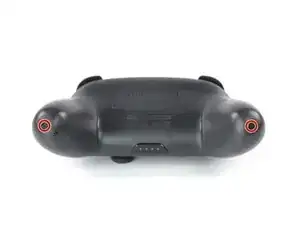
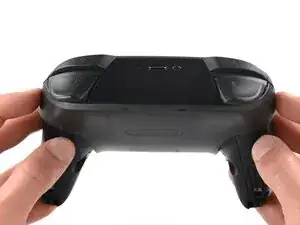
Introduzione
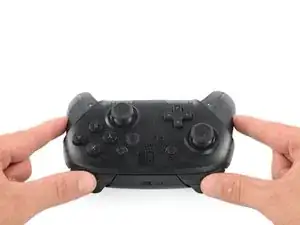
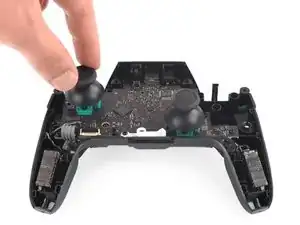
Con l'utilizzo del Nintendo Switch Pro Controller (modello HAC-001), solitamente le levette analogiche iniziano a creparsi o rompersi. Anche se le levette non smettono di funzionare, forniscono la comodità d'uso del controller. Questa guida ti aiuterà con la sostituzione delle levette analogiche, ma non con il potenziometro delle levette.
-
-
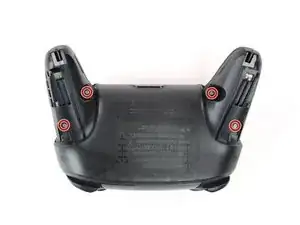
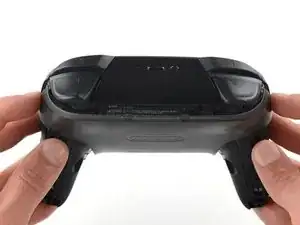
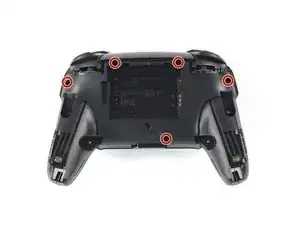
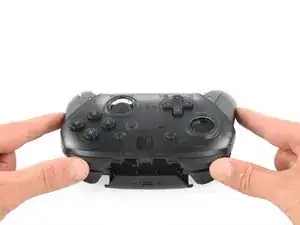
Usa un cacciavite JIS #00 per rimuovere le quattro viti argento da 6,8 mm che trattengono la copertura posteriore in plastica trasparente.
-
-
-
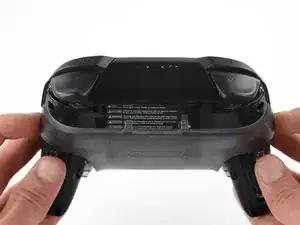
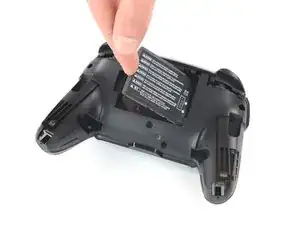
Rimuovi la batteria a ioni di litio facendo leva sul suo bordo sinistro con un'unghia o uno strumento per l'apertura in plastica.
-
-
-
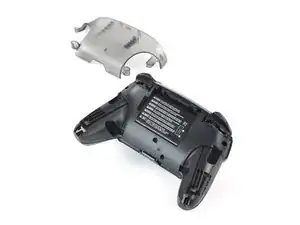
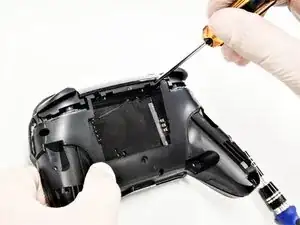
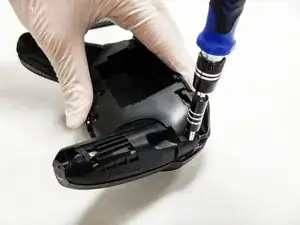
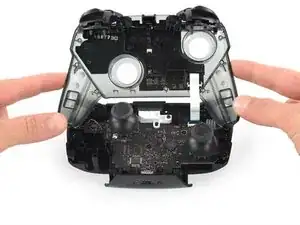
Usa un cacciavite a croce Phillips per svitare le cinque viti da 5 mm dal retro del controller.
-
-
-
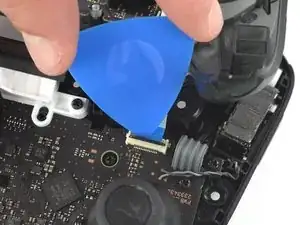
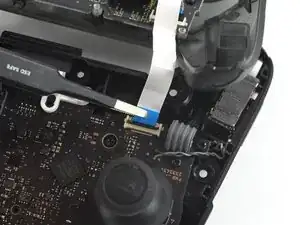
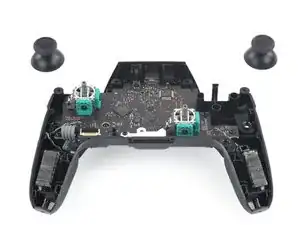
Usa la punta di un plettro per aprire l'aletta nera sul connettore ZIF spingendola verso l'alto.
-
-
-
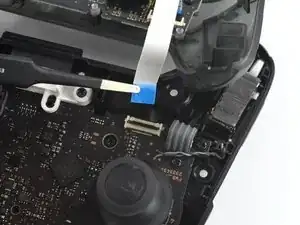
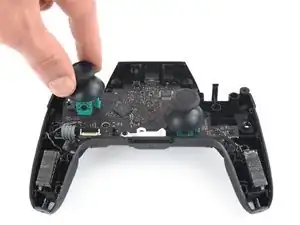
Usa le dita o un paio di pinzette a punta arrotondata per scollegare il cavo di interconnessione dal suo connettore.
-


Per rimontare il tuo dispositivo, segui le istruzioni in ordine inverso.

3 commenti
Where can I get the replacement caps?
do you know where to find a replacement cap? If so can you give me link, thanks!
You really don't need to disconnect the ZIF to replace the caps. It might make things a tiny bit easier, but is best not to mess with it AT ALL if you're only replacing the caps. As messing it up, or not connecting it properly when you're putting it back together can lead to ALL your face buttons and D-pad not working.
Be carefull, these screws are super easy to strip even with the right tools.
Lukas Eberharter -
I tried editing these instructions after I had trouble with stripping screws, but it doesn't seem to take. The issue is that these are JIS and not Phillips screws. They are VERY similar looking but a Phillips head screwdriver will strip the screws.
Isaac Webb -
I tried using a Philips #00 screwdriver but it didn’t work
vincent ingrassia -