Introduzione
La procedura per risolvere il problema è semplice. Puoi guardare lo smontaggio del mouse per ulteriore aiuto.
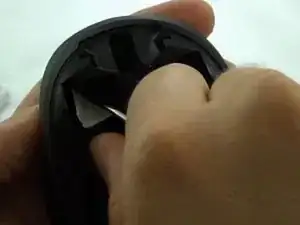
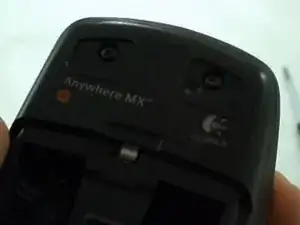
- Smonta la copertura del mouse, tenuta insieme da 4 viti
- Dissalda e sostituisci il micro interruttore
Ho trovato 3 diversi produttori che vendono i micro interruttori di ricambio per il Logitech Anywhere. Peersonalmente ho provato solo E-Switch.
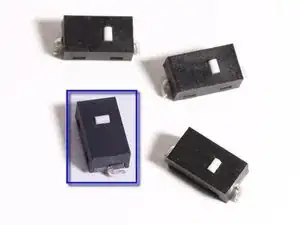
- E-Switch TS20100F070S (Digi-Key | Mouser Electronic)
- Omron D2LS (eBay | Digi-Key | Mouser Electronic)
- Kailh MI873101S01 (eBay)
- ZIPPY DA T Type (Original micro switch)
Ricambi
-
-
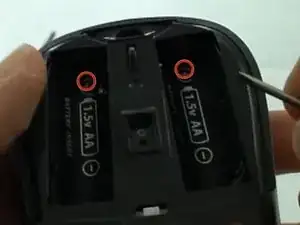
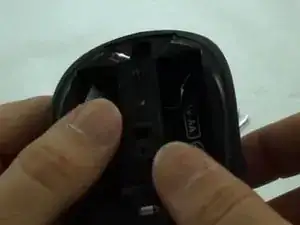
2 viti si trovano sotto gli adesivi della batteria.
-
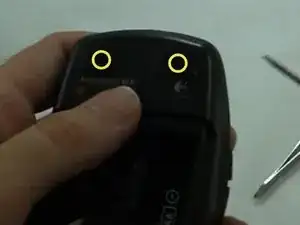
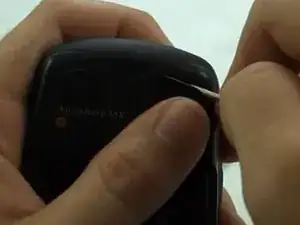
2 viti sotto ciascuna delle basi di appoggio sotto la parte anteriore del mouse.
-
-
-
Rimuovi l'adesivo della batteria per scoprire le 2 viti.
-
Svita queste viti con un cacciavite a croce Phillips.
-
-
-
Solleva il bordo della base di appoggio con un cacciavite.
-
Svita queste viti con un cacciavite a croce Phillips.
-
-
-
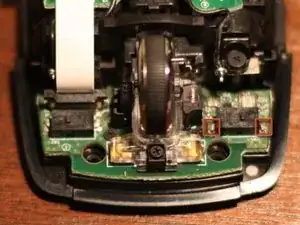
Dissalda il micro interruttore e sostituiscilo con un uno nuovo (E-Switch TS20100F070S). Alcuni possono avere problemi a rimuovere l'interruttore. Puoi tagliare le alette per rimuoverlo. Una volta rimosso, puoi rimuovere facilmente i contatti.
-
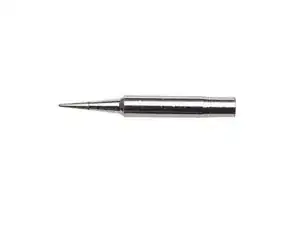
Ho usato una punta conica Weller ST7 0.03" X0.79 mm ST Series per rimuovere e saldare il micro interruttore.
-
Ricordati che i micro interruttori non sono polarizzati. Comunque i connettori ti guideranno su quale lato deve essere rivolto dove.
-
E-Switch TS20100F070S
-

Per rimontare il tuo dispositivo, segui le istruzioni in ordine inverso.

24 commenti
Thanks. Excellent guide.
ewiley98 -
Thanks, my mouse actually arrived out of the package with the double-click issue, and this fixed it. Needed pretty high-temp soldering iron to get OEM micro-switch off, and tight fit soldering the new one on the inside terminal, but otherwise pretty easy.
Got this mouse, had this problem, sent it off for an RMA. The one they sent back eventually developed this exact same issue. Here's to hoping I won't have to do this again for a while now. Thanks for the guide.
Ended up having to repeat the process for the right mouse button. This time I managed to knock off one of the solder pads. Eventually by applying a lot of pressure and heat though, I was able to get the switch to bind with whatever was left of it, although I still have no idea how long my fix will actually hold for. But, something to watch out for if you're doing this.