Introduzione
Segui questa guida per sostituire un pannello posteriore rotto o danneggiato sulla Nintendo Switch.
La Switch utilizza delle viti JIS, ma all'occorrenza puoi usare un cacciavite Phillips. Fai molta attenzione a non spanare le viti. Le punte Phillips di iFixit sono progettate per essere compatibili anche con le viti JIS.
Nota: Questa guida, e le componenti che vendiamo, sono compatibili con la Nintendo Switch originale rilasciata nel 2017, e con i modelli aggiornati nel 2019 (numeri modello HAC-001 e HAC-001(-01), rispettivamente).
Ricambi
-
-
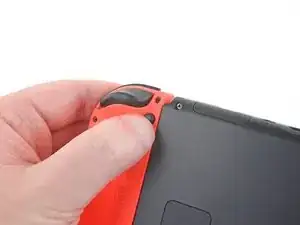
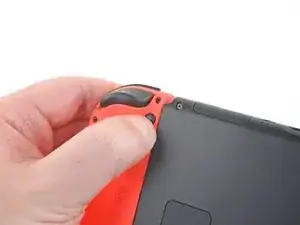
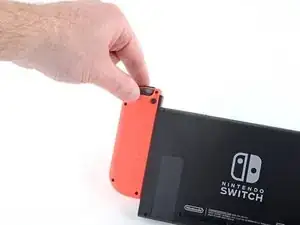
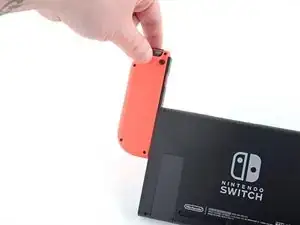
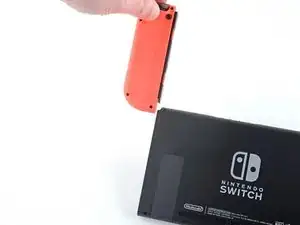
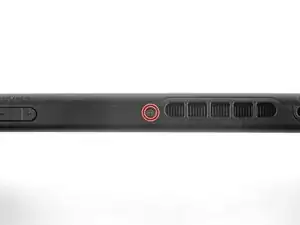
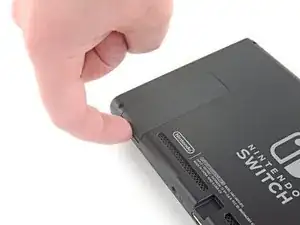
Premi e tieni premuto il piccolo bottone rotondo dietro il controller Joy Con.
-
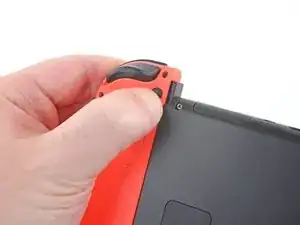
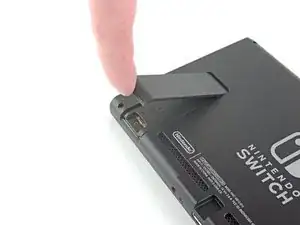
Mentre tieni il bottone premuto, fai scorrere il controller verso l'alto.
-
-
-
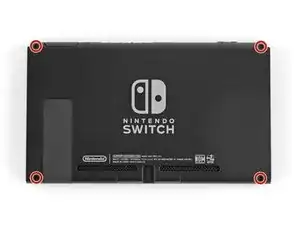
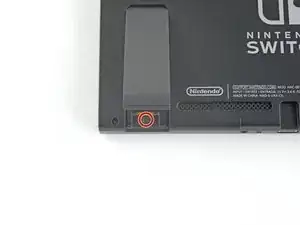
Usa un cacciavite Y00 per rimuovere le quattro viti lunghe 6,3 mm che tengono fermo il pannello posteriore.
-
-
-
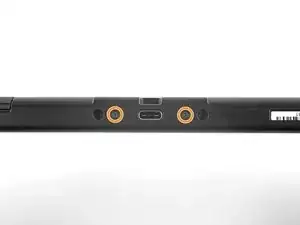
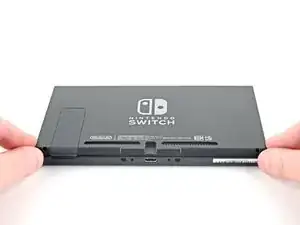
Usa un cacciavite JIS 000 o quello PH 000 ufficiale di iFixit per rimuovere le seguenti viti che fissano il pannello posteriore:
-
Una vite lunga 2,5 mm sul bordo superiore del dispositivo
-
Due viti lunghe 2,5 mm sul bordo inferiore del dispositivo
-
-
-
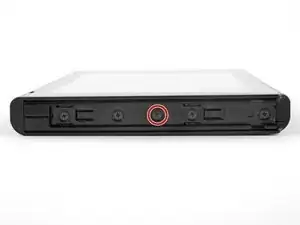
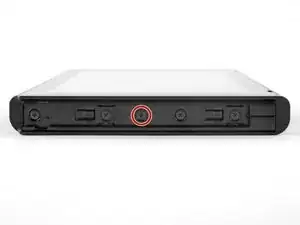
Usa un cacciavite JIS 000 o quello PH 000 ufficiale di iFixit per rimuovere le due viti centrali da 3,8 mm ai lati del dispositivo (una per lato).
-
-
-
Usa il tuo dito per ruotare verso l'alto il cavalletto sul pannello posteriore del dispositivo.
-
-
-
Usa un cacciavite JIS 000 o quello PH 000 ufficiale di iFixit per rimuovere la vite da 1,6 millimetri nella sede del cavalletto di supporto.
-
Chiudi il cavalletto.
-
-
-
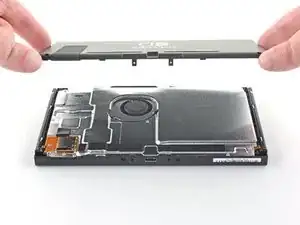
Solleva il pannello inferiore dal lato posteriore del dispositivo e rimuovilo.
-
[*icon_note] Il cavo di collegamento del lettore di cartucce è collegato all'altra metà della scocca di plastica impedendoti di sollevare completamente il pannello posteriore se chiuso.
-
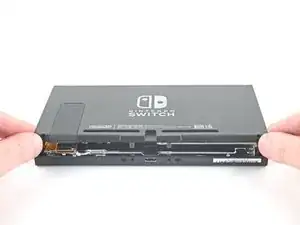
Solleva il pannello posteriore dal fondo del dispositivo e rimuovilo
-

Confronta la tua parte di ricambio con quella originale: potrebbe essere necessario trasferire alcuni componenti sulla nuova parte prima di installarla.
Per riassemblare il tuo dispositivo, segui i passi descritti in ordine inverso.
Porta i tuoi rifiuti elettronici a un riciclatore certificato R2 o e-Stewards.
La riparazione non è andata come previsto? Prova delle soluzioni di base ai problemi, oppure rivolgiti alla nostra comunità Risposte per trovare aiuto nella risoluzione dei problemi.

10 commenti
Excellent and concise guide.
The new panel doesn’t come with the sticky grille pieces x 2 on the bottom. Is it supposed to be a straight transfer between the old and the new?
You can transfer the grill to the new back plat
Just did this replacement and there are a few things to keep in mind that this review does not mention. There are x2 square foam pieces that can be transferred to the new panel located at the bottom backside of the old. Also, the game cartridge shield hardware and the kickstand holder hardware have to be taken off the back of the old panel and transferred to the new panel. The kickstand has 2 Phillips #000 screws and the game cartridge shield has 1 Phillips #000 screw
How do you transfer the foam pieces? Use some heat to loosen their adhesive and then remove them and transfer over the new backplate?
John -
Kann ich diese Anleitung auch für die OLED anwenden? Habe im INet sonst leider nichts brauchbares gefunden.
Ina Barz -
backup all your sd card data i had to format mine after this tutorial and lost all my game data
JustForThisComment?ComeOn -