Introduzione
Le console come la PlayStation 4 Slim cominciano a surriscaldarsi a causa di tutta la polvere raccolta nel tempo. Questo secca la pasta termica e le prestazioni ne risentono. Il surriscaldamento produce rumore e gli utenti possono esserne infastiditi a tal punto da voler cambiare la console. Questa guida ti mostrerà come pulire la PlayStation 4 Slim, sostituire la pasta termica, e ripristinare la console nella sua fantastica condizione funzionante!
-
-
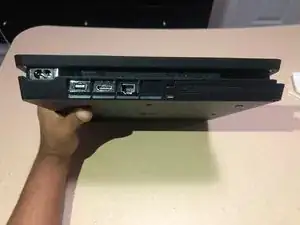
Rimuovi il pannello accanto alle porte facendolo scorrere verso destra.
-
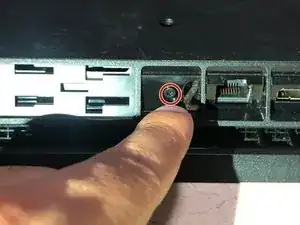
Usa un cacciavite Philips PH1 per svitare la vite.
-
-
-
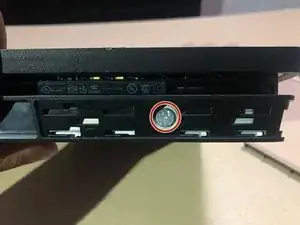
Trova l'etichetta della garanzia vicina alle tre porte sul lato della console.
-
Rimuovi l'etichetta.
-
Usa un cacciavite Security Torx T8 per svitare la vite.
-
-
-
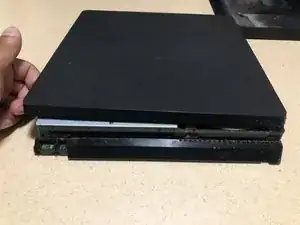
Gira la PS4 a testa in giù e il lato della vite che hai appena rimosso rivolto verso di te.
-
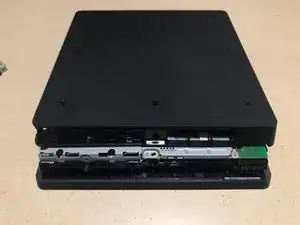
Rimuovi la scocca facendo leva sui due angoli vicini a te e facendola scorrere lontano da te.
-
-
-
Rimuovi la scocca facendo leva sui angoli più vicini a te e facendola scorrere lontano da te.
-
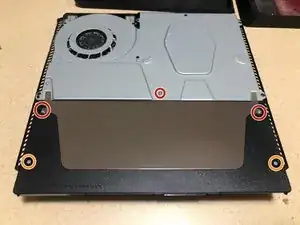
Svita le tre viti Security Torx T8.
-
Usa un cacciavite Philips #1 per svitare le due viti.
-
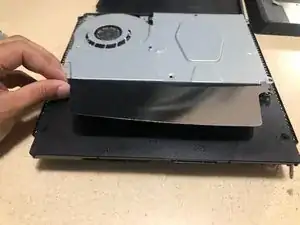
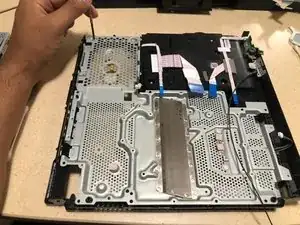
Solleva e rimuovi il foglio di metallo.
-
-
-
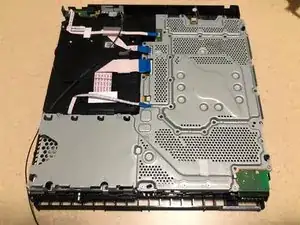
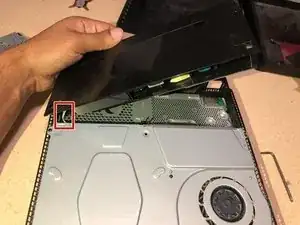
Gira la PS4 per vedere la copertura in metallo.
-
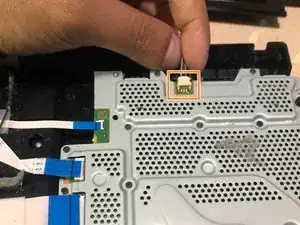
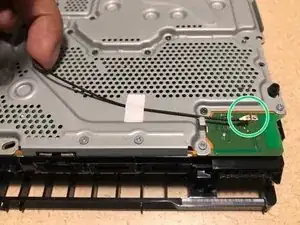
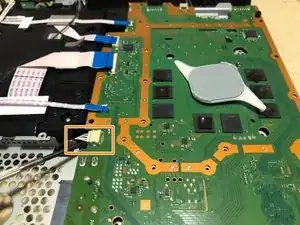
Solleva l'aletta nera sul connettore più grande per liberare il cavo.
-
Scollega il cavo il cavo tirandolo indietro.
-
Tira le alette blu delicatamente per rimuovere i cavi.
-
Solleva delicatamente il cavo nero per scollegarlo dalla scheda madre.
-
-
-
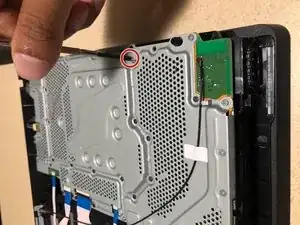
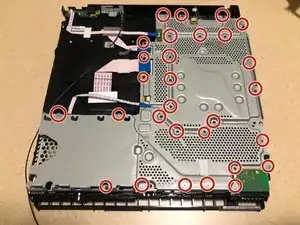
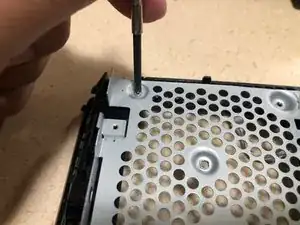
Usa un cacciavite Philips #0 per svitare tutte le viti.
-
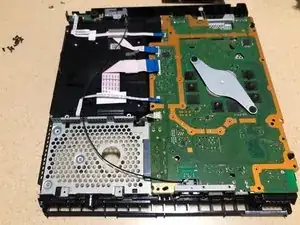
Una volta finito con le viti, solleva la copertura in metallo per accedere alla scheda madre.
-
-
-
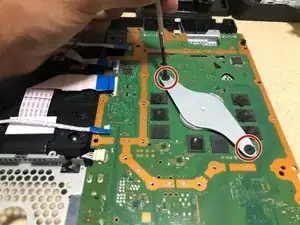
Usa un cacciavite Philips #0 per svitare le due viti.
-
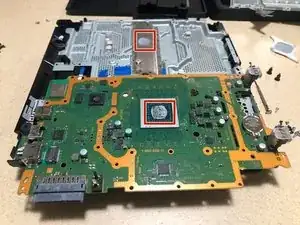
Scollega il cavo tirandolo con decisione.
-
Solleva il supporto del dissipatore per rimuoverlo dalla scheda madre.
-
-
-
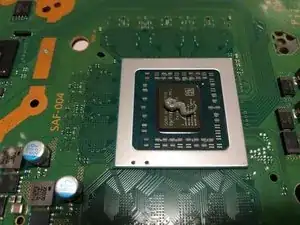
Applica 2/3 gocce del liquido per rimuovere la pasta termica su un cotton fioc e passalo sul chip esposto e sul dissipatore, quindi passa un panno in microfibre per pulire i residui di pasta.
-
Applica 2/3 gocce di liquido per pulire le superfici termoconduttive su un altro cotton fioc e passalo sulle aree precedenti.
-
-
-
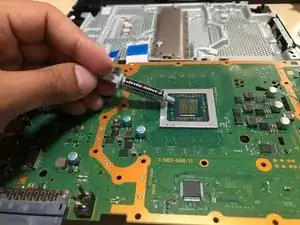
Schiaccia un tubetto di pasta termica Artic Silver 5 per circa 20 mm sulle aree pulite in precedenza.
-
-
-
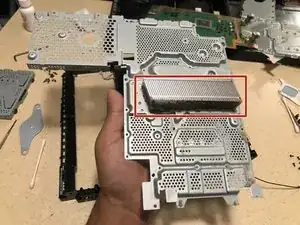
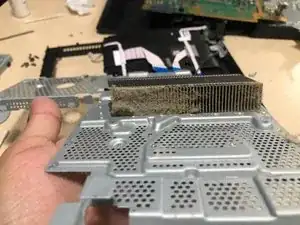
Solleva la copertura in metallo e girandola troverai il radiatore.
-
Pulisci il radiatore usando una spazzola e dell'aria compressa.
-
-
-
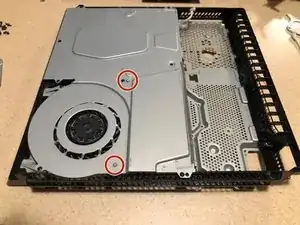
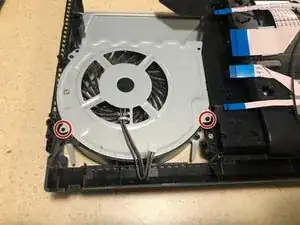
Usa un cacciavite Philips #0 per svitare lee due viti.
-
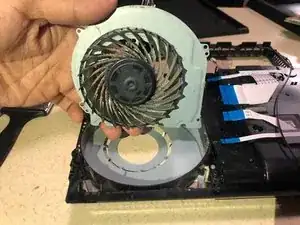
Pulisci la ventola usando una spazzola e dell'aria compressa.
-


Per rimontare il dispositivo, segui le istruzioni in ordine inverso.
11 commenti
Hey, can I use this for a original “fat” ps4?
thanks
notle159 -
the original fat ps4 uses a different design than the slim one
Any advice on a good way to clean the fan blades? Thanks for all the other tips!
Thanks for the instructions, they helped me a lot!!! If there's one thing Sony didn't save on this console, it was screws 😂😂😂
That’s clearly a Phillips screw… not Torx.
Andrew Sauk -