Introduzione
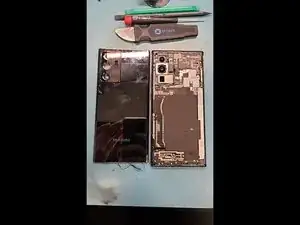
Ho completato un paio di sostituzioni degli schermi dei Samsung Galaxy Note 20, sostituendo anche il vetro posteriore.
-
-
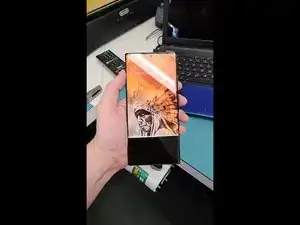
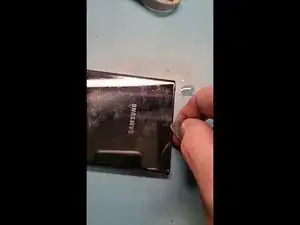
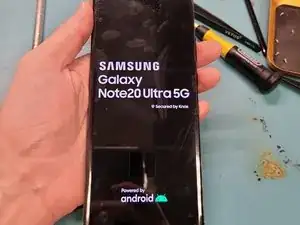
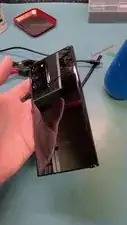
Su questo Note 20 il pannello OLED è chiaramente rotto e il vetro è crepato.
-
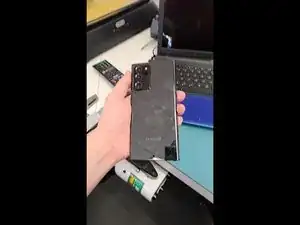
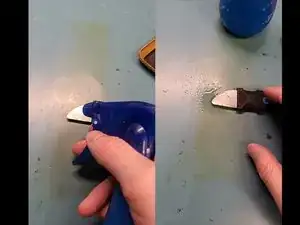
Il vetro posteriore non ha problemi, quindi scaldalo.
-
-
-
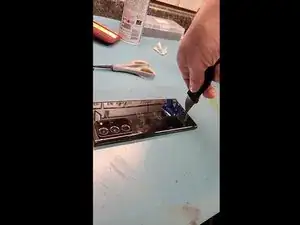
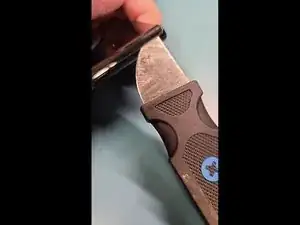
Inizia infilando il separatore nel bordo inferiore e spingilo a fondo fino a toccare il telaio. Quindi fai leva per portarlo ad un angolo con il telefono.
-
Fai scorrere il separatore lungo il bordo inferiore fermandoti dove inizia la curvatura del vetro.
-
-
-
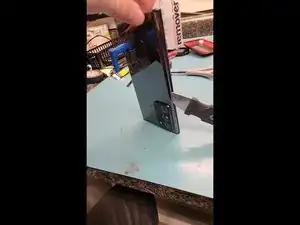
Dopo aver separato il bordo inferiore, rimuovi il separatore.
-
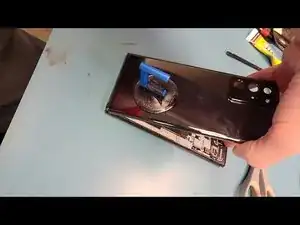
Ora usa una ventosa per sollevare il vetro posteriore.
-
Infila il separatore sotto un bordo laterale curvo e fai scorrere fermandoti per fare leva delicatamente sotto il vetro. Quindi ripeti questa procedura per l'altro bordo curvo.
-
Solleva il vetro posteriore per rimuoverlo.
-
-
-
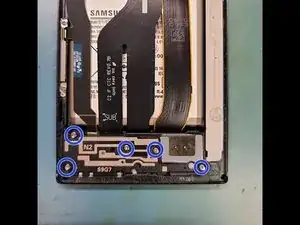
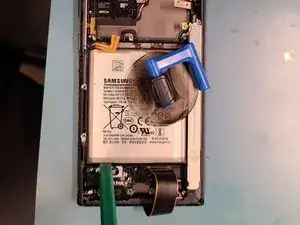
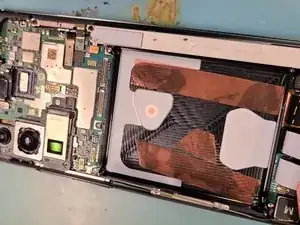
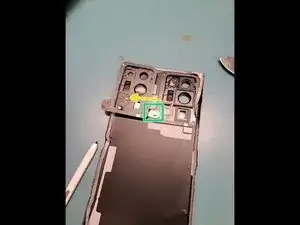
Svita le sei viti PH000 che tengono fermo il gruppo della bobina della carica wireless che copre il connettore della batteria.
-
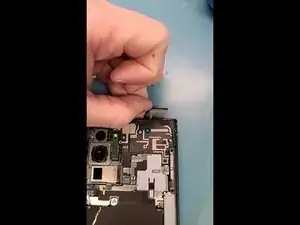
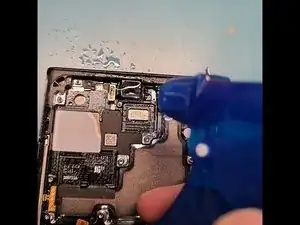
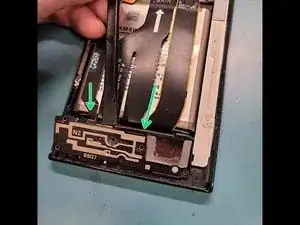
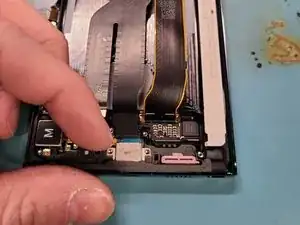
Scollega i connettori della bobina con uno spudger in plastica.
-
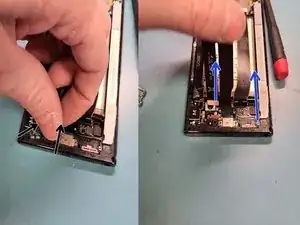
Infila uno spudger sotto il bordo superiore del gruppo della bobina.
-
Fai leva con lo spudger per rimuovere il gruppo della bobina dal telefono ed accedere al connettore della batteria.
-
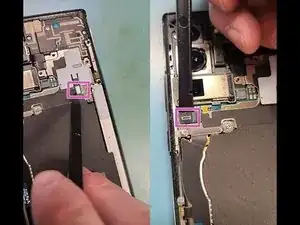
Ecco il connettore della batteria.
-
-
-
Svita le quattro viti PH000 che tengono ferma la copertura della capsula auricolare.
-
Scollega il connettore della capsula.
-
-
-
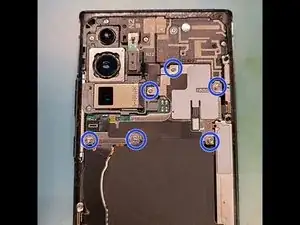
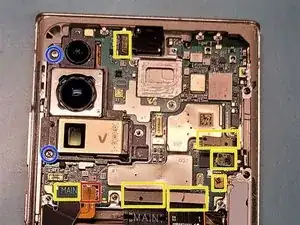
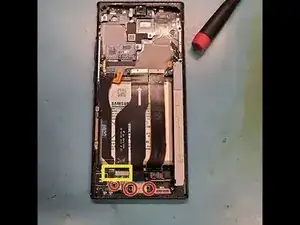
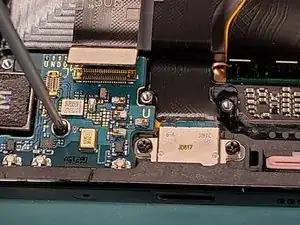
Assicurati che la batteria sia scollegata.
-
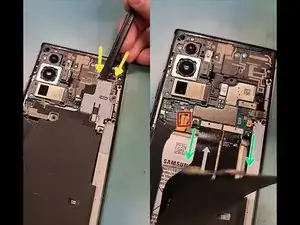
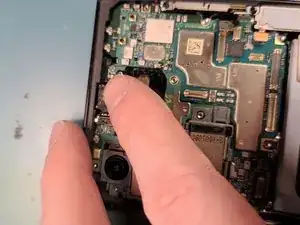
Scollega tutti i connettori evidenziati in giallo.
-
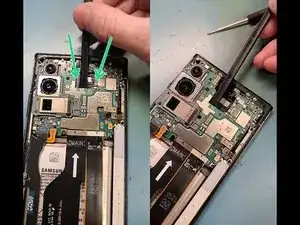
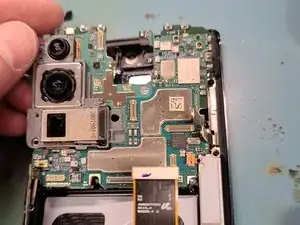
Svita le due viti PH000 che tengono ferma il gruppo delle camere posteriori.
-
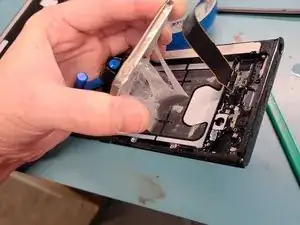
Solleva la scheda madre facendo leva con uno spudger dalla capsula auricolare, usando il telaio come perno.
-
-
-
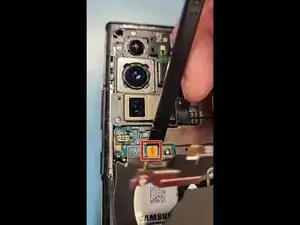
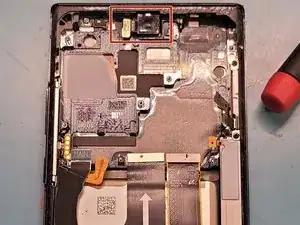
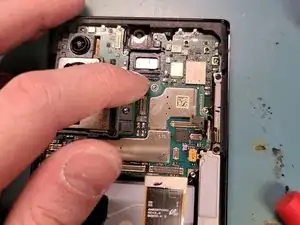
Posizione della camera frontale.
-
Infila uno strumento a punta piatta sotto il bordo inferiore della camera per separarla dall'adesivo.
-
Solleva la camera lentamente per rimuoverla.
-
-
-
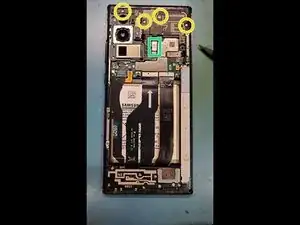
Svita le cinque viti PH000 che tengono ferma la copertura dello speaker principale.
-
Usa uno spudger per sollevare la copertura.
-
Scollega i cavi a nastro.
-
Svita le tre viti PH000 nere che tengono ferma la scheda del microfono e la porta di carica.
-
-
-
Per prima solleva la scheda del microfono.
-
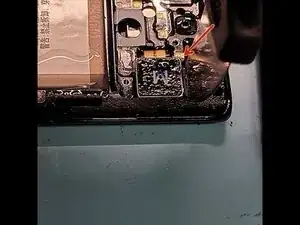
Quindi solleva delicatamente la porta di carica.
-
La freccia indica un buon punto peer fare leva con la punta di uno spudger.
-
Separa l'adesivo.
-
-
-
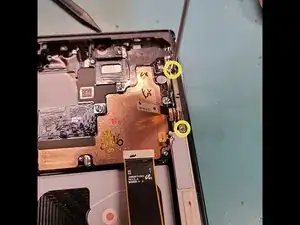
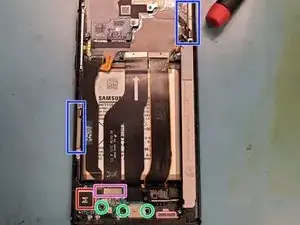
Svita le due viti PH000 nere nell'angolo in alto a destra e rimuovi il cavo a nastro.
-
Svita le due viti PH000 in basso a sinistra e rimuovi il cavo a nastro.
-
-
-
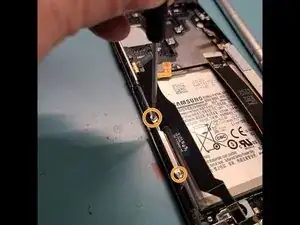
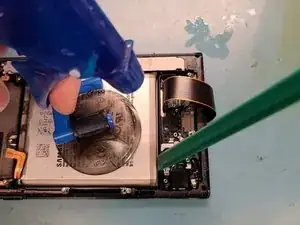
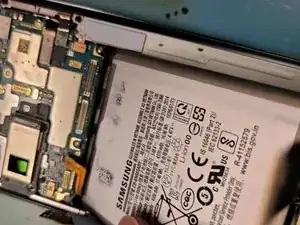
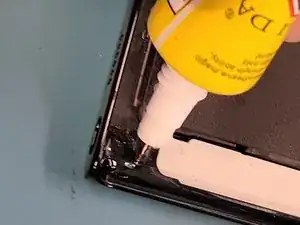
Applica dell'alcool lungo i bordi della batteria. Fai una leva con lo spudgeer per sollevare leggermente la batteria e far andare l'alcool più a fondo.
-
Tira la batteria con una ventosa.
-
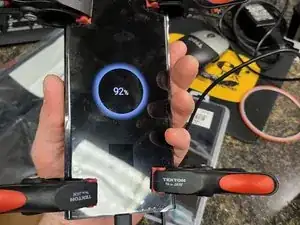
Hai rimosso la batteria senza danni.
-
-
-
Motore di vibrazione
-
Cavi a nastro del telaio
-
Porta di carica
-
Scheda del microfono (collegala al suo cavo a nastro)
-
Tre viti PH000 nere
-
-
-
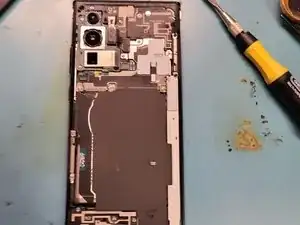
Appoggia la scheda madre nel nuovo telaio.
-
Collega la camera frontale dopo aver inserito la scheda madre.
-
-
-
Applica l'adesivo per la batteria.
-
Scollega la batteria.
-
Collega i restanti cavi a nastro alle proprie prese.
-
-
-
Applica dell'adesivo al vetro posteriore del telefono ed appoggialo in poszione.
-
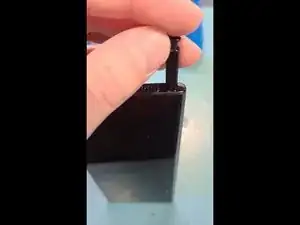
Se devi sostituire il vetro posteriore dovrai trasferire prima il microfono dal vetro originale a quello nuovo..
-
-
-
Io ho usato dell'adesivo liquido per incollare il vetro posteriore.
-
Usa dei morsetti per fare forza sul vetro posteriore per un paio d'ore per far aderire l'adesivo.
-


Durante questa riparazione ho notato che lo schermo che ho acquistato sembrava rigenerato, ma aveva la filettatura delle viti rovinata. Ho lavorato anche trapanando il dispositivo per risolvere la situazione, ma non ho incluso questi passaggi nella guida.

8 commenti
I did the repair and ran into issues with the REAR camera. I retraced all my hardware. its all connected. the selfie cam works. nothing got disconnected when I removed the mother board. i’ve tried to reset app cache
help plz
Do you have all the screws back in with the speakers and wireless charger coil on the phone?
Stow -
Rear camera hmm did you try repeating the connection did the cameras work before repair?
Thanks for the effort here with the guide. Unless I am missing something (lol) where is the part of the screen replacement (by screen = the display screen, right?) I see the back replacement here. You do mention the OLED screen being broken at the beginning but the guide is for the back replacement, right? (not as title suggests ‘screen replacement) Sorry maybe am wrong here.
s ner -
He transfered anything from the original phone to the new sreen/frame assembly.
Thanks Daniele - this had me confused “I repaired a couple of screen replacements”…and the sentence after that. Ok, so he took the back, board, battery etc from the one with the broken screen and mated it with a new screen. So one has to assume that somewhere in step 16 is the connection with the screen flex cable. Looking to see if just the screen is cracked, does the whole disassembly need to be done? (starting from the back working way to the front)? (think it is lol but hoping asking, as videos I have seen address broken screen (not just glass cracks) replacements-maybe the glass and the digitizer are fused?) thanks
s ner -
In step 14 he starts to speak about the new frame (that include the new OLED panel and digitizer). Replacing only the glass is a bit difficult and you may broke the OLED too if you are not extra careful. You have to do the same that hr did for the back glass (better if you use an opening pick and you heat the side you are working on before you insert the pick, for each side, and you do not insirte the pick more than 1 or 2 mm). If you manage to do that, you can save a lot of money, else you have to buy a new oled too. So, i will suggest you to try to remove the glass without broking anyting, then try to turn the phone on to see if you broke thee oled. Finally, you decide what to buy based on what’s broken.