Introduzione
Prerequisito per tutto ciò che riguarda il case superiore.
-
-
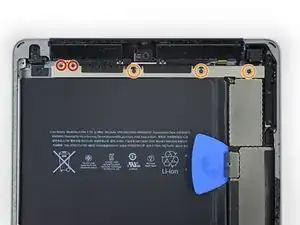
Rimuovi le seguenti viti che tengono ferma la staffa del cavo del componente superiore:
-
Due viti a croce Phillips da 2,0 mm
-
Tre viti a croce Phillips da 1,4 mm
-
-
-
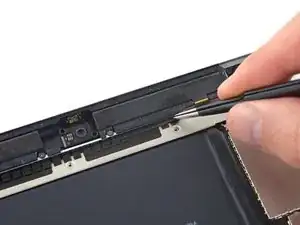
Usa le pinzette per cominciare a rimuovere il nastro adesivo che fissa la staffa del cavo del componente superiore.
-
-
-
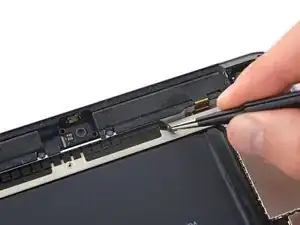
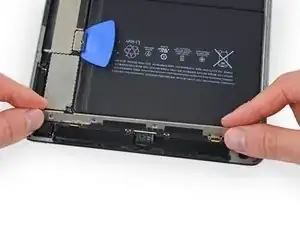
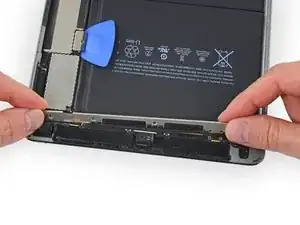
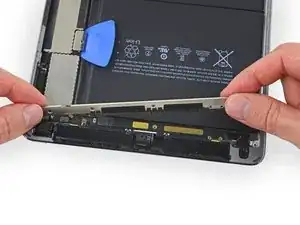
Rimuovi lentamente la staffa del cavo del componente superiore dall'iPad, lasciando i pezzi di nastro adesivo sulla staffa per renderla più facile da rimontare.
-

Conclusione
Per rimontare il dispositivo, segui queste istruzioni in ordine inverso.
At this point you can carefully heat and pry up the battery cells, then heat under the board and lift it up enough to slide the battery out and slide the new battery in place.
chrisreed -