Introduzione
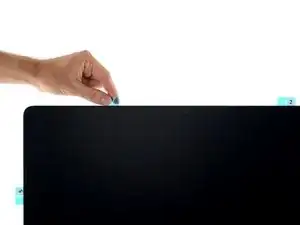
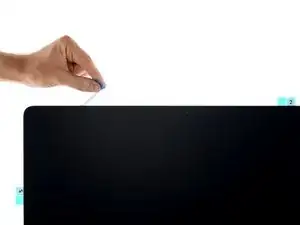
Rimuovere lo schermo richiede il taglio dell'adesivo attorno al perimetro dello schermo. Dopo averlo tagliato, l'adesivo non può più essere usato per reincollare lo schermo, quindi dovrai applicare un nuovo set di strisce adesive.
-
-
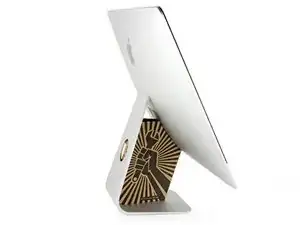
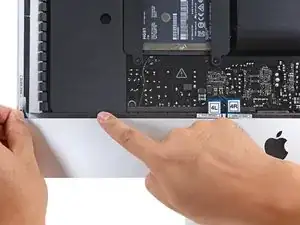
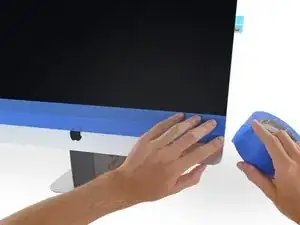
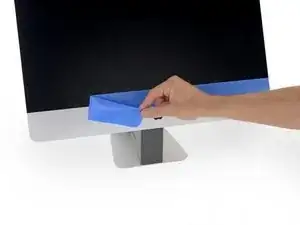
Con la copertura posteriore libera di muoversi, l'iMac non sarà bilanciato e sarà difficile lavorarci. Posiziona un supporto per iMac sulla base per bloccare la copertura.
-
-
-
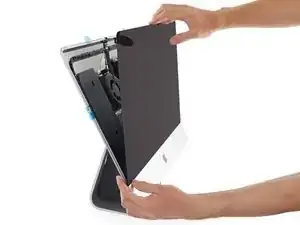
Se stai reinstallando lo schermo originale, dovrai rimuovere l'adesivo originale anche dal retro dello schermo.
-
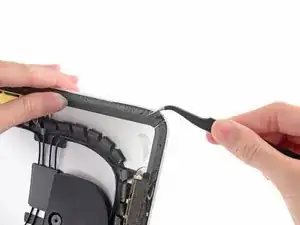
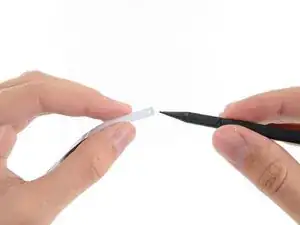
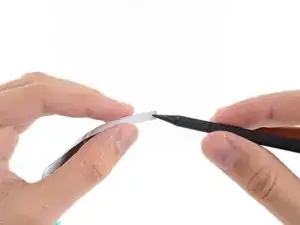
Rimuovi l'adesivo originale usando delle pinzette o le dita. Inizia sulla parte inferiore e tiralo verso l'alto, verso la parte superiore del dispositivo.
-
Dopo aver rimosso tutto l'adesivo originale, pulisci attentamente i residui di adesivo con dell'alcool isopropilico ad alta concentrazione (>90%) e un panno senza lanugine. Fai scorrere il panno in una sola direzione, non in avanti e indietro.
-
-
-
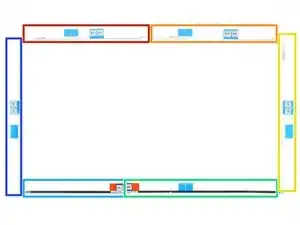
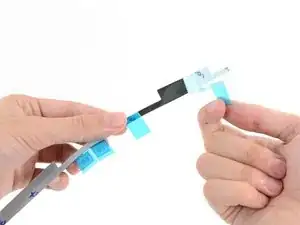
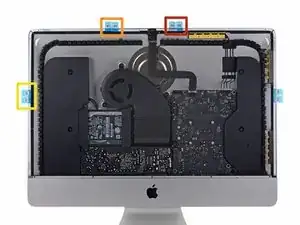
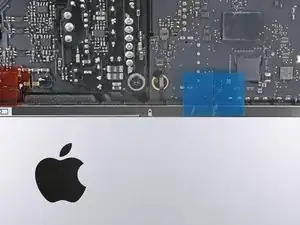
Prima di iniziare, appoggia sul tavolo le strisce adesive nella disposizione corretta in modo da non applicare accidentalmente una striscia nella posizione sbagliata:
-
Striscia 01 in alto a sinistra
-
Striscia 02 in alto a destra
-
Striscia 03 sul lato destro
-
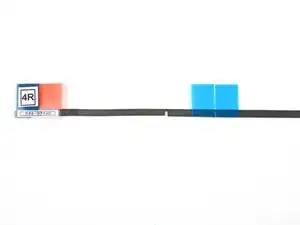
Striscia 4R in basso a destra, con il bordo scuro rivolto verso l'alto
-
Striscia 4L in basso a sinistra, con il bordo scuro rivolto verso l'alto
-
Striscia 05 sul lato sinistro
-
-
-
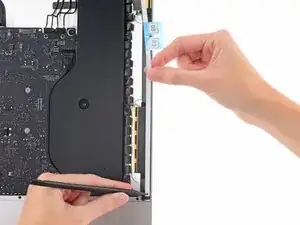
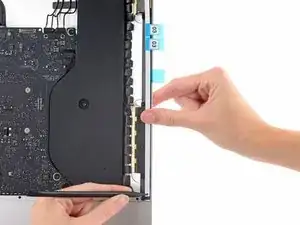
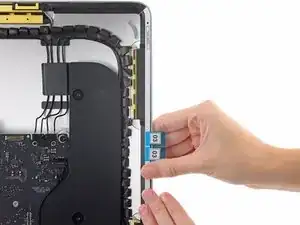
Inizia con la striscia 03, che va sul lato destro verticale del case posteriore.
-
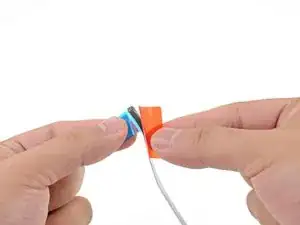
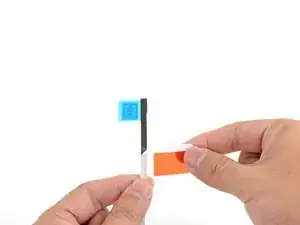
Afferra la linguetta blu e rimuovi il pezzo corto della pellicola protettiva dal retro della striscia per esporre una porzione di adesivo da incollare al case.
-
-
-
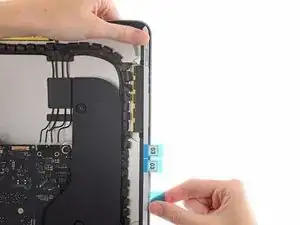
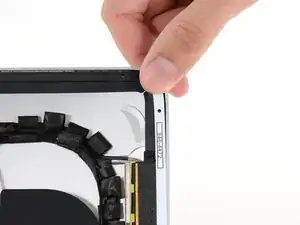
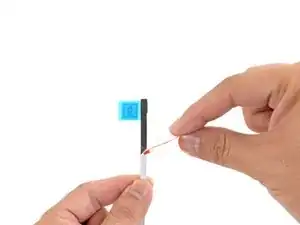
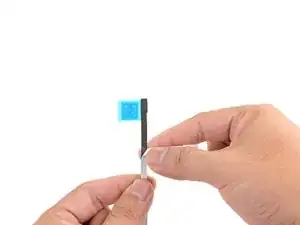
Infila la punta di uno spudger nel foro all'estremità della striscia dove hai appena rimosso uno strato di pellicola protettiva posteriore. Infila lo spudger dal lato che ha ancora la protezione bianca.
-
-
-
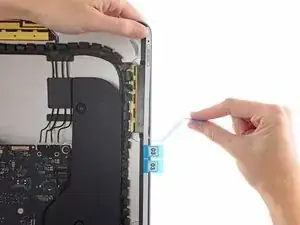
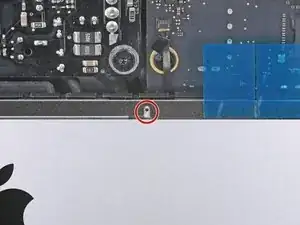
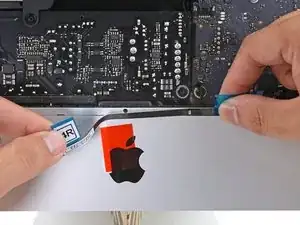
Con lo spudger che sporge dal foro nella striscia adesiva, spingi la punta dello spudger nel foro corrispondente nella cornice deell'iMac.
-
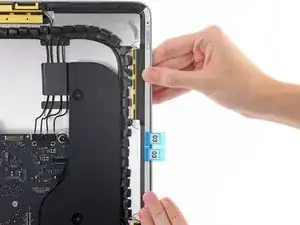
Usando il foro e lo spudger come punto fisso della striscia, allineala contro il bordo destro, tirandola delicatamente verso l'alto per assicurarti che sia tesa, quindi incollala alla cornice.
-
-
-
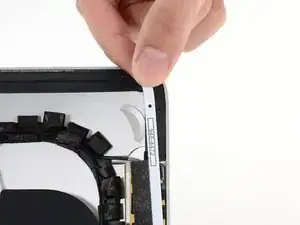
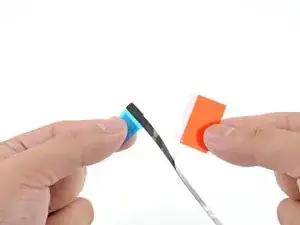
Una volta allineata la metà inferiore della striscia adesiva, rimuovi il pezzo più lungo della pellicola protettiva da dietro la striscia.
-
-
-
Allinea la metà superiore della striscia con il bordo destro del case posteriore e incollala.
-
-
-
Usa le dita per appiattire la striscia. Assicurati che sia correttamente allineata con il bordo destro e che non ci siano increspature.
-
-
-
Continua in senso antiorario lungo il perimetro dell'iMac, incollando altre tre strisce adesive come fatto per la prima:
-
Striscia 02 in alto a destra
-
Striscia 01 in alto a sinistra
-
Striscia 05 sul lato sinistro
-
-
-
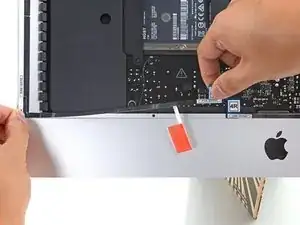
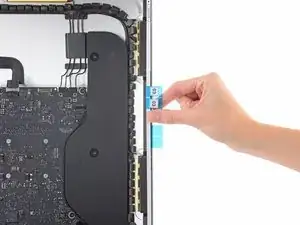
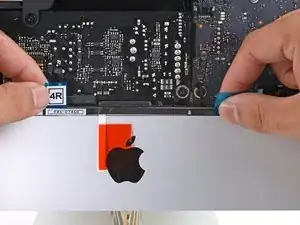
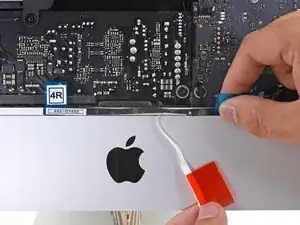
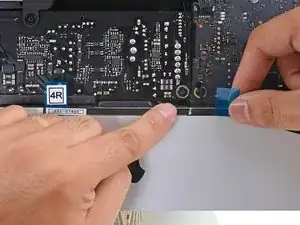
Afferra la linguetta rossa sulla striscia 4R e tirala per rimuovere circa 5 cm della pellicola protettiva bianca posteriore.
-
-
-
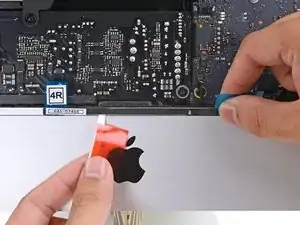
Piega a 90° rispetto alla striscia la parte staccata della pellicola protettiva bianca e schiaccia con le dita la piega così formatasi.
-
-
-
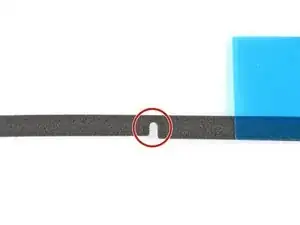
Allinea la striscia al bordo inferiore posizionando la rientranza nella striscia sopra il foro del microfono.
-
Se il tuo iMac non ha un foro per il microfono, allinea l'estremità destra della striscia in modo che la curva a L sia accanto alla striscia verticale sul lato destro. La curva a L non deve sovrapporsi alla striscia adesiva verticale sul lato destro.
-
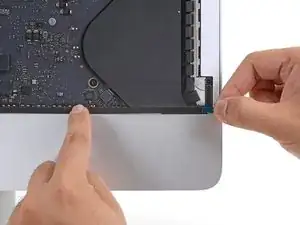
Una volta allineata la striscia, incolla attentamente l'adesivo esposto alla cornice per assicurarne l'allineamento.
-
-
-
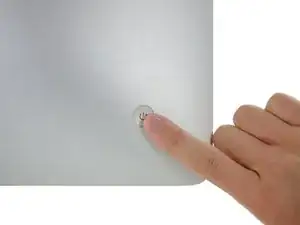
Fai scorrere il tuo dito da sinistra a destra lungo la striscia per assicurarti che sia dritta e senza pieghe, premendo mentre lo fai scorrere per far aderire la striscia all'iMac.
-
-
-
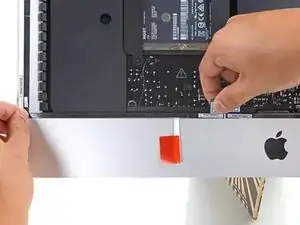
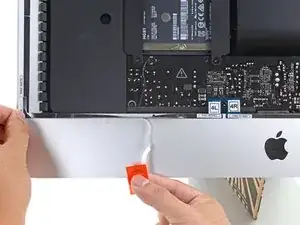
Ripeti i passaggi precedenti per la striscia 4L, applicandola al bordo inferiore sinistro dell'iMac.
-
-
-
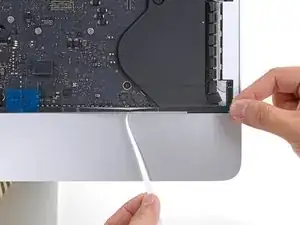
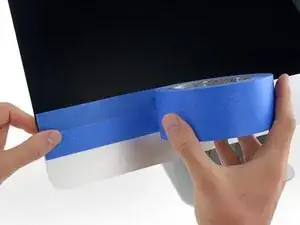
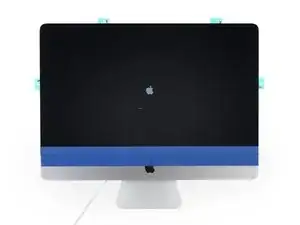
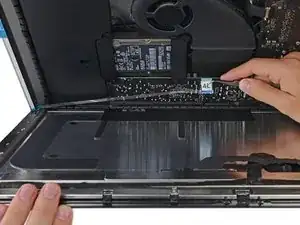
Usa del nastro adesivo di carta o del nastro isolante per fissare momentaneamente il bordo inferiore dello schermo alla cornice dell'iMac.
-
Non avvolgere il nastro intorno al retro dell'iMac o potresti rompere lo schermo mentre connetti i cavi.
-
-
-
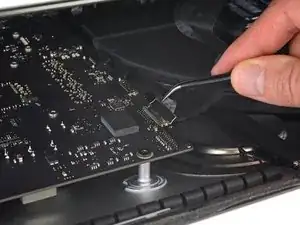
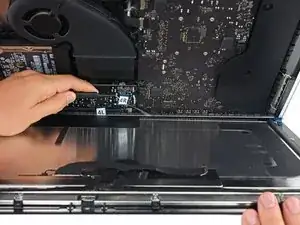
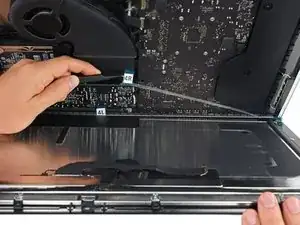
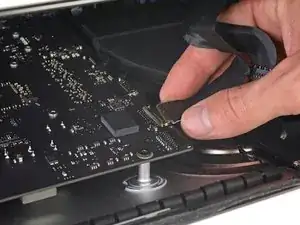
Usa un paio di pinze o la tua mano libera per infilare delicatamente il connettore del cavo dello schermo nella sua presa sulla scheda madre.
-
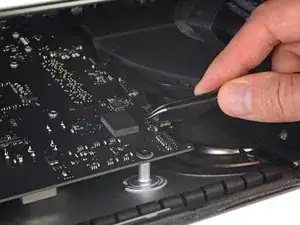
Fissa la staffa di bloccaggio in metallo sul connettore del cavo spingendola verso il basso verso la scheda madre.
-
-
-
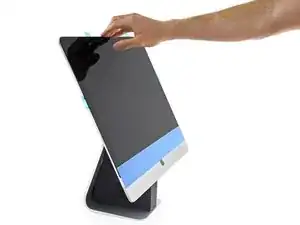
Appoggia lo schermo alla cornice dell'iMac.
-
A questo punto collega l'alimentatore del tuo iMac, accendilo e controlla la tua riparazione prima di continuare con la procedura di incollaggio dello schermo. Assicurati di controllare tutte le funzionalità di ogni componente che hai rimosso o scollegato.
-
-
-
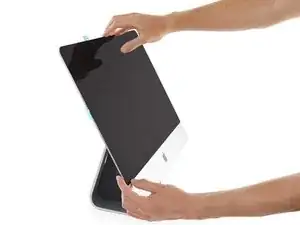
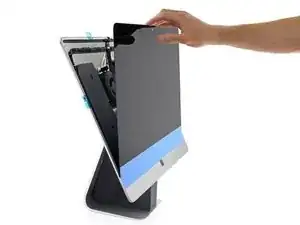
Dopo aver confermato che il tuo iMac funziona correttamente, scollega i cavi dello schermo e inclinalo attentamente in avanti.
-
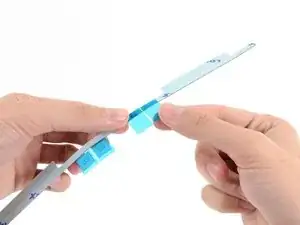
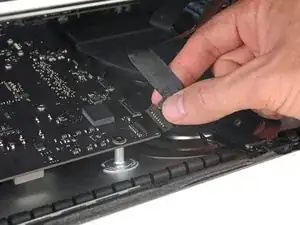
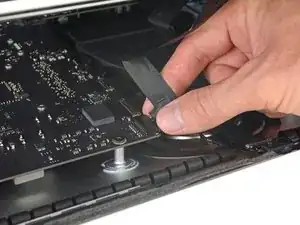
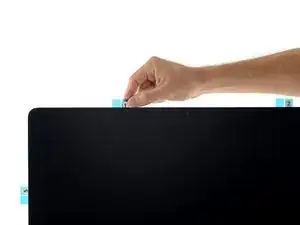
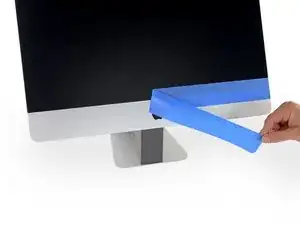
Rimuovi la pellicola protettiva dalle due strisce inferiori da sopra lo schermo, raggiungendole con un paio di pinzette e tirando le linguette blu dal bordo inferiore dello schermo verso l'alto.
-
-
-
Tieni lo schermo con una mano mentre rimuovi le pellicole protettive nei seguenti passaggi, oppure appoggialo delicatamente sulla cornice.
-
-
-
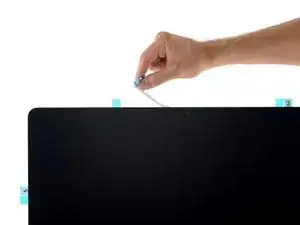
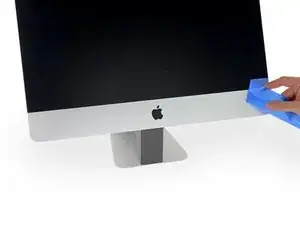
Ripeti i passaggi precedenti per rimuovere le pellicole protettive da tutte le strisce adesive rimaste.
-
-
-
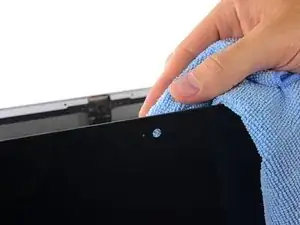
Per garantire una presa salda, appoggia attentamente l'iMac sul suo retro (con lo schermo rivolto verso l'alto) e premi cautamente ma con decisione lungo tutti i quattro bordi dello schermo.
-
Rimuovi il nastro che fissava lo schermo alla cornice.
-


33 commenti
Good Lord, why does Apple have to make it so difficult to upgrade or repair? There comes a point where design aesthetic just isn't worth it. Magnets, like I believe older iMacs use to attach the front glass, would have made it much easier. I'll take the extra bulk any day.
Have you actually done the replacement? It's actually pretty easy. Apple did everything they could to make it as painless as possible: the old adhesive separates without *any* residue, it doesn't rip apart, it doesn't make a mess. Things align like magic.
True, it could be easier. Like with the old color iMac SD. But since I don't take my iMac apart every day, doing this once or maybe twice in my computer's lifetime is a small price to pay for a *really* slim and good looking device.
I had some issues with steps 21, 22 and 23 ... the tabs would rip off. After the third one I used the plastic card to gently create some space for the strip to escape.
Hello! Tell me, what adhesive tapes are used! Length, width, thickness? On what basis are these tapes?
Oleg -
Thank you for this fantastic guide, and all of the iFixit guides! Just finished this replacement using the iFixit Adhesive Strips/iMac Opener tool combo--everything worked very well, except that the iMac Opener tool did not particularly like the broken glass area of the display, which bent the plastic of the "pizza cutter" wheel a little.
.
One bit of helpful advice is to use extreme care when placing the replacement display back into the iMac. Make sure that you do not put the display back in at too great of an angle, or there will be a very noticeable gap at the bottom, between the display glass and the iMac frame. Adhesive strips are not forgiving, and rarely give multiple chances!
We've revised the guide procedure and it makes positioning the screen very easy. You can drop it into place and fine-tune the position to your heart's content. :)