Introduzione

Guida solo prerequisita per rimuovere il telaio centrale del Moto G4 e poter avere accesso ai componenti interni.

  1. amtvddjAmwhmrnqH
    amtvddjAmwhmrnqH
    OWi4m4XCxfEBgDMt
    EwJnFXXfcwhAWbTc
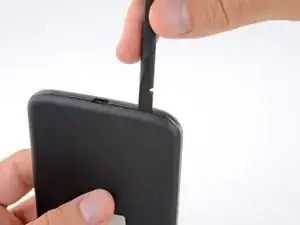
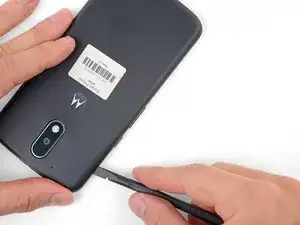
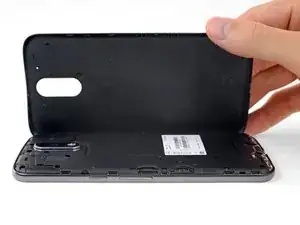
    • Inserisci un'unghia o uno spudger nella cavità del bordo inferiore del telefono, vicino alla porta di ricarica.

    • Torci delicatamente o fai leva per aprire una piccola fessura tra la cover posteriore e il corpo del telefono.

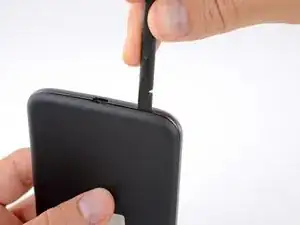
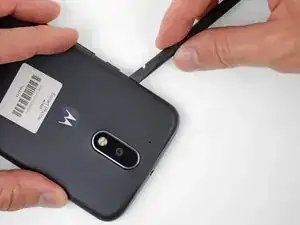
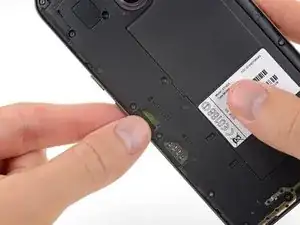
    • Mentre lasci il tuo attrezzo (o la tua unghia) inserito nella fessura tra la cover posteriore e il corpo del telefono, fallo scorrere attorno all'angolo per iniziare a sganciare le clip di plastica che tengono in posizione la cover.

  2. HLqMHMbmASfwFDVU
    HLqMHMbmASfwFDVU
    wkbdCQWZyeoURicu
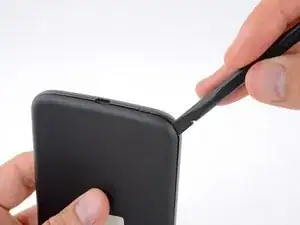
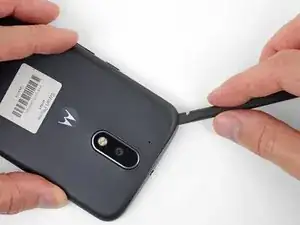
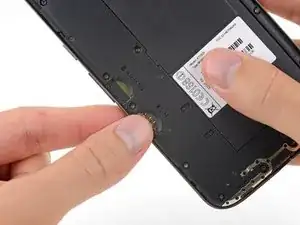
    • Fai scorrere il tuo attrezzo lungo il lato del telefono per separare altre clip di fissaggio della cover.

  3. IRICjJRMR1eUHQvd
    IRICjJRMR1eUHQvd
    frOdNGBIe3yRUYUQ
    DJCAEbwhl6ZN2xON
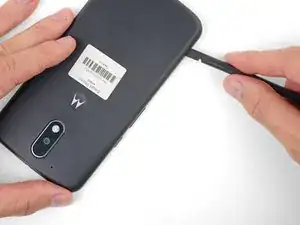
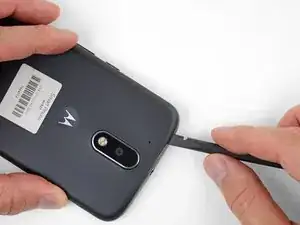
    • Mantieni il tuo attrezzo inserito appena sotto la cover posteriore e fallo scorrere attorno all'angolo superiore.

    • Se necessario, continua a far leva attorno ai lati rimasti del telefono finché la cover posteriore non si stacca.

  4. pTETy5GBsJCUgxsO
    pTETy5GBsJCUgxsO
    vKqBpOYKSASlbQkv
    • Rimuovi la cover posteriore.

    • Per installare la cover posteriore, posizionala con cura sopra il telefono e poi premila delicatamente attorno a tutti i bordi finché non senti che tutte le clip sono scattate in posizione di bloccaggio.

  5. ffDFM5MxvYRYGd3M
    ffDFM5MxvYRYGd3M
    KLonmPJiytRfZMPP
    • Fai scorrere fuori i vassoi delle schede microSD e SIM (se non l'avevi già fatto).

  6. CblUBFHebOPfmwHn
    CblUBFHebOPfmwHn
    Y5AmMCGdT5C4OWM1
    • Usa uno spudger per sollevare la cover di gomma del connettore del flash della fotocamera.

  7. MBcHXGXsJATGCWMj
    • Togli la cover di gomma.

  8. 2PT4qZOgF5piDHIy
    2PT4qZOgF5piDHIy
    OALHZ2QuglNBlykt
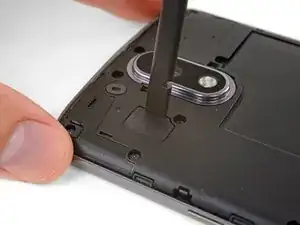
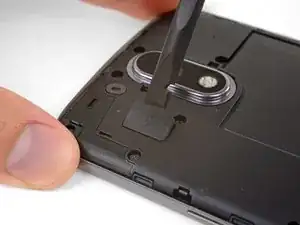
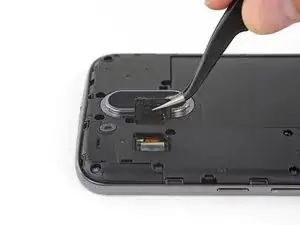
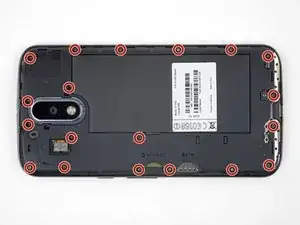
    • Usa uno spudger per scollegare, facendo leva da sotto, il connettore del flash della fotocamera.

  9. R52jISsgc6PJMUYW
    • Usa un cacciavite Torx T3 per rimuovere le 19 viti tutte uguali che fissano il telaio centrale.

    In my kit, the T3 Torx bit came in the ‘repair part’ box, while a T5 Torx bit was in the ‘repair tools’ box.

    Joseph Albert -

    my phone had t4, not t3

    Donald Smith -

    Screws are stuck quite hard, apply a hefty amount of pressure when removing. Otherwise you’ll destroy the thread

    face -

    unable to remove 8 of the screws. any suggestions?

    wayne malcom -

    My T4 is the tool that fit. I can see why people strip these. They were dam tight for such little screws.

    I also had a tough time getting them out of the socket once loose. Magnet in the tool was not very strong. I used my tweezers, and scratch the screw heads. That means they are real soft steel, and strip easy.

    P 38 -

  10. CdvPqSLWgj4YR1Im
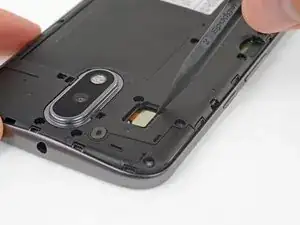
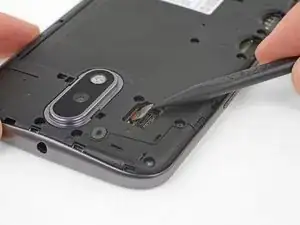
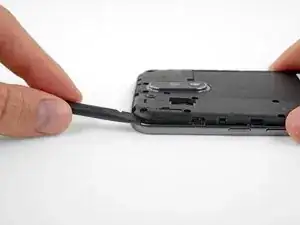
    • Inserisci uno spudger sotto il telaio centrale nel suo angolo superiore sinistro e torci con delicatezza l'attrezzo per separare questa parte dalla scocca del telefono.

    I couldn’t get the spudger in, but had success with the opening pick instead.

    Bernd Mast -

  11. D5HjSM3XUBUJOE6T
    • Rimuovi il telaio centrale.

    During the midframe removal, be careful and do not put too much torsional stress on the loudspeaker pickup wires (to the right of the main camera). It’s not that difficult to crush or shear the pickups there. Doing so will render your phone silent.

    Kevin Kwan -

    Exactly what happened to me. Both contacts broke off and if just loosely put where they were, they can't make proper contact anymore.

    There should be a warning about this in the guide itself!

    Simon Vetter -

Conclusione

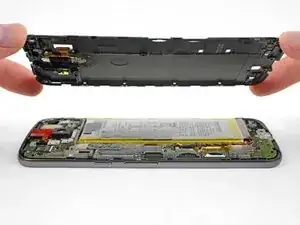
Per rimontare il tuo dispositivo, segui queste istruzioni in ordine inverso.

Jeff Suovanen

Membro da: 06/08/13

426762 Reputazione

0 commenti