Introduzione
In questa guida, impareremo come sostituire il vetro protettivo della fotocamera posteriore dell'iPhone 7 Plus.
-
-
Spegni il tuo iPhone prima di iniziare lo smontaggio.
-
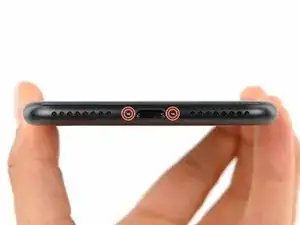
Rimuovi le due viti pentalobe da 3,4 mm sul lato inferiore dell'iPhone.
-
-
-
Scaldare il bordo inferiore dell'iPhone aiuterà ad ammorbidire l'adesivo che fissa il display rendendolo più facile da aprire.
-
-
-
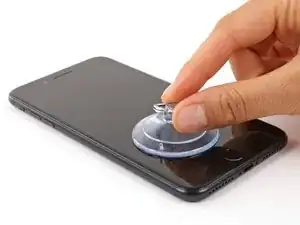
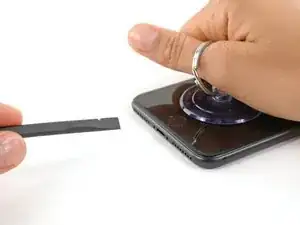
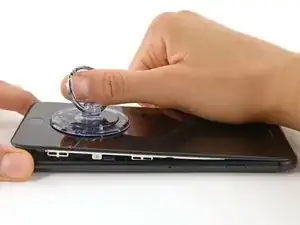
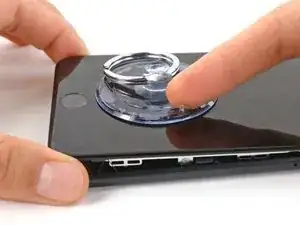
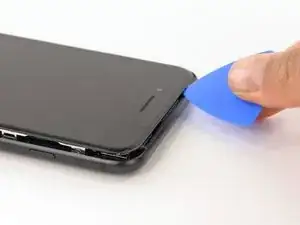
Applica una ventosa nella metà inferiore del pannello frontale, appena sopra il pulsante home.
-
-
-
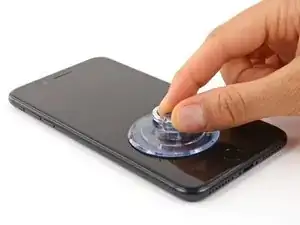
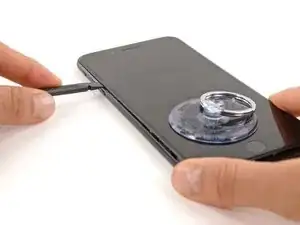
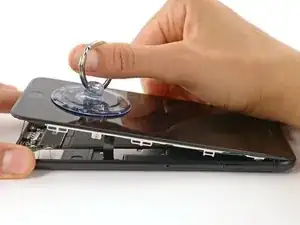
Tira la ventosa con una pressione forte e costante per creare una piccola fessura tra il pannello anteriore e il case posteriore.
-
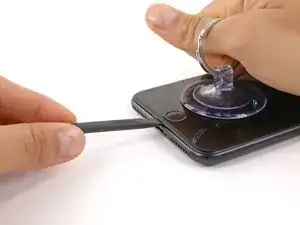
Inserisci l'estremità piatta di uno spudger nella fessura.
-
Mentre continui a tirare la ventosa, fai ruotare lo spudger per allargare l'apertura tra lo schermo e il case posteriore.
-
-
-
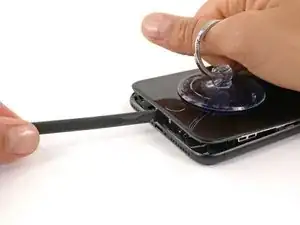
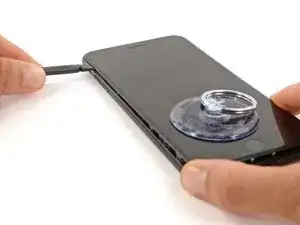
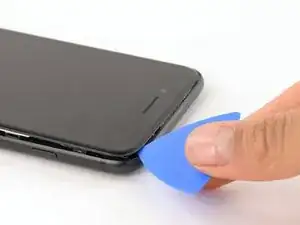
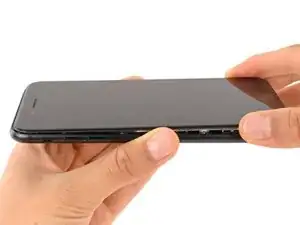
Inserisci l'estremità piatta di uno spudger tra il pannello anteriore e il case posteriore nella parte inferiore sinistra dell'iPhone.
-
Fai scorrere lo spudger lungo il lato sinistro del telefono iniziando dal basso e muovendoti verso i pulsanti del controllo volume e dello switch suoneria/silenzioso, per rompere l'adesivo che tiene in posizione il display.
-
-
-
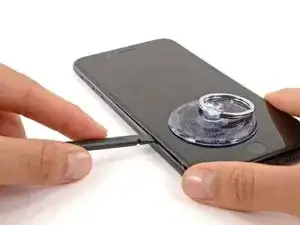
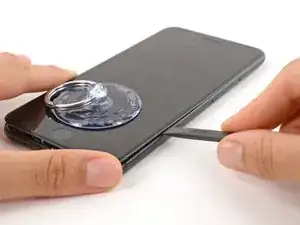
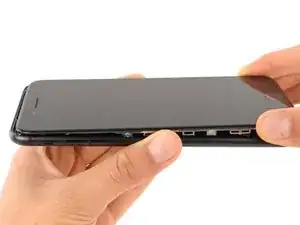
Rimuovi lo spudger dal lato sinistro del telefono e inserisci la sua estremità piatta nell'angolo inferiore destro.
-
Fai scorrere lo spudger sul lato destro del telefono fino all'angolo superiore per rompere l'adesivo che tiene in posizione il display.
-
-
-
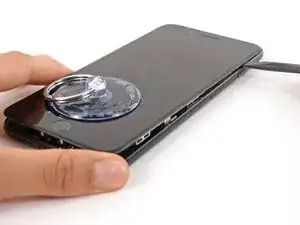
Fai scorrere una levetta di apertura sotto il display lungo il lato superiore del telefono per indebolire l'adesivo rimanente.
-
-
-
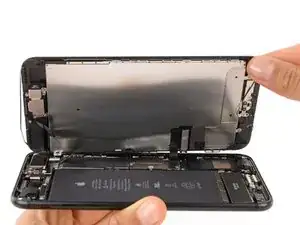
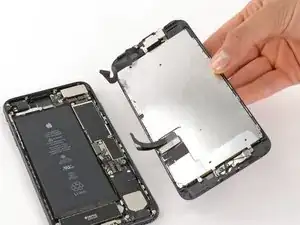
Tira il gruppo display allontanandolo lievemente dal bordo superiore del telefono per sfilare le clip che lo fissano al case posteriore.
-
Apri l'iPhone inclinando il display e sollevandolo dal lato sinistro, come si farebbe con la quarta di copertina di un libro.
-
-
-
Rimuovi le seguenti quattro viti tri-wing Y000 che fissano la staffa inferiore del cavo del display alla scheda logica:
-
Tre viti da 1,2 mm
-
Una vite da 2,6 mm
-
-
-
Usa l'estremità a punta di uno spudger per sollevare il connettore della batteria dal suo zoccolino sulla scheda logica.
-
-
-
Usa l'estremità piatta di uno spudger oppure un'unghia per disconnettere i due connettori inferiori del display sollevandoli verso l'alto dai loro zoccolini sulla scheda logica.
-
-
-
Rimuovi le tre viti tri-wing Y000 che fissano la staffa sopra il connettore del gruppo sensore del pannello anteriore:
-
Una vite da 1,3 mm
-
Due viti da 1,0 mm
-
Rimuovi la staffa.
-
-
-
Disconnetti il connettore del gruppo sensore del pannello anteriore dal suo zoccolino sulla scheda logica.
-
-
-
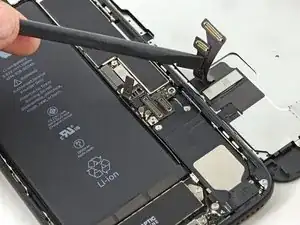
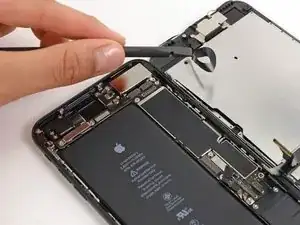
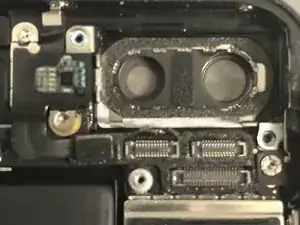
Rimuovi le due viti che fissano la staffa delle fotocamere posteriori:
-
Una vite Phillips da 1,6 mm
-
Un distanziale a vite da 2,2 mm
-
-
-
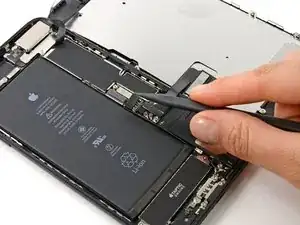
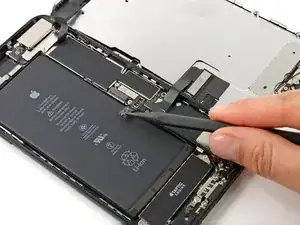
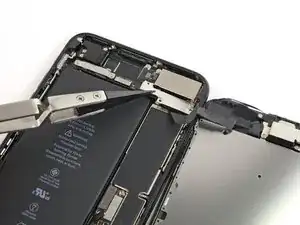
Usa uno strumento di apertura iFixit oppure un'unghia per staccare i due connettori del cavo della doppia fotocamera facendo leva verso l'alto per farli uscire dalle loro sedi.
-
-
-
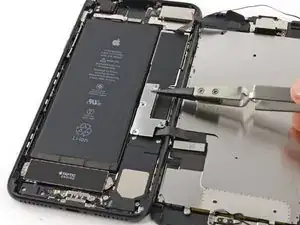
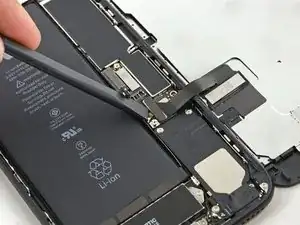
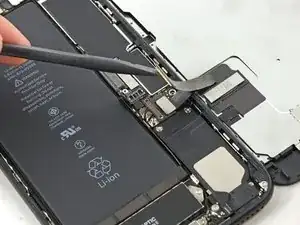
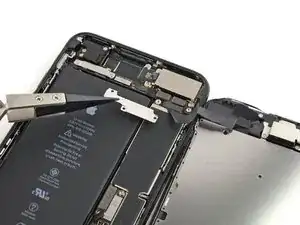
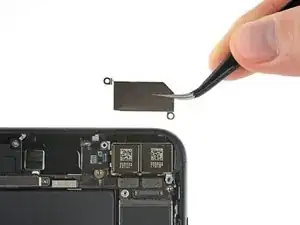
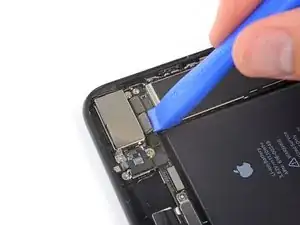
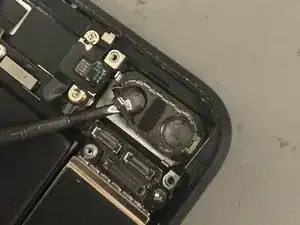
Usa l'estremità piatta di uno spudger per sollevare il gruppo fotocamere posteriori dalla parte superiore dell'iPhone.
-
-
-
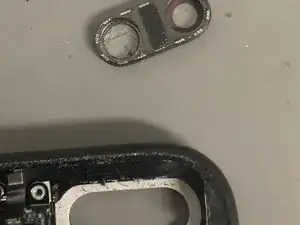
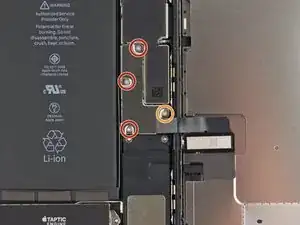
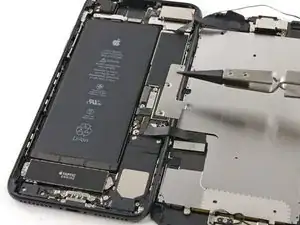
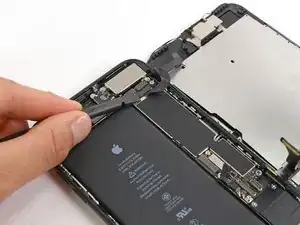
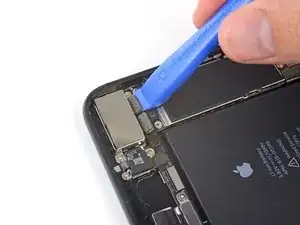
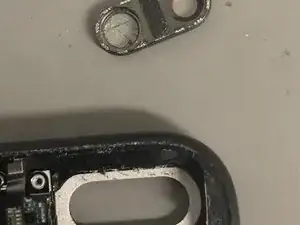
Non è facile rimuovere questa staffa inferiore. Il bordo interno arrotondato di questo supporto sembra essere saldato con l'anello dell'obiettivo della fotocamera; è necessario quindi uno sforzo notevole e non sarà una sorpresa se la staffa si romperà.
-
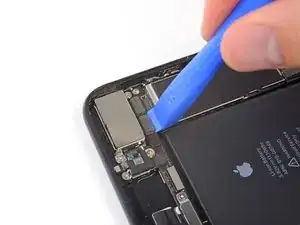
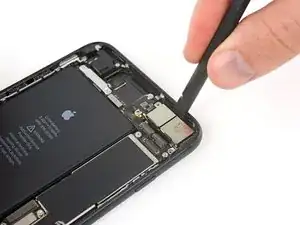
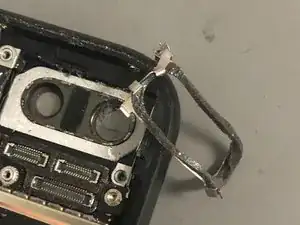
La mia tecnica è di prendere un cacciavite a lama piatta e di far leva dove non danneggerà alcun componente e forzare finché non sento dei piccoli strappi.
-
È qui che si ritrova la saldatura, come puoi vedere anche nella terza immagine.
-
-
-
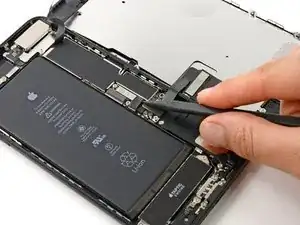
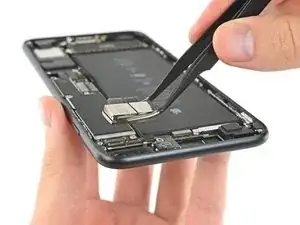
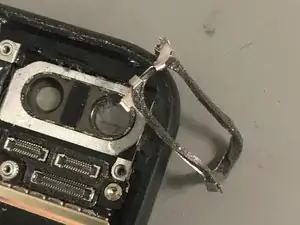
L'ultimo passo consiste nello spingere fuori dall'interno il vetro rotto della fotocamera.
-
Per prima cosa, prendi un attrezzo che ti piace e che sia facile da usare senza sforzo. Quindi, metti le mani sotto il punto in cui eserciterai la pressione per evitare di piegare il case posteriore. Quindi, premi il vetro della fotocamera con decisione. Fai attenzione al telefono e alla tua stessa mano.
-
Nell'installare il nuovo vetro, ti servirà della colla o dell'adesivo per fissare il vetro oltre alla nuova staffa inferiore.
-
Non è necessario avere una staffa nuova.
-
Se sei preoccupato di danneggiare il tuo iPhone 7 Plus, mandalo a un centro Apple.
-
Quello che ho fatto qui è di mettere il telefono ben fermo sul tavolo, quindi ho posto il mio cacciavite a lama piatta nel punto indicato in rosso e ho battuto lievemente il cacciavite con un martello.
-


Per rimontare il tuo dispositivo, segui queste istruzioni in ordine inverso.
12 commenti
When will you pretend finish this guide with picture? I have the same problem but I don’t want to loss the waterproof. Do you know another form to fix or soleve this problem?
You will lose waterproof unfortunally. Seals may be replaced but will not be 100%
Adding pictures today.
I read that the bottom bracket you mention at the end is fallen alignment bracket and it aligns the camera lens. Do you know how to add it back? Or we’ll install a new one
pxolo10 -
You will have to get this part: iPhone 7 Plus Rear Camera Alignment Bracket
as the other one is soldered and will break and bend. You will have to align the bracket yourself to replace it.
What kind of glue or adhesive did you use to secure the Camarena lens?
pxolo10 -
B-7000 Clear is what I use.
The recommendation of discharging the battery is completely unnecessary. Even a 25% charged battery can explode. Completely ridiculous suggestion.
pargoff -
The risk of thermal runaway on these batteries decreases with the battery's SOC (state of charge). Below 50% charge the risk is fairly low, and at 25% charge the risk of a thermal event is near zero. If I recall correctly, the same suggestion appears in Apple's official (non-public) service manuals for the iPhone.
Jeff Suovanen -
@jeffsu Yes, that is correct. Apple does require all certified staff to discharge the battery below 25%. This is an industry standard for all LiION batteries. If you don’t want to do this, just make sure to not puncture the battery and disconnect it first thing.
iHelpU.Tech -
Hang on a second here, doesn’t the Ifixit part I ordered come with the seals? The display assembly? It doesn’t. Now I have to wait another week?!
Vanessa Pinter -
How do you turn off if the screen isn’t responding to touch?
adam -
The replacement battery came with the seal—but how do you put it on???
lkollar -
Instructions for replacing the seal are here: Sostituzione guarnizione adesiva display iPhone
bester -
I just found the instructions on how to install the seals AFTER I was completed and had to figure it out. Maybe, just maybe you should link this somewhere on the guild instead of buried in a comment. Just a thought.
Charles Meitin -
Step 1 is: Read through all the steps and comments or the method prior to starting on this Step 1. There's a lot of much needed information and experience that you can learn from which will reduce the chance of struggling, wasting time or even breaking your device.
My favourites are:
Use a hot water bottle.
Label all screws you remove with their size and location on a piece of paper with double sided sticky tape.
Test the lightning assembly at step 13
There is a Standoff driver bit in the box, don't use a screwdriver.
etc...
Neil Eriksen -
A tip for looking out for all those little screws. I used an ice block tray, for all the little screws etc. I numbered each with the step number, as in the instructions, but not all steps have bits to look out for. Where two different size screws are used I had a tray for each size and marked step a and step b. For this I coloured each tray sticker with the colour of the screw as shown in the instructions. All this worked a treat with no confusion or using the wrong part.
Herb
Herb Adler -
The screw size for those with a screw set is P2.
Gareth Flandro -