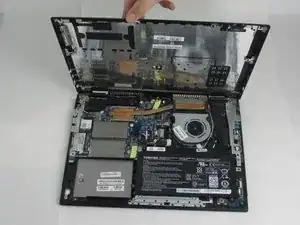
Introduzione

This guide will walk you through the necessary steps for replacing the Keyboard in your Toshiba Satellite E45W-C4200X.

The Keyboard is a vital piece of hardware that is used to input information and writing.

Before using this guide, make sure to review the troubleshooting page to ensure the Keyboard  will need to be replaced.

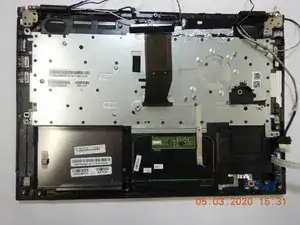
Make sure to power off your laptop completely and disconnect from any external power source prior to beginning the process.


  1. jHQGyDDL53Scig13
    jHQGyDDL53Scig13
    AM6Ae4MBFWTiSAUp
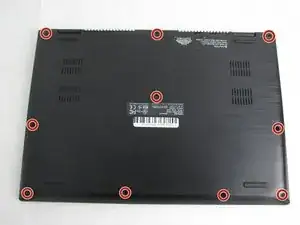
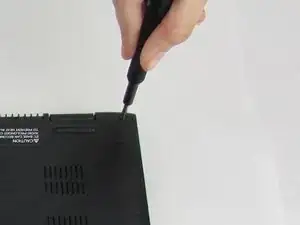
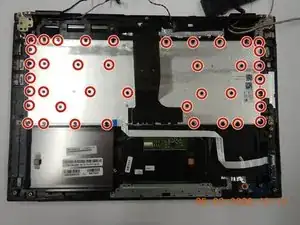
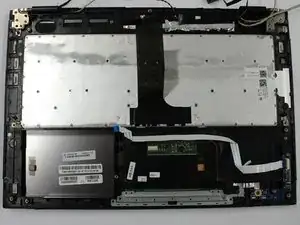
    • Using the phillips #1 screwdriver, remove the ten 1 mm screws from the back panel of the device.

  2. OTJuFyUwInOnrnZZ
    OTJuFyUwInOnrnZZ
    y6khFkc3yISQWfJU
    • Use plastic opening tool to separate the back cover from the laptop.

    • Go slowly and be careful as the plastic can crack.

    • It is recommend that you start from a corner and run the tool along the edge.

  3. Pfq14xb22ZCdWcmN
    Pfq14xb22ZCdWcmN
    ZlcLZuNBiIQjbDVN
    • Remove the four .5 mm screws that secure the heat sink using a Phillips #1 screwdriver.

  4. kYSXnDyreBVaVqOw
    kYSXnDyreBVaVqOw
    A1PREEw4cG6fJuqF
    • Remove the two 1 mm screws that secure the cooling fan using a Phillips #1 screwdriver.

  5. yUWQgQhBncIFSGSL
    yUWQgQhBncIFSGSL
    2vZJTkQTkbxlysA1
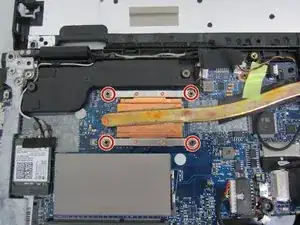
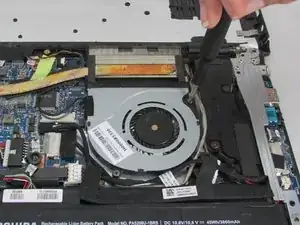
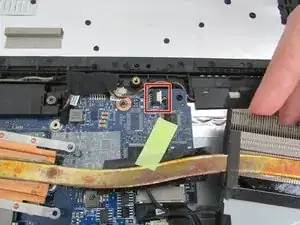
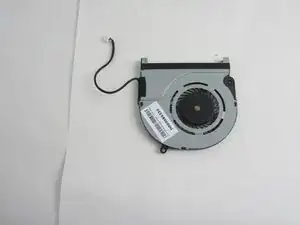
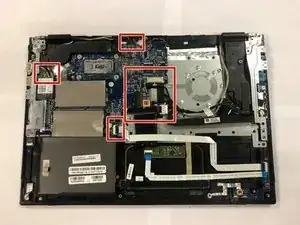
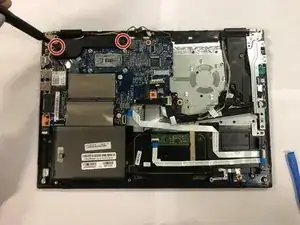
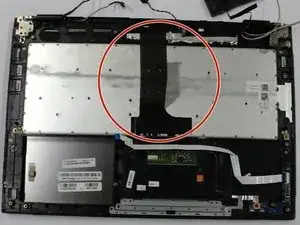
    • Disconnect the fan cord from the harness.

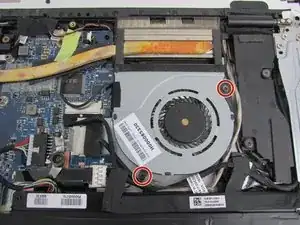
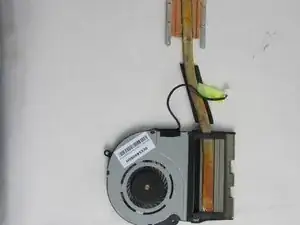
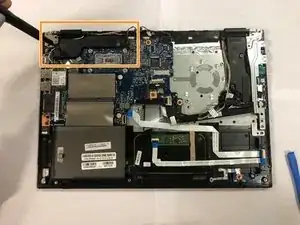
    • Remove the cooling fan and heat sink from the laptop.

  6. sWfBKDZSlOiHpgiC
    sWfBKDZSlOiHpgiC
    ij6iG6V6LTUPEsAq
    PMS3aUrrD4IamYhg
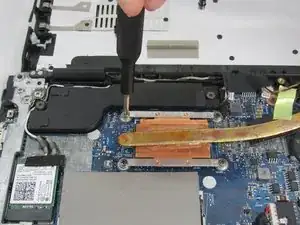
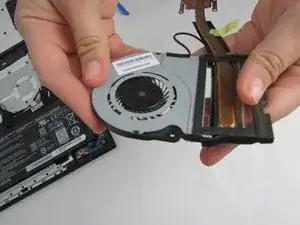
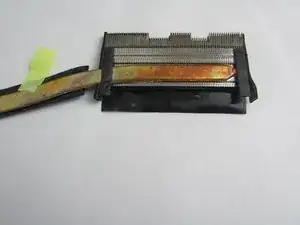
    • Carefully peel off the tape holding the heat sink onto the cooling fan.

    • Peel carefully as the tape goes around all four sides.

    • Remove the cooling fan from the heat sink.

  7. cdZCOFROQqTtY5OD
    cdZCOFROQqTtY5OD
    pVKvMmjLxRhiMkiW
    • Unplug the connection to the battery.

    • Mark sure you are using the anti-static wrist strap for the duration of this replacement.

  8. FuNcarTmRHHRtd1i
    FuNcarTmRHHRtd1i
    bmjqLDRINQtsTEIG
    RYRbvULkN2tXOolH
    • Remove all remaining external wire harnesses from the circuit board.

    • It is recommended that you use labels or take pictures of the wires you remove to assist in the re-connection.

  9. WbIqdbSJrNdOiB31
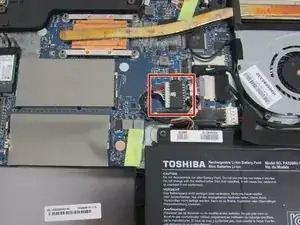
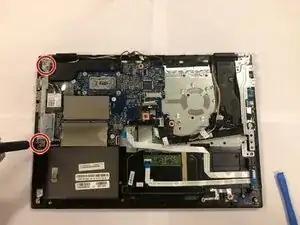
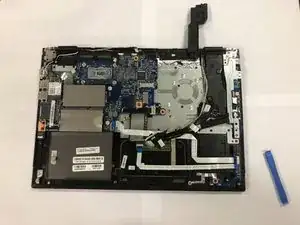
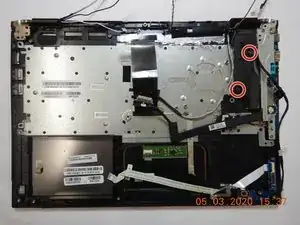
    • Remove the three screws from the metal bracket on the left side of the circuit board using a Phillips #1 screwdriver.

    • Remove the bracket.

  10. WDwYta5HsYBfyi4i
    WDwYta5HsYBfyi4i
    1U2BgTOlZXskFen1
    6VoxJCq4HDvau5xv
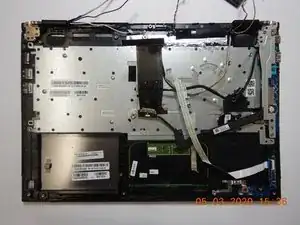
    • Remove the two screws from the black plastic cover using a Phillips #1 screwdriver.

    • Remove the black plastic cover.

  11. wiNgPloJvQpquVZ4
    wiNgPloJvQpquVZ4
    U6nHnSOtQdsnG1yi
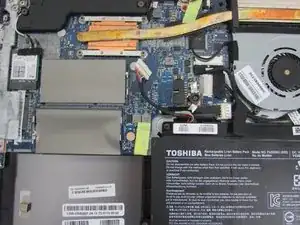
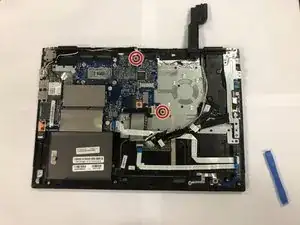
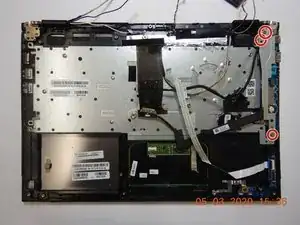
    • Using a Phillips #1 screwdriver, remove the remaining two screws holding the circuit board in place.

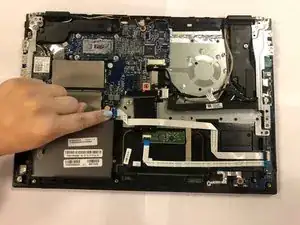
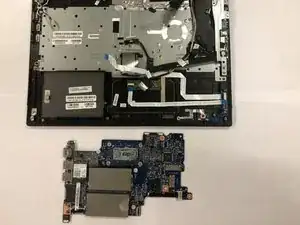
    • Carefully remove the motherboard from the device.

  12. mKZatDIMx6jAFOR3
    mKZatDIMx6jAFOR3
    i1eWcSpGEUbAsUtD
    • Remove the two 1 mm screws from the black plastic cover using the Phillips #1 screwdriver.

  13. RgTocTX1iH4DjXTW
    RgTocTX1iH4DjXTW
    SWAqqCWCogIUhSqb
    • Use the Phillips #00 screwdriver to remove the three 0.5 mm screws from metal bracket.

  14. kHVOa2KajChrFyjM
    kHVOa2KajChrFyjM
    m4QRc6gOOyQDKVrW
    • Use the Phillips #000 screwdriver to remove the 44 (forty four) 0.5 mm screws on the existing silver panel.

  15. HUq5omJPgsaaRlNo
    HUq5omJPgsaaRlNo
    VCDFkXjD1IlkT3f3
    • Pull up on the black tab that is on the silver panel to remove the keyboard.

Conclusione

To reassemble your device, follow these instructions in reverse order.

Brennen Roomsburg

Membro da: 20/02/20

127 Reputazione

0 commenti