Introduzione

  1. MreUuGc1ebaARHj5
    MreUuGc1ebaARHj5
    NhJRD2iXGMAhM6HH
    AITKEfSUpcRnfihL
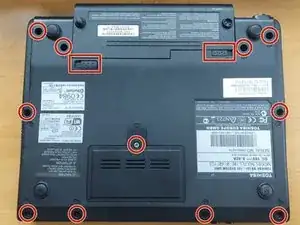
    • Unscrew all screws from the bottom and unplug the battery.

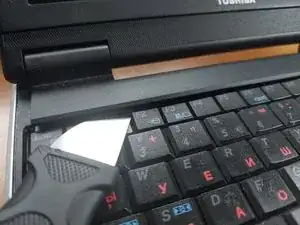
    • Flip the laptop over and by using a prying tool, carefully remove the basel above the keyboard.

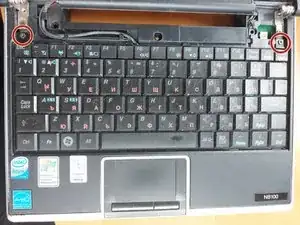
    • Remove the 2 screws that hold the keyboard, lift it up, unplug it and set it aside.

  2. QhyAYbc4YR3uXVeR
    QhyAYbc4YR3uXVeR
    rZGmgHAo1xAwOetL
    VomTQygulLA3CjI2
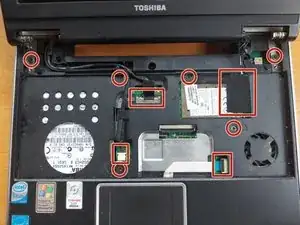
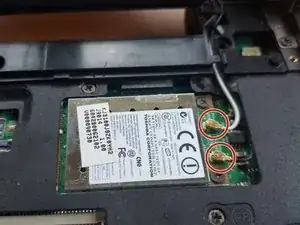
    • Carefully unplug the cables and remove the screws that hold the panel in place.
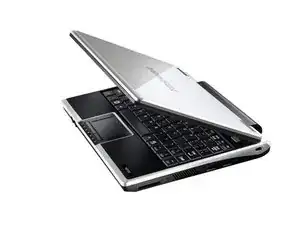
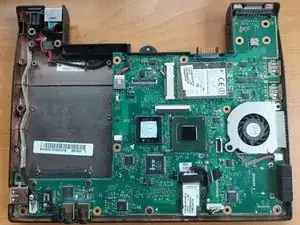
    • Remove the display.

  3. XJpKqWC2TJn1F5CE
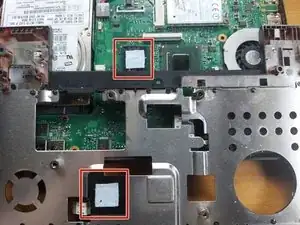
    • Lift up the panel and replace the thermal pads. Make sure they are the correct thickness..

    • You can also disconnect the fan and clean it too.

    I've read the tut, and looked to me like a copy-paste of others, but with important parts missing. What's worst is that not only it lacks of very important steps, like removing the video cable (that is a little nightmare. BTW: YOU MUST PULL straight up to do it, and do it hard because it seem to be soldered.) but the tut also (surprisingly) warn us to use "the right thickness without providing us with the right size for the thermal pads, leaving us asking" OK, Mr... WHAT THICKNESS?" Thickness is 1mm, if you ask (17x17x1mm)... And if you are afraid of ruining something, use 0,5mm pads instead; but I use 1mm with no problems, just in case you wonder if I btoke the CPU and GPU chips.

    Angel -

Conclusione

To reassemble your device, follow these instructions in reverse order.

Simeon Brankov

Membro da: 08/11/20

6045 Reputazione

0 commenti