Introduzione

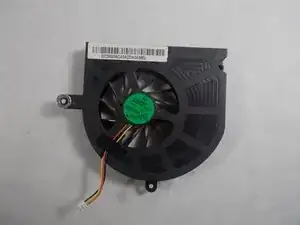
When your computer is making loud noises or is hot to the touch, you likely need to replace your fan. Follow this guide to do so. Prerequisites for this guide is the battery removal and keyboard removal.

  1. NaCAmauXGqvYUJjg
    • Find an edge of the red strip along the edge the computer and pry it off using a spudger.

    Not sure if this is relevant to this exact model, but the Q701 variant doesn’t require spudging these plastic features off and will can’t be done without snapping plastic rivets. Instead just remove the plastic bar above the keyboard and remove the four screws there. the three screws revealed below allow the entire veneer to come up as a whole (no rivet snapping required!)

    Nick Wozniak -

  2. Fbp4cKFUinBntIWk
    Fbp4cKFUinBntIWk
    gbviVMJuu1tkNDyA
    • Find an edge of the black cover piece around the keyboard and pry it up using the spudger.

    To avoid damaging the keyboard also remove the black strip of plastic at the top of the keyboard under which find screws securing it and remove them a magnetic screwdrivers and care will save you from dropping them inside and forcing you to possibly do a full teardown to recover them.

    Juan Garcia -

  3. N35dhvEV3KBwYVSR
    N35dhvEV3KBwYVSR
    OXNSaVwYlJu1EE2Z
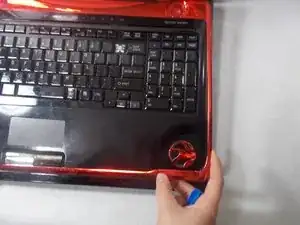
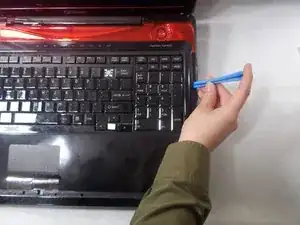
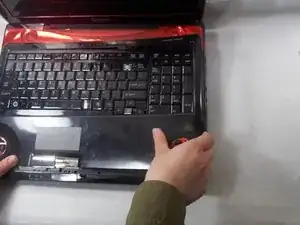
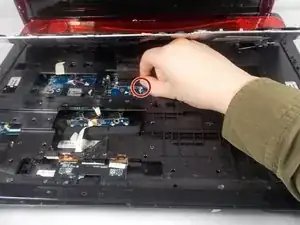
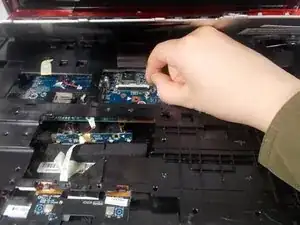
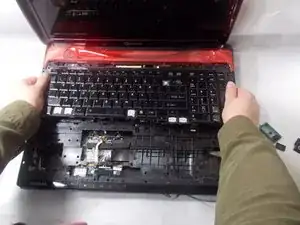
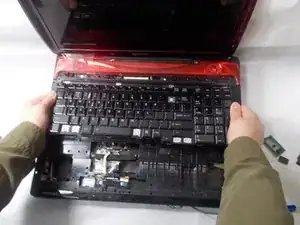
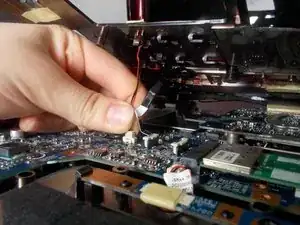
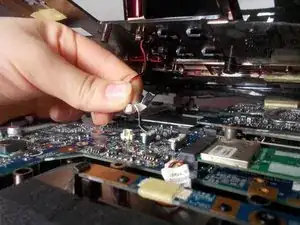
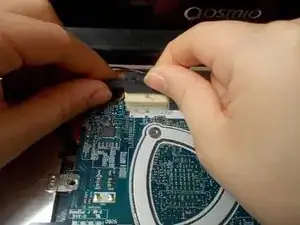
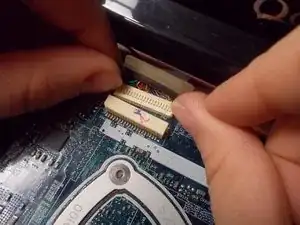
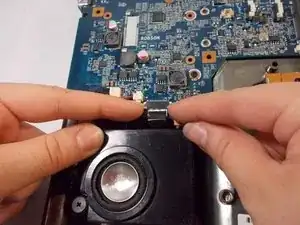
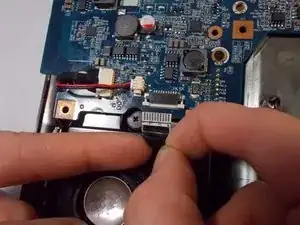
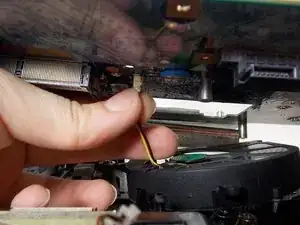
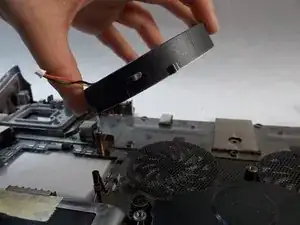
    • Lift the keyboard up and detach the strip connecting the keyboard to the back of the laptop.

    Exercise care here not to lift the keybord too far you can tear the ribbon connector if you are too forcefull or inattentive. Downside would be now you need a new keybord (repair is possible but very difficult). Upside, you can replace it with an illuminated one... duck duck go is your buddy.

    Juan Garcia -

  4. 435RUFrAcaR1nQod
    435RUFrAcaR1nQod
    EH3ilMXqVhRNWJSV
    VMCT5QdqpLPTG5lH
    • Remove the keyboard from the Laptop.

    Release the lock on the connector by carefully prying the white ends up then disconnect the ribbon cable first.

    Juan Garcia -

  5. R5C2xKeDgWVNNKXY
    R5C2xKeDgWVNNKXY
    bpyxUmK6kTJtWlZM
    • Unscrew the four 10 mm screws with the Phillips #0 screwdriver.

  6. OvryK4YBesUI24NO
    OvryK4YBesUI24NO
    mxAHNYHYUWCREWGV
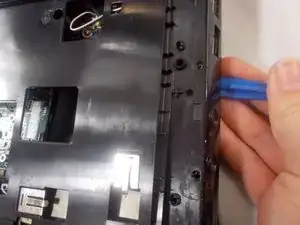
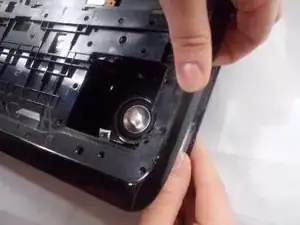
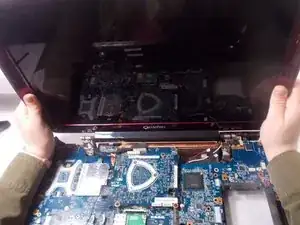
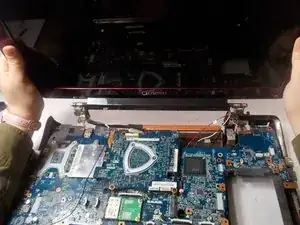
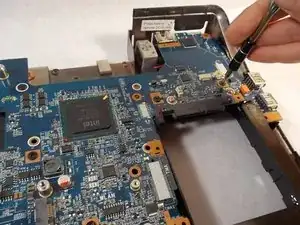
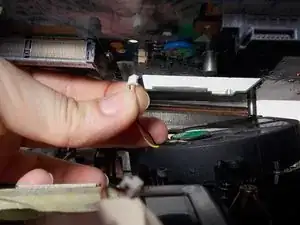
    • Insert the iFixit opening tool into the side of the computer that separates the top and bottom of the laptop. Move the tool along the edge of the laptop until the cover can be separated from the device.

    • Do not remove the panel from the device, as you'll need to disconnect cables before the component can be fully removed.

  7. XMCGyRMHpZVMDNDM
    XMCGyRMHpZVMDNDM
    JNUIKrM1TTtGGMNB
    • Disconnect all wires connecting the top piece to the bottom.

  8. yAgtw6ATkuCMTmoN
    yAgtw6ATkuCMTmoN
    JcmfpXwjBmmxWq4E
    xK6GIXQFL1d2nttd
    • Disconnect all wires connecting the screen to the inside of the computer.

  9. BEUnarwQ13GkMZJk
    BEUnarwQ13GkMZJk
    gULqupqjnqvYbgV1
    aQaiXDOwf2VSMg3Z
    • Remove the 6 mm screws holding the screen on to the laptop using a Phillips #0 screwdriver.

  10. rljD4IjPArWZyogX
    rljD4IjPArWZyogX
    5vXBSZxhobPPSxIR
    • Remove the screen from the laptop.

  11. ZJxVjNYViRFKVUuP
    ZJxVjNYViRFKVUuP
    a4ppYCY2E4XfDJDS
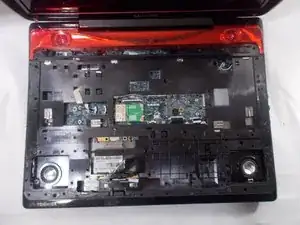
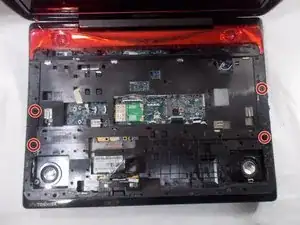
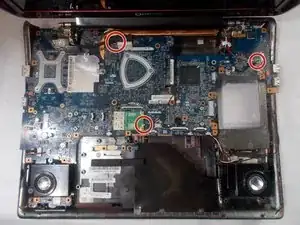
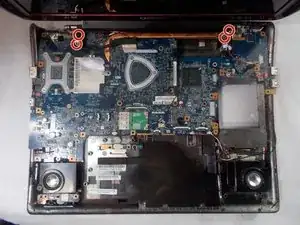
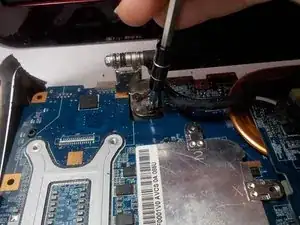
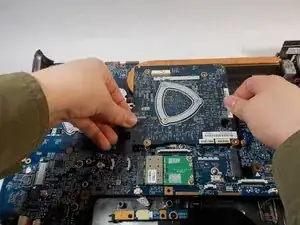
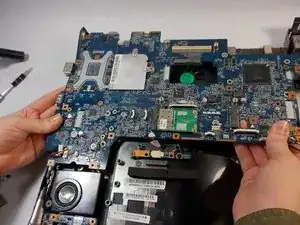
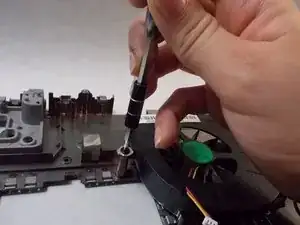
    • Remove the four 8 mm screws holding the two circuit boards together using a Phillips #0 screwdriver.

  12. apCLRpFYopfCTgGY
    apCLRpFYopfCTgGY
    xflmLQBNNJ1dJMAN
    • Remove the top circuit board.

  13. oD3OGycTVZG1GnEm
    oD3OGycTVZG1GnEm
    xlVtXKDK6PHJpREq
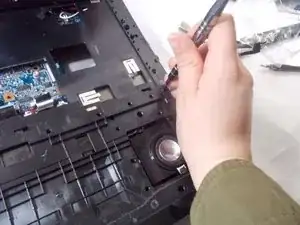
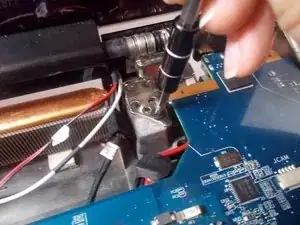
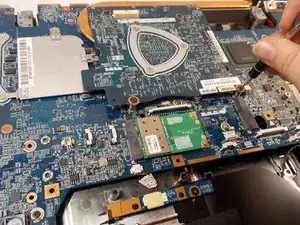
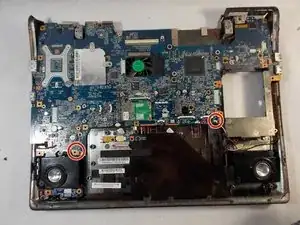
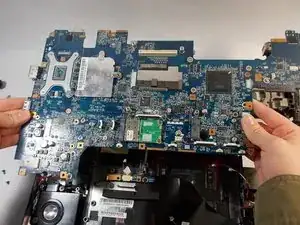
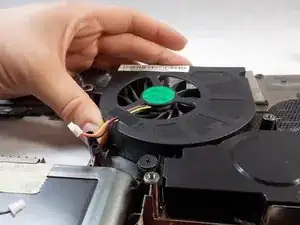
    • Remove all of the 8 mm screws holding the bottom circuit board to the bottom of the computer using the Phillips #0 screwdriver.

  14. NjSC35Hi14DcZGkJ
    NjSC35Hi14DcZGkJ
    WN1BIo6SBcIWAlqj
    jMMpOR3NHrB3JigH
    • Disconnect all wires from the circuit board.

  15. T1ZEIciZgOdWJxMM
    T1ZEIciZgOdWJxMM
    31ZEGB4ZWopCwFid
    • Lift the circuit board from the inside of the laptop.

  16. YokXQEGqNSG6NQDa
    YokXQEGqNSG6NQDa
    CZ6VotBW3fsMTEcJ
    DkadYCcSdAXMJQr1
    • Disconnect the wire underneath connecting the fan to the circuit board.

  17. FhrDhUQvlZNYRNGP
    • Unscrew the 6 mm screw holding the fan in place using the Phillips #0 screwdriver.

  18. RtGUCpavTG2KJVTj
    RtGUCpavTG2KJVTj
    kdLPPKKfJtLFygsb
    • Lift the fan and remove it from the device.

Conclusione

To reassemble your device, follow these instructions in reverse order.

VivianPham0719

Membro da: 18/03/19

361 Reputazione

0 commenti