Introduzione
This guide will help return your bubbly or malfunctioning screen back to its vibrant glory days.
Ricambi
-
-
Unplug your laptop from any source of power.
-
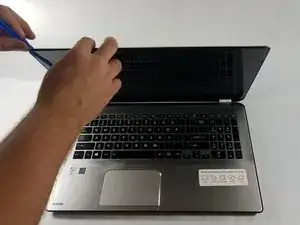
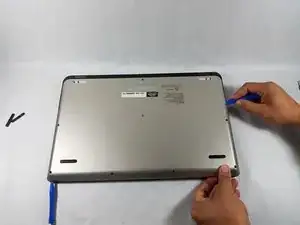
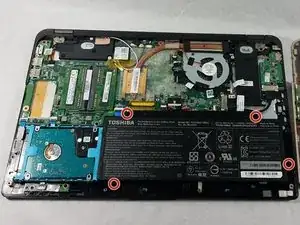
Lay your laptop on a soft, clean surface as shown.
-
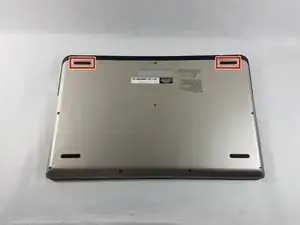
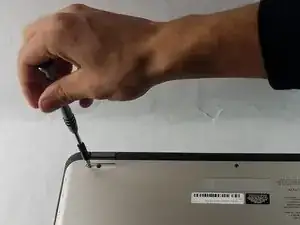
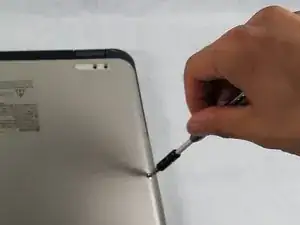
Using the metal spudger, remove the two rubber grips on the bottom face of the laptop, located closest to the hinge.
-
-
-
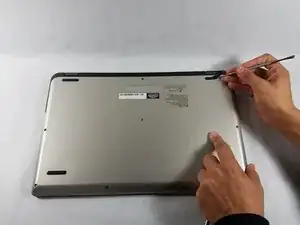
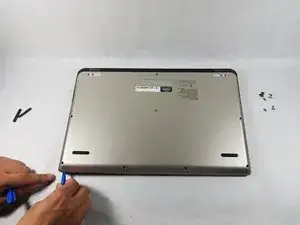
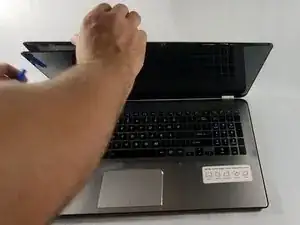
Starting on the edge that is opposite the hinge, use the plastic opening tools to pry the back plate away from the computer.
-
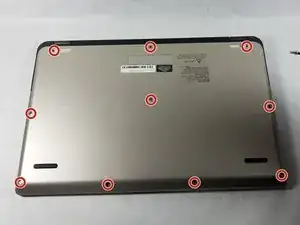
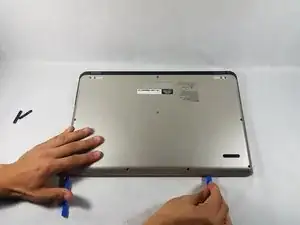
Loosen the three non-hinge edges.
-
Leave a plastic opening tool in each corner to ensure that one side does not snap closed before you are done opening the others.
-
-
-
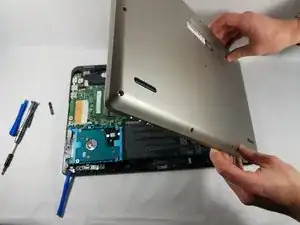
To loosen the back plate, lift it slightly and gently pull it away from the hinge.
-
Flip the back plate open towards the power button, but be sure to not pull on the ribbon cable that connects the back plate to the motherboard.
-
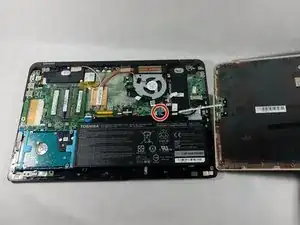
Use a plastic opening tool to detach the side of the ribbon cable connected to the computer by prying up gently on the small black lever at the point of attachment.
-
-
-
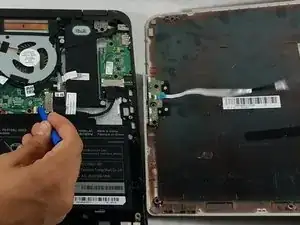
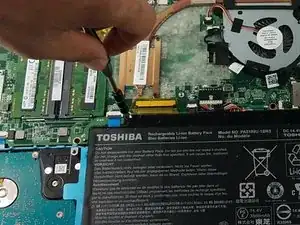
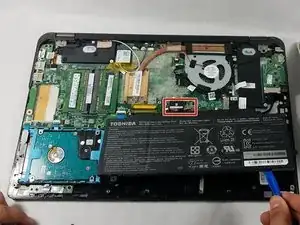
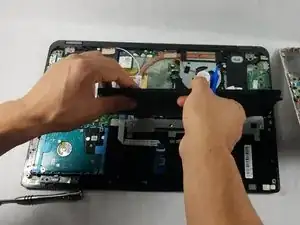
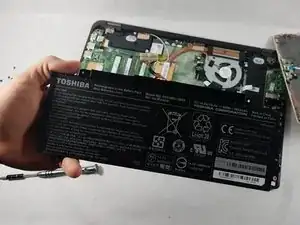
Use a plastic opening tool to lift the side of the battery that is closest to the long edge of the computer.
-
As you are pulling the battery away from the computer, unplug it from the side closest to the short edge of the computer.
-
-
-
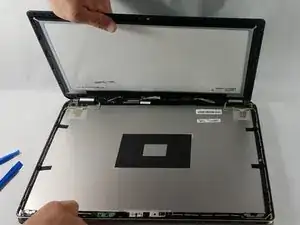
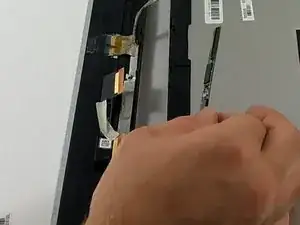
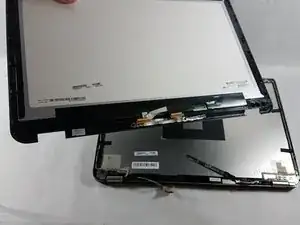
Use a plastic opening tool to pry the front panel away from the screen. First, work across the top edge of the screen assembly, corner to corner.
-
Pry the front panel away from the screen, leaving adjacent edges touching near the hinge of the laptop.
-
-
-
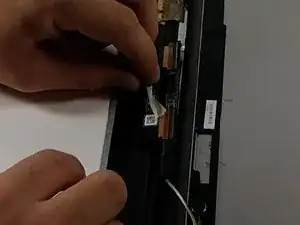
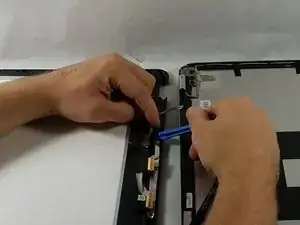
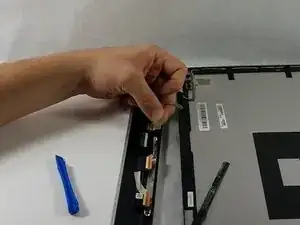
Using your fingers, or plastic opening tools, remove the tape from the two ribbon cables connected by a silicon strip.
-
Use plastic opening tools to pry up on the black lever at the point of attachment of each of the two ribbon cables to the silicon strip.
-
Pull the silicon strip away from the ribbon cables to disconnect it.
-
-
-
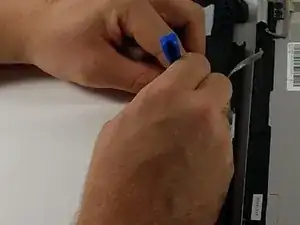
Using your fingers, or plastic opening tools, peel back the tape from the top and bottom of the point of attachment of the remaining wire connecting the screen to the laptop.
-
Grip the wire close to the point of attachment while holding back the loosened pieces of tape.
-
Firmly pull away from the screen, wiggling the wire back and forth slightly.
-

To reassemble your device, follow these instructions in reverse order.
7 commenti
This is more of a TOP Lid replacement how-to than the actual lcd and touch panel replacement. many steps not mentioned here at all. MEH
I feel as though this guide was based on false advertising. “This guide will help return your bubbly or malfunctioning screen back to its vibrant glory days “ Sure, by just replacing the screen. I was hoping for a fix for the “bubbles” in between the screen and the glass that this model is so well known for. I well.
Ditto - looking for how to perhaps remove the glass and reattach w/out air bubbles. Or - which part do I need to replace - minimum, not the whole top half of my laptop. thanks satelite p55w b5112 how to repair air bubbles under screen
mjashley -