Introduzione
This guide will allow you to replace your Toshiba Satellite's wireless connection card.
-
-
Unplug your laptop from any source of power.
-
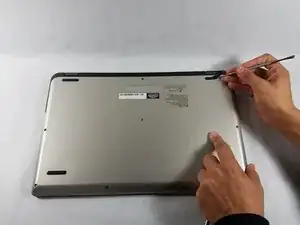
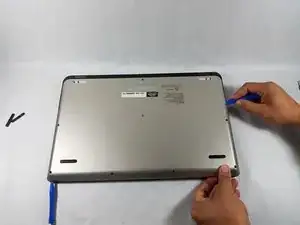
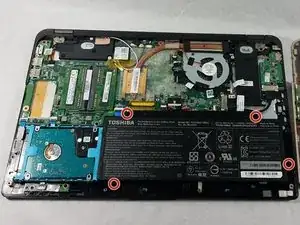
Lay your laptop on a soft, clean surface as shown.
-
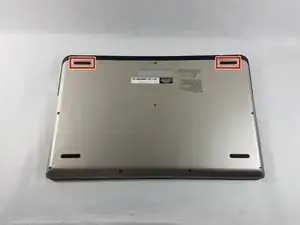
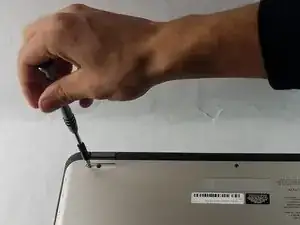
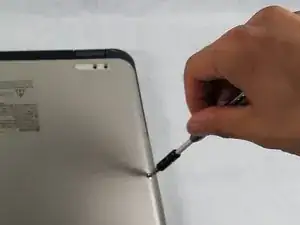
Using the metal spudger, remove the two rubber grips on the bottom face of the laptop, located closest to the hinge.
-
-
-
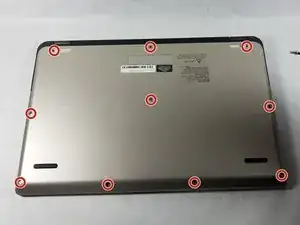
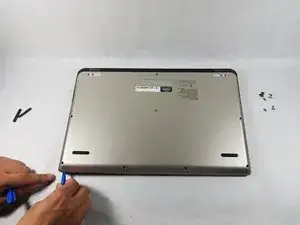
Starting on the edge that is opposite the hinge, use the plastic opening tools to pry the back plate away from the computer.
-
Loosen the three non-hinge edges.
-
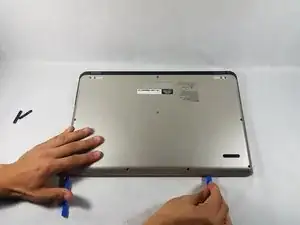
Leave a plastic opening tool in each corner to ensure that one side does not snap closed before you are done opening the others.
-
-
-
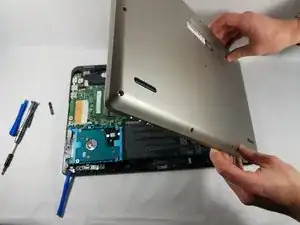
To loosen the back plate, lift it slightly and gently pull it away from the hinge.
-
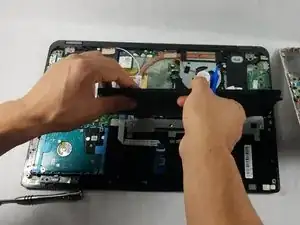
Flip the back plate open towards the power button, but be sure to not pull on the ribbon cable that connects the back plate to the motherboard.
-
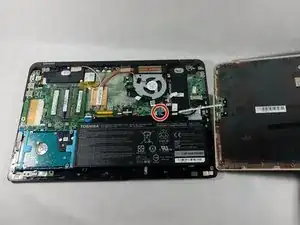
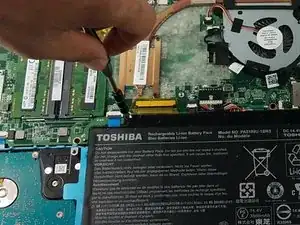
Use a plastic opening tool to detach the side of the ribbon cable connected to the computer by prying up gently on the small black lever at the point of attachment.
-
-
-
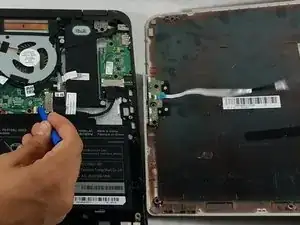
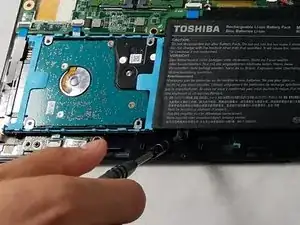
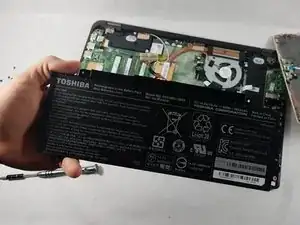
Use a plastic opening tool to lift the side of the battery that is closest to the long edge of the computer.
-
As you are pulling the battery away from the computer, unplug it from the side closest to the short edge of the computer.
-
-
-
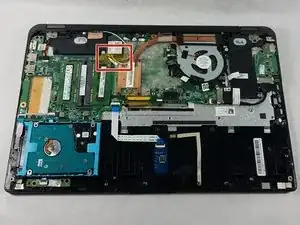
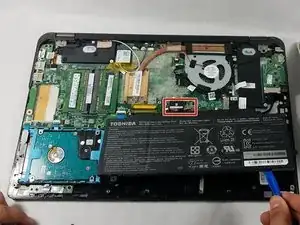
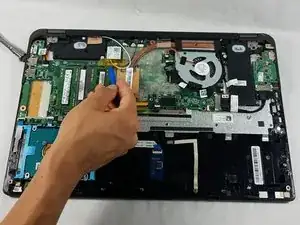
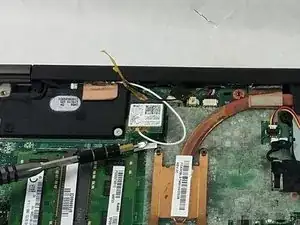
Remove the tape partially covering the wireless card. It may be helpful to do this using a plastic opening tool.
-
-
-
Loosen the 3mm Phillips #0 screw attaching the wireless card to the computer until there is enough room for the wireless card to be lifted past the height of the screw.
-
-
-
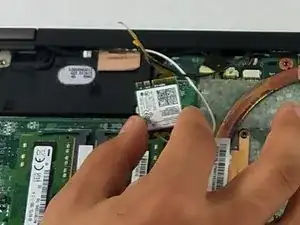
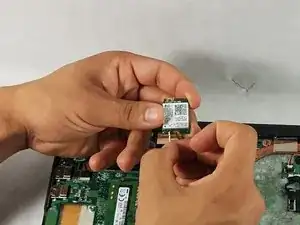
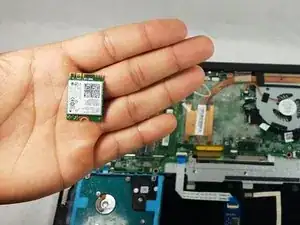
Remove the wireless card from the computer by gently pulling it in the direction of the further long edge of the computer, at an upwards angle.
-
If either of the antenna cables are still attached to the card, gently pull them off with your hands to free them.
-

To reassemble your device, follow these instructions in reverse order.