Introduzione
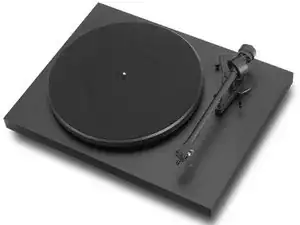
This record player has an integrated preamplifier and analog/digital converter. Unfortunately, the component shielding is very weak and can lead to problems with increased noise floor levels. If unaltered, the turntable may even pick up radio signals.
Ricambi
-
-
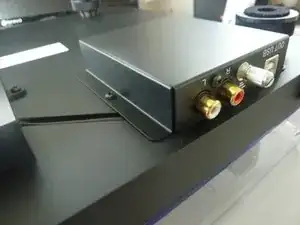
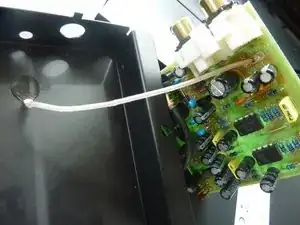
Carefully turn the record player on its head. The preamplifier component is mounted on its bottom side. Unscrew the three philips screws of the metal casing, first the two screws that are fixing it to the wooden base plate, and then the third screw that is located between both RCA connectors.
-
-
-
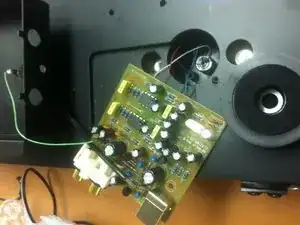
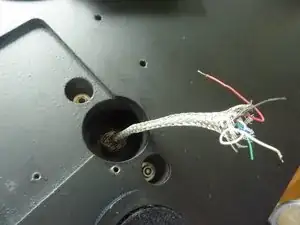
When removing the case cover, you will see two sets of wires: a single cable that's connecting the metal case and the PCB and also a bundle of six thin cables which are coming from the cartridge and are carrying its signals to the preamplifier.
-
Notice that this bundle of wires is quite long and runs unshielded from the tone arm to the circuit board.The signals that are carried by these cables are naturally very weak, only a few milivolts (believe me, this is a very low level signal). Naturally, this audio signal is very sensitive to all kinds of interference.
-
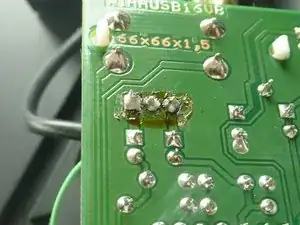
The metal case shields the upper side of the board from electromagnetic interference, but the bottom is directly attached to the wooden plate, and wood is not a very good conductor ;)
-
-
-
Our first step to improve the situation will be to protect the audio signal wires by shielding them with the screen of a coaxial cable.
-
Here, I have used the shielding of a short piece of video cable for this purpose. Cut the outer plastic insulator of the cable and remove it.
-
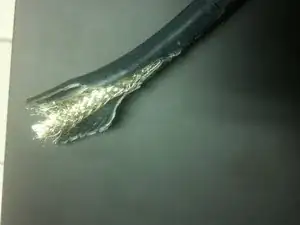
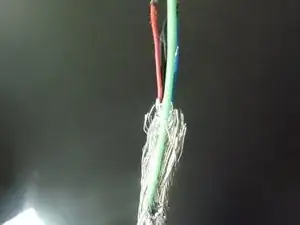
The wire I'm using here is double shielded: There's a braided shield and also a layer of aluminum foil. We are going to use both shielding components. The more the better ;)
-
-
-
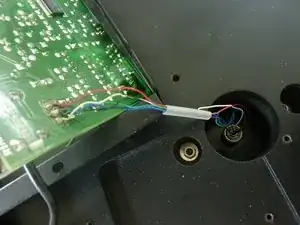
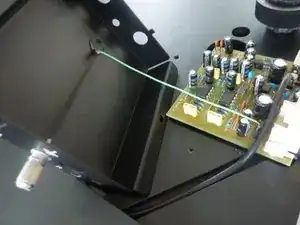
To make your work much easier, unsolder the small cable that joins the board to the case. It's connected to the Ground terminal.
-
-
-
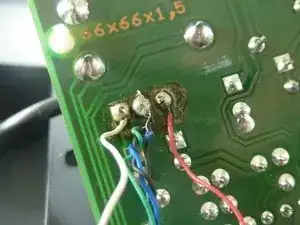
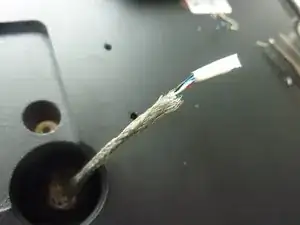
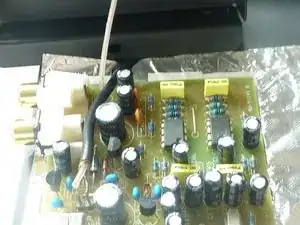
No that you're free to do some precision work, carefully unsolder the cartridge cables. On my board, the solder points on the pcb are in a bad state.
-
These three terminals are the phono input of the preamplifier. I don't like to have these little antennas here. I prefer to take them out.
-
-
-
Next, use a tool (like a thin rod) to roll the aluminum paper into a tube shape . Then thread the cartridge cables into the aluminum tube.
-
-
-
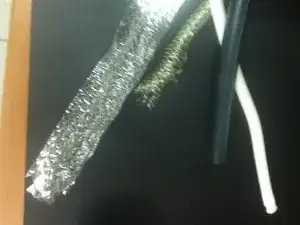
Now, carefully fit the braided screen from the coaxial cable over it all.
-
Solder a small wire to this shield. You will need to connect it to ground later.
-
-
-
To shield the wooden part of the box, we're going to use aluminium paper. Cut a small square, but a bit larger than the cutout shape in the wood. The foil has to be in contact with the black metal box.
-
Use some glue to fix the aluminum to the wood. Important: Protect the part where the printed circuit board might touch it and cause a short circuit. I have done it with insulating tape.
-
-
-
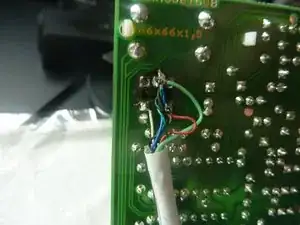
Carefully solder the phono wires back to the pcb. HEY, CAREFULLY!! They are very thin and will carry the audio signal!!
-
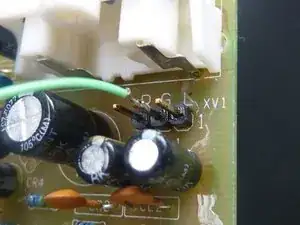
Remember that you have soldered a new cable to the braided shield before? Solder this cable to the ground point on the pcb.
-
-
-
I took the opportunity to change the green cable that joined the metal casing to grounding. I just didn't like it. But this is optional.
-
Now, fix the PCB to the wooden base plate. Use the original black plastic washer for this while being careful that the PCB itself does not touch the aluminum paper.
-
Next, reattach the metal casing with its three screws, first one to fix the PCB to the case and then the two to fix the metal case to the wooden base plate. Remember that the black metal box has to touch the aluminum foil.
-
-
-
Make sure that the aluminum is electrically joined to the metal casing by measuring the resistance between the foil and the box's ground connector.
-
Thats all! Test your improved setup by connecting the turntable audio out to your amplifier. Remember that this record player is a pre amplified turntable and that the correct input on the side of the amplifier is a line input (tape, tuner, aux...) not the phono one!
-


Un commento
You can do all this, or just move your wifi-modem further away from the record player, like I did. But thanks for identifying the problem with the bad shielding!