Introduzione

  1. XcuaWT5TQLWcIWCY
    • Use an opening tool to pry off the lid of the memory card compartment.

  2. pX4NSrRxpXFjsUut
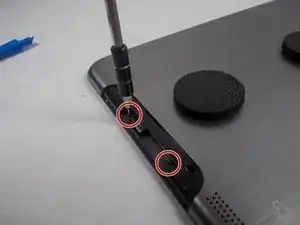
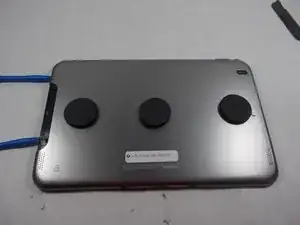
    • Use a Phillips #00 Screwdriver to unscrew the two 1.2mm screws within the compartment. This allows the device to be opened.

    Try adding other pictures that show the location of the screws. Maybe use the circle tool to outline them in an overhead view.

    Brian Wetherell -

  3. JyPJHR1sPAsVSdNk
    JyPJHR1sPAsVSdNk
    ZdiaTTALwtbPV51E
    • Insert opening tools to partially pry open the cover.

  4. qLV1fJYZCu2JYqeN
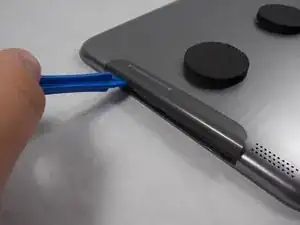
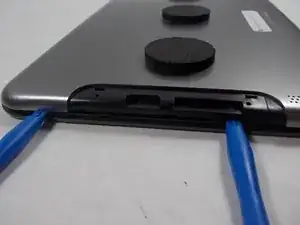
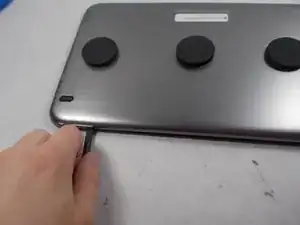
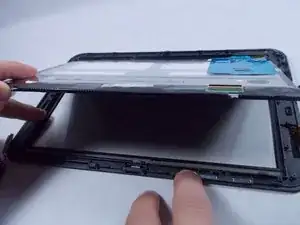
    • With the cover being partially held open, slide a spudger around the seam to pry off the cover.

  5. VwE4w4mXXNaywmF1
    • Remove the tape that is holding the battery in place.

    If you add a few more pictures, the guide will flow better. The image in this step is a big jump from the last image and could potentially confuse readers.

    Brian Wetherell -

  6. VqeNNUoLPBBdSZQM
    • Unscrew the five 1.2mm screws that connect the circuit board to the device.

  7. DmTCvwPXyshUiQUR
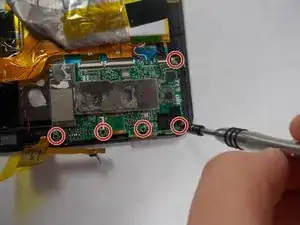
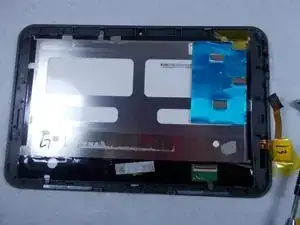
    • There are three silver tabs around the internal components that connect it to the frame with screws. Unscrew these screws to remove the internal components.

  8. BG2Wi6BFTXf45DUQ
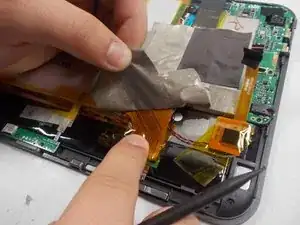
    • Carefully lift the internal components from the screen and place them into a replacement screen.

    How to lift the internal components from the screen?

    Alfred H. Schaefer -

Conclusione

To reassemble your device, follow instructions 1-7 in reverse order.

Evan Peterson

Membro da: 08/03/17

320 Reputazione

Un commento

All the instruction are fine to follow except the last one, step 8. What tool to use to lift the internal components from the screen frame or where to start to lift without damage to the internal components?

Alfred H. Schaefer -