Introduzione
Often, the process of restringing a violin can be tedious, dangerous, and confusing for beginning musicians. This instructional will outline the exact steps you should take to get your instrument playing again. The breaking of a string can seem like a tragedy at first, but as these steps show, it truly is a simple and easy task that will take less than thirty minutes, even in the first time around.
-
-
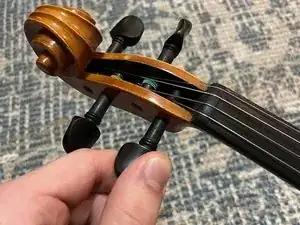
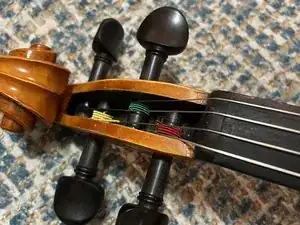
The first step in restringing is unstringing. Starting at the scroll of the violin, you should turn the peg of the G string toward the body of the violin. This will begin to release the tension of the string.
-
As you do this, be sure to take it slow. Loosening one string completely before starting on the others can create unequal tension on the bridge. Instead, take it one or two full rotations at a time, then move to the next string. You should repeat this process until all strings have released their tension on the bridge.
-
-
-
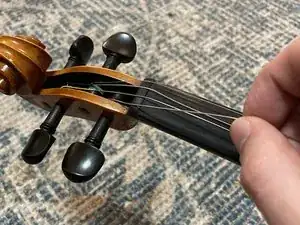
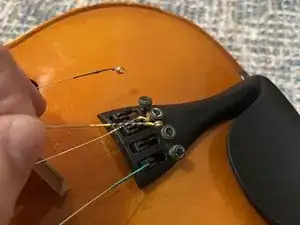
To remove the string from the scroll peg of the violin, you should pull the loosened string out of the hole located in the peg. Be gentile in pulling. If the string does not release by easily pulling, you should rotate the peg until the string is uncoiled completely.
-
After removing each string from the scroll peg, you should remove the ball end of the string from the fine tuners. To do this, slide the ball end of the string out of the slot it sits in. This step can sometimes happen automatically once the scroll peg end of the string is removed.
-
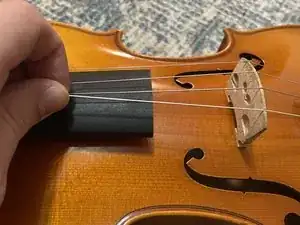
It is important to note that during this step, your bridge will fall out of position. Do not worry, as the bridge is not attached to the violin. It will be important for you to reposition the bridge in a following step, so keep it close by.
-
-
-
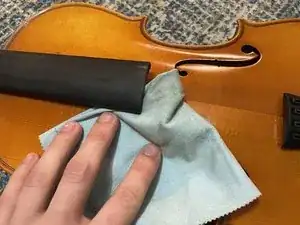
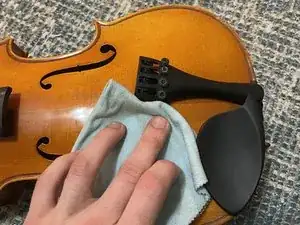
Once the strings are removed, it is a good idea for you to clean your violin. With the strings being removed, accessing hard to reach areas becomes easier. When cleaning, you should use a microfiber cloth to remove any dust or rosin buildup around the violin.
-
-
-
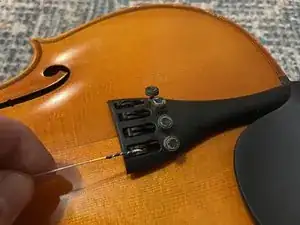
When restringing, you should start with the fine tuners of the violin. Slide the ball of the string back into the fine tuner, being sure that you place the correct string in each fine tuner.
-
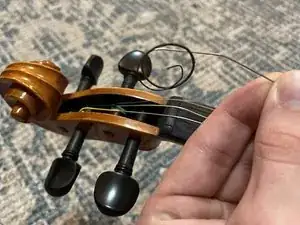
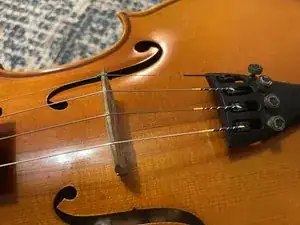
After securing the ball of the string into the fine tuner, you should run the string over the corresponding slot in the bridge. Run the string up and to the corresponding peg.
-
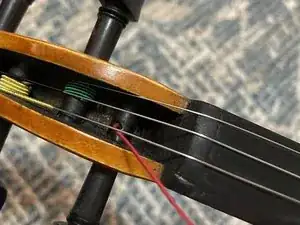
The outside strings, G and E, are to be inserted into the peg holes closest to the body of the violin. The middle strings, D and A, should be inserted into the further placed peg holes.
-
-
-
Once the strings are inserted into their respective holes, you should begin the tightening process. You should do this by repeating a similar method to the way you loosened the strings. Starting with the lowest, make one to two full rotations before moving to the next. Repeat this until the strings have created equal tension on the bridge.
-
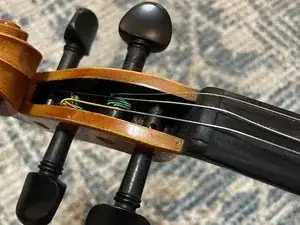
Repositioning the bridge will be important for you to do in this step. Place the bridge under the strings once they have been wound a few times around the peg. As you tighten the strings, be sure the bridge does not move out of its respective spot.
-
-
-
It is important that you create enough tension on the bridge before tuning. If the bridge is unable to move after tightening, you can be sure that enough tension has been created.
-
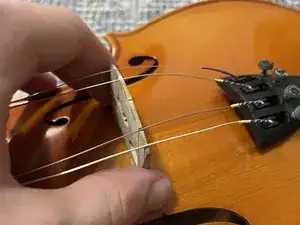
You can test this tension by giving the strings a light pull. If the string does not move off the bridge easily, you have created enough tension to tune.
-

Hopefully, by following the steps listed in this guide, you were able to successfully replace your strings to start playing again! If you've had any trouble or have questions about specifics, a frequently asked questions document is listed below.
Un commento
Never remove all the strings at once, the sound post may collapse because the strings are what hold the bridge in place.