Introduzione
This guide is here to assist you in removing and replacing the battery in your device. If your device is not holding charge for very long, and not turning on at all, there is a good chance that your battery needs to be replaced. This requires some skills, just make sure to be gentle with the device as you are using strong tools.
Warning: If the battery is swollen and is unusually hot or smells bad it is an imminent fire risk and should be placed in a fireproof container and disposed of properly.
-
-
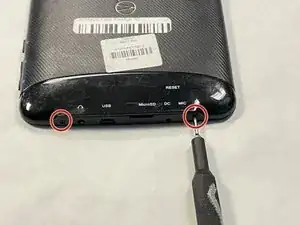
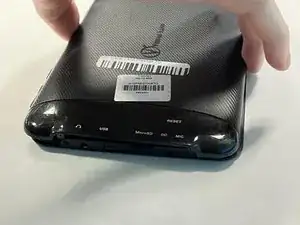
Lay your device face-down.
-
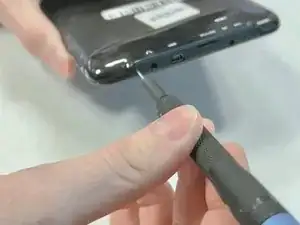
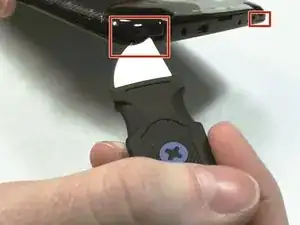
Use a Phillips #000 screwdriver to remove the two 4 mm screws next to the AUX port and microphone.
-
-
-
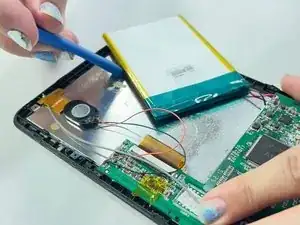
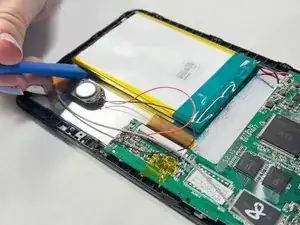
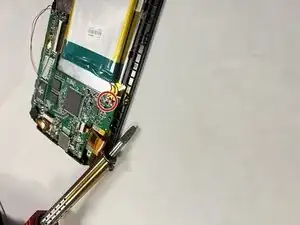
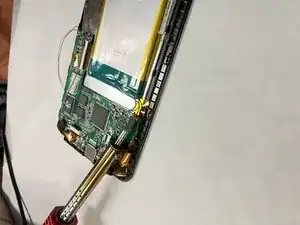
Take your soldering gun and carefully remove the red and black wire connecting the battery to the motherboard.
-

For optimal performance, calibrate your newly installed battery after completing this guide.
Compare your new replacement part to the original part—you may need to transfer remaining components or remove adhesive backings from the new part before installing.
To reassemble your device, follow the above steps in reverse order.
Take your e-waste to an R2 or e-Stewards certified recycler.