Introduzione

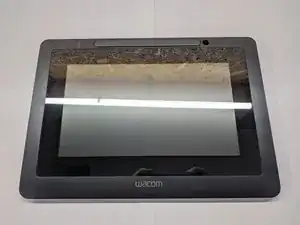
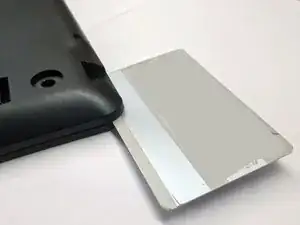
DTU-1031X is a fairly easy device to disassemble. The most challenging part of the disassembly process is detaching the bottom plastic cover secured with quite large plastic clips.

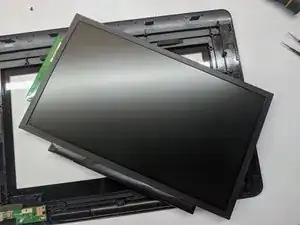
The display is not glued to the front glass.

All internal parts are held together with common phillips screws.

  1. I2xSrq5KMEyhVVXb
    • Place the tablet with the screen facing down the surface.

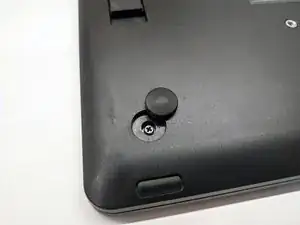
    • (Optional) Remove the plastic dummy plug in the pen holder

  2. fIokJSMaUO2C5Fdk
    fIokJSMaUO2C5Fdk
    5qsqQkqp2rSsSkPs
    • Remove 4 rubber feet

    • Unscrew 4 Phillips #0screws

  3. xvp6cPjBjuDhrmZH
    xvp6cPjBjuDhrmZH
    ITyTqFMQaSHB2fG3
    • Unclip the bottom casing

    • The clips are very strong and require substantial amount of force to unclip

    • The easiest start point to start prying is around the USB port

    • See the second image to locate the position of the clips

  4. MtTF5pikwaYpL1II
    MtTF5pikwaYpL1II
    yDpXmQKoY1VgOnuX
    p1dG1rBFUDfXsLJY
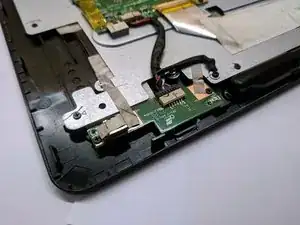
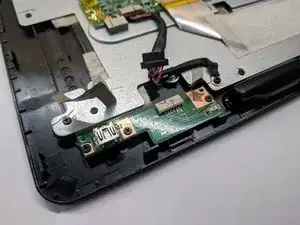
    • To remove the USB daughter board, unscrew 3 Philips #00 screws

    • One of the screws are hiding under the tape

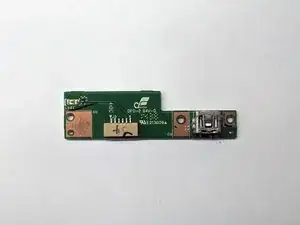
    • Disconnect the cable and remove the board

  5. En4AeSDgApVXSZ55
    En4AeSDgApVXSZ55
    cdEkefxnXJWo3BMr
    XvV4RkUCMM5Vnkri
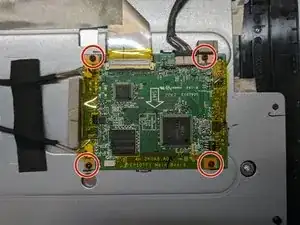
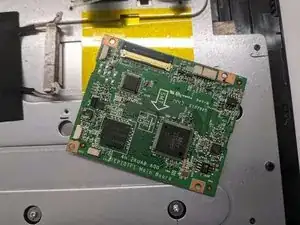
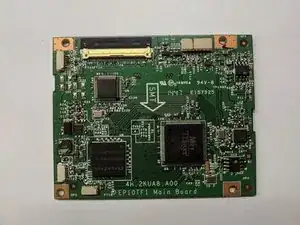
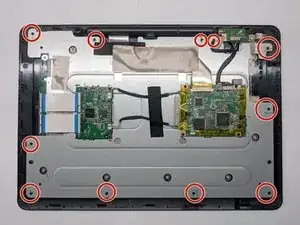
    • To remove the mainboard, unscrew 4 Phillips #00 screws

    • Removal of the yellow kapton tape will be required

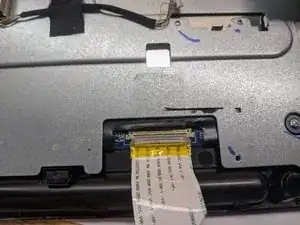
    • Unplug the 40-pin LVDS flex cable

    • The transparent tape holding the 40-pin LVDS cable to the mainboard is a part of the cable, and should not be separated

    • Unplug two cables connecting the digitizer daughter board to mainboard

    • Unplug the USB daughter board cable

  6. TipsbAYlvtycuuXf
    TipsbAYlvtycuuXf
    5ZOVHCZAPXQdNXJS
    V5TTVSqhN42tBHBs
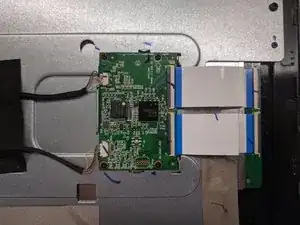
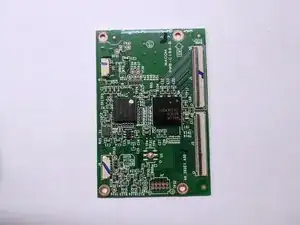
    • To remove the digitizer daughter board, unscrew 4 Phillips #00 screws

    • Unclip two flex cables connecting the digitizer to the digitizer board

    • Unclipped connector will have it's black plastic part facing up

    • Disconnect two cables connecting the daugher board with the mainboard

  7. dPpybyVjLgtXJxJw
    dPpybyVjLgtXJxJw
    XpqFTxjDijIgtfLb
    • Unplug the 40-pin LVDS cable from the LCD display

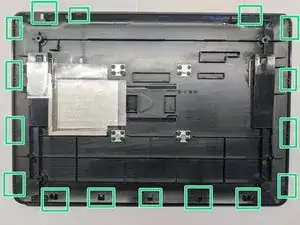
    • Unscrew 11 Phillips #00 screws holding the metal piece to the front plastic casing

  8. IjhW3ap1FDYKqIUA
    IjhW3ap1FDYKqIUA
    FeQ3qYExVIhTVQmr
    GEAmH1gGtTZO6WQ1
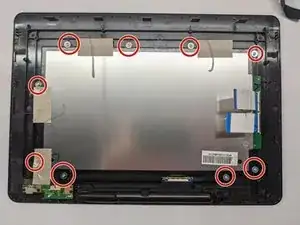
    • Unscrew 9 wide Phillips #00 screws holding the LCD panel to the front plastic casing

    • One of the screws is hiding under the metalic tape

    • The LCD display will now be loose, and can be removed

    • The front glass is glued to the front plastic casing

Conclusione

To reassemble your device, follow these instructions in reverse order.

00004707

Membro da: 23/07/20

1055 Reputazione

0 commenti