Introduzione

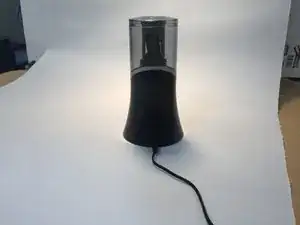
In this guide, you will learn how to remove the outer casing of the Westcott iPoint Evolution pencil sharpener. Use this guide to replace the casing or to access the sharpener's internal components.

  1. YgLQVyIIpBVCinjP
    • Step 1: Start with the back of the pencil sharpener facing you.

    • This allows you to locate the power source.

  2. UVX1PppRGYEgGTQ1
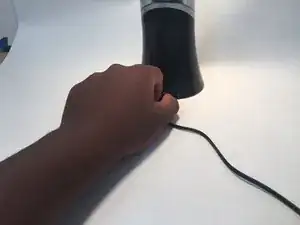
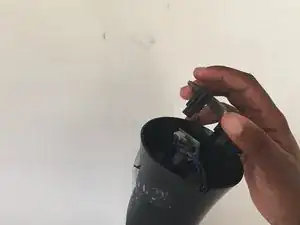
    • Step 2: Grab the end of the plug located at the bottom of the sharpener and pull it out gently.

  3. 1y2YSIZTq3GwBa1Z
    1y2YSIZTq3GwBa1Z
    gePKgUp1NuMVQWsF
    • There are three parts of the sharpener.

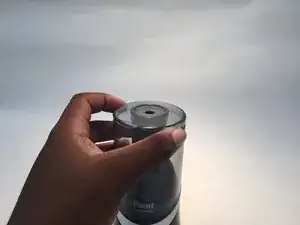
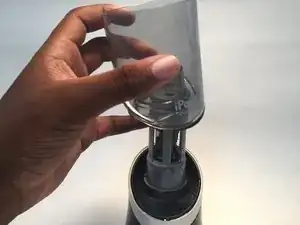
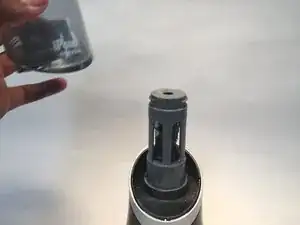
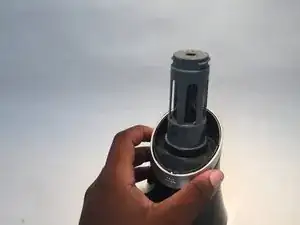
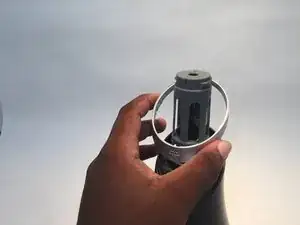
    • Step 3: Grab the very top of the sharpener, twist it to the right and lift it up to remove it.

  4. d1KVNKeKQdLwoChL
    d1KVNKeKQdLwoChL
    BVMJspbLRfYTWOtT
    ZqnQRGPHgOwlsYFy
    • Step 4: Grab the center of the sharpener and lift it up to remove the piece.

    This is stuck on my battery operated version

    Travis Blair -

    Travis, for the battery-powered model, that outer casing is screwed from the inside. You need to remove the four (hidden) screws on the bottom of the unit first. Two of them are in the batt. compartment -> open it, pull out the batteries, the screws are at the bottom. They go out with a #0 Phillips. The other two screws are hidden under the rubber pegs glued to the bottom panel. Remove them, and you’ll reveal a pair of “tunnels” where the screws are hiding. You can remove those with a #0 Phillips too.

    Once you do all 4 screws, the bottom panel will let go, and you will be able to remove the transparent case from step 4, the ring from step 5, and the rest of the entire sharpener.

    Hope this helps, I just discovered this myself while trying to fix my batt-powered iPoint, which stopped spinning (the plastic gear that links the motor and the sharpener got loose, plus I have rust on the battery contacts that I needed to wipe out)

    Martin Scavone -

  5. TmDxTKv3bAVcETBC
    TmDxTKv3bAVcETBC
    wtcPerkmNjRxYtFW
    aOLLgqQcZCLIDIOq
    • Step 5: Remove the small ring that is around the sharpener.

    • This piece is below the center of the sharpener that you just removed.

  6. HDUnVQgmDAtDAE4j
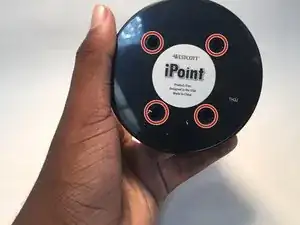
    • Step 6: Flip the pencil sharpener upside down.

    • Locate the four screws on the bottom of the sharpener.

  7. VYd6EwoyJG5lF1GG
    • Step 7: Take a screwdriver and unscrew all of the screws on the bottom.

  8. dxoXMRc6cxIKP5X4
    • Step 8: After all the screws are removed gently take off the bottom of the sharpener.

  9. koBs4cymsStHGXWG
    • Step 9: Carefully lift the lid off of the sharpener.

Conclusione

To reassemble your device, follow these instructions in reverse order.

Lilly

Membro da: 02/06/16

167 Reputazione

0 commenti