Introduzione

Use this guide to replace the blower wheel on your Whirlpool dryer.

The blower wheel is a critical component that pulls the heated air through your dryer as it spins. It can be damaged by small pieces of laundry like socks or gloves that lodge in it and cause jams or breaks.

This guide will work for most Whirlpool dryers. This guide is written with a model WED87HED dryer. If you have a different model, you may encounter some minor disassembly differences, but the overall repair process will be the same.

  1. cRUlfkgf2YwoDST3
    • Before you begin your repair, unplug your dryer.

    • Your power cord may have four prongs rather than three. The additional prong is a ground connection.

  2. u4WTU4KTBjf1GgPm
    u4WTU4KTBjf1GgPm
    KmGeNIaHMQTiHSWW
    UyNbTg6t3WxLV6FM
    • Throughout this guide, keep track of each screw and reinstall it exactly where it came from.

    • Use a nut driver to remove the screws securing the top panel to the rear panel bracket.

  3. gbDdHJLNo1Iiq3Y1
    gbDdHJLNo1Iiq3Y1
    vxW1WX6cffbgMuaD
    • Grasp the top and slide it 1/2 to 1 inch toward the rear of the machine.

  4. 2iNpUqjOIuDIiEQU
    2iNpUqjOIuDIiEQU
    IkW1XSsjMSmLOsT2
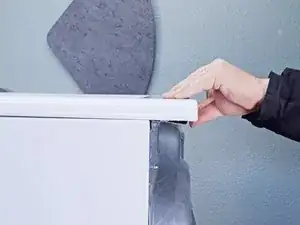
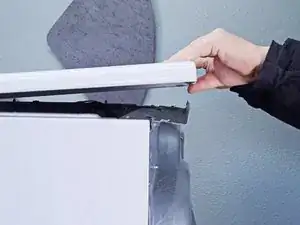
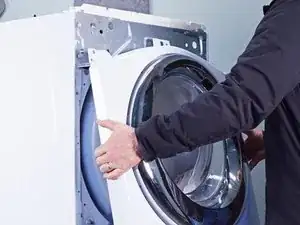
    • Lift the top panel upward to separate it from the chassis.

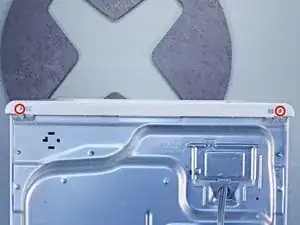
    • Remove the top panel from the machine.

  5. 4EqwYWjHdXpSDP2P
    4EqwYWjHdXpSDP2P
    I5XdQIMZQChnl4Ap
    • Disconnect the control panel cable from the main board.

  6. O21IMM2KKfDgSXgW
    O21IMM2KKfDgSXgW
    2i3v6ir4JGoNnvAC
    • Disconnect the drum light connector.

  7. vgpvSUy3LVl3MKa2
    vgpvSUy3LVl3MKa2
    5KH3EZG4GCmRwFVH
    • Remove the screws securing the control panel.

  8. oZUJsARu4qoKMFBq
    oZUJsARu4qoKMFBq
    OQBZEtdPmGqahirE
    kBuvEfxxfEZJiHPk
    • Lift the control panel up and tilt it away from the chassis to remove it.

    • Make sure to thread the cable through the hole in the chassis.

    • During reassembly, thread the cable through its proper hole before reinstalling the control panel.

  9. V2co3pYWneoWa61J
    V2co3pYWneoWa61J
    VUqqRMDJjqT2Ai4u
    VwHKBcRPmb1AUmwD
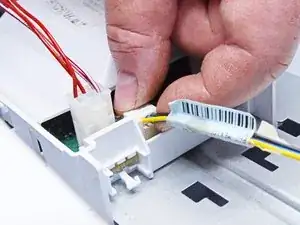
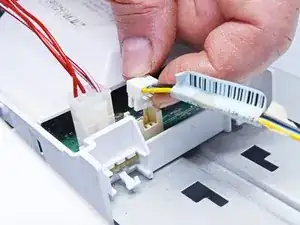
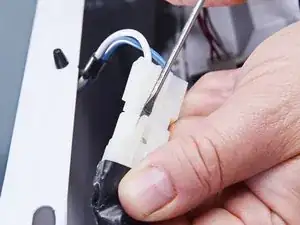
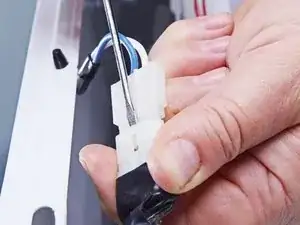
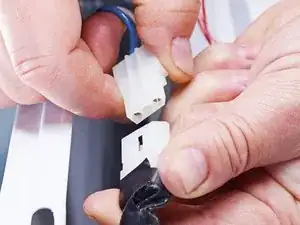
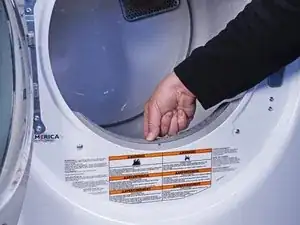
    • Use a small flat blade screwdriver or a spudger to unlatch both sides of the door switch connector.

    • Unplug the connector.

  10. QePkFLH1cNs1yBsK
    QePkFLH1cNs1yBsK
    Kk2pJqdhg4VTXol1
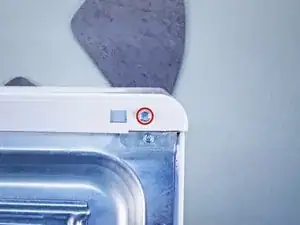
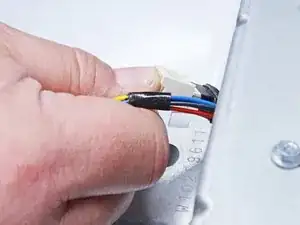
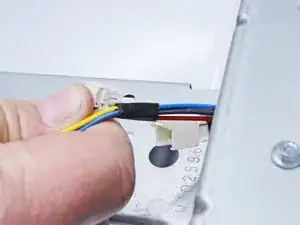
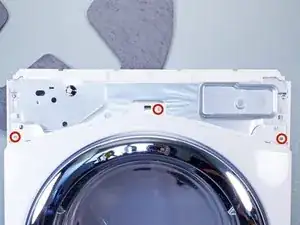
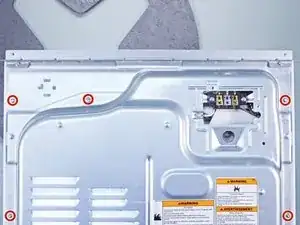
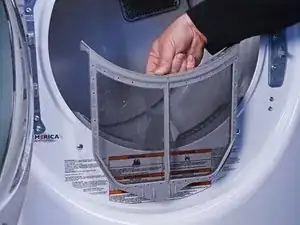
    • Remove the upper front panel sheet metal screws.

    • Tilt the machine backwards and prop it securely, or have a friend hold it.

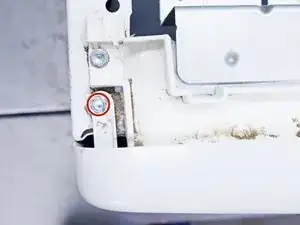
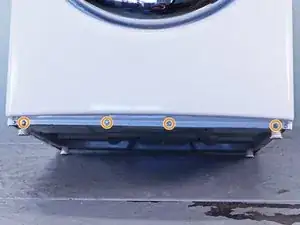
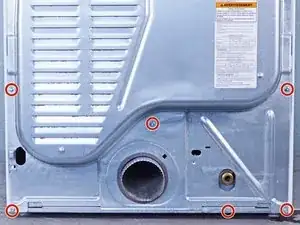
    • Remove the sheet metal screws on the bottom edge of the panel.

  11. dWOkVNOZkDNLaBf6
    • Remove the screws inside the door area below the drum opening.

  12. sdiCf4sNOddWCGtb
    sdiCf4sNOddWCGtb
    1yQ6y3WfZGi4oZSD
    m1XlPkKMN2aslONt
    • The panel is heavy and awkward. You may want to have a friend help you with this step.

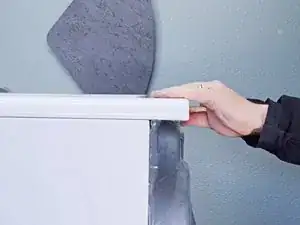
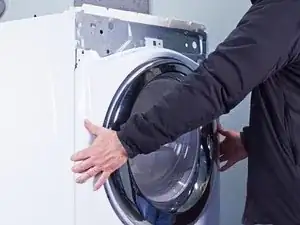
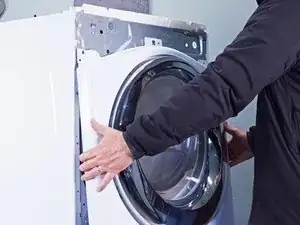
    • Pull the bottom of the panel away from the chassis about two to three inches.

    • Lift the front panel off the small tabs on the chassis near the top of the panel and remove it.

    • Make sure you don't snag the door switch wire harness as you remove the panel.

  13. iFHOna1BIyCioX1h
    • Remove the cover plate screw.

  14. ATYQk5mB24lA3KPa
    ATYQk5mB24lA3KPa
    KeXHKQ4qTAEJrFBL
    MqMWNbLMQumnVG2d
    • Remove the cover plate.

  15. RvZLHJnHwNREikkH
    • Remove the screws securing the cord cables.

    • Mark the cables with a permanent marker if needed and take a picture or draw a diagram.

  16. XNtNBvTWyff5sjCS
    XNtNBvTWyff5sjCS
    iujv6sMmTmTOLdNM
    4NTgnK4UBNPllnpK
    • Pull the cord carefully down through the round hole.

    • Make sure you replace the connections correctly when you reassemble.

  17. jqyNtJRejYto6Qju
    • Remove the green ground screw.

    • Remove the cord terminal block screws.

  18. 4fxUgdAQpVHZDPiK
    4fxUgdAQpVHZDPiK
    YN4cgQTNFnGi2hEi
    IaF4lvHiVtIDuPLE
    • Move the cord terminal block behind the rear panel.

  19. GnGcGqxEc1nEJvUX
    GnGcGqxEc1nEJvUX
    ByuOEecsQBxpDQMH
    • Remove the rear panel screws.

    • Throughout this guide, keep track of each screw and reinstall it exactly where it came from.

  20. GO2EGBXmJjoGguZm
    GO2EGBXmJjoGguZm
    3wCTxnHVqQcZRCqT
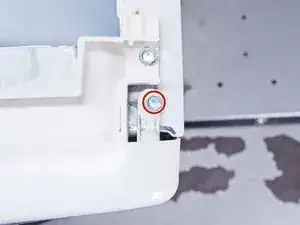
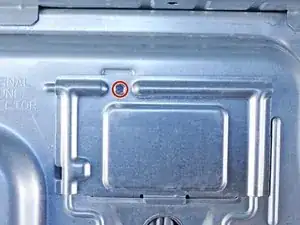
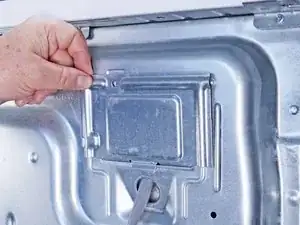
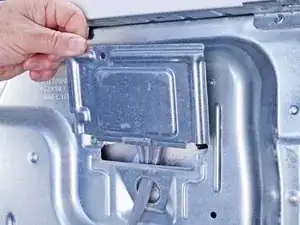
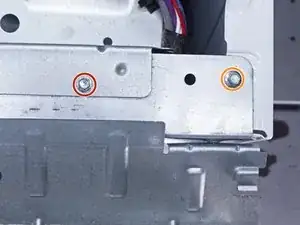
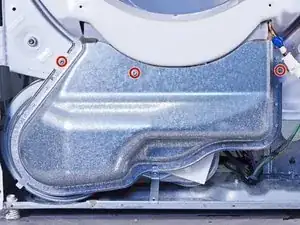
    • Remove the screw holding the main board bracket to the chassis.

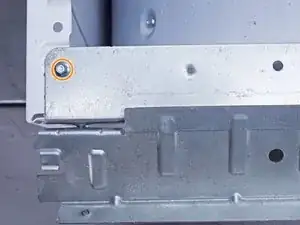
    • Remove the screws from the top rear of the machine.

  21. yF2gPkrEnXYrlhno
    yF2gPkrEnXYrlhno
    2fCyCuNe3q1nXrGy
    tFwGfKPAoOwGwsVX
    • Put on gloves before continuing, as the rear panel is sharp.

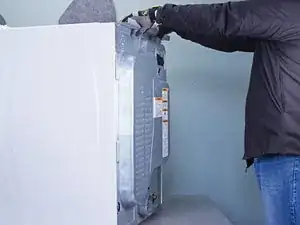
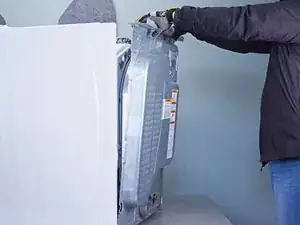
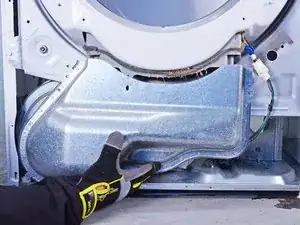
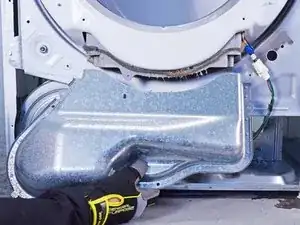
    • Lift the panel about 1/2 inch and tilt it to the rear to release it from the vent pipe.

    • Slide the panel off the vent pipe and remove it.

  22. HyZCKYcMrvXZWIfP
    HyZCKYcMrvXZWIfP
    hWFbDcAvvGgIonHg
    • During reassembly, perform the following:

    • Make sure that the vent pipe is fitted into the collar on the panel.

    • Make sure the tabs at the bottom are aligned to the bottom rim of the chassis.

    • Position the panel so its screw holes match with the chassis.

  23. bBCon6w2G4mqCQqO
    bBCon6w2G4mqCQqO
    uEbKtyMWOSdiScaw
    ll5yb1HKbbTiJupL
    • Pull the lint filter up out of the lint filter slot to remove it.

    • These photos show the front panel in place, but the procedure is the same if the front panel is already removed.

  24. yNhxUKvx5bN1SHXm
    • Remove the mounting screws securing the lint filter housing.

  25. IUCCJuNWNrnnqLBH
    IUCCJuNWNrnnqLBH
    ftllH3yugLZuZNwb
    BwgTjTLnjY1gaHlO
    • Pull the filter housing outward from the chassis and down to remove it.

  26. m6IsuHVmdBMZcmTm
    • The blower cover is the round plate that serves as the inlet to the blower.

    • Unfasten the blower cover screw.

  27. PavjE3dyxZKOxoZb
    PavjE3dyxZKOxoZb
    5VHXtSJRYt3XK44A
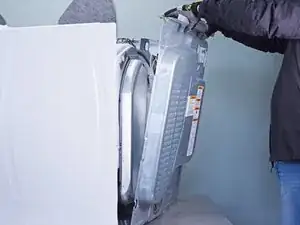
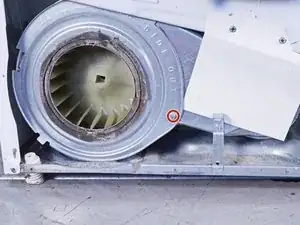
    • Lift the blower cover slightly and slide it to free the tabs which hold it in place.

    • Remove the blower cover.

    • The photos show the lower front bulkhead in place. The bulkhead doesn't affect the blower cover removal and reassembly.

  28. DasxXVvMC4NmIERH
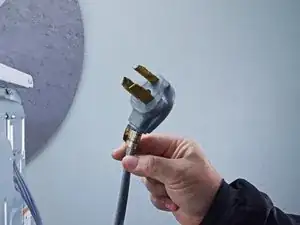
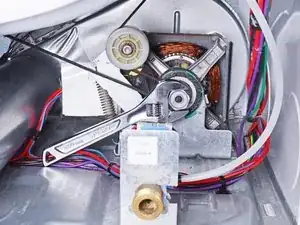
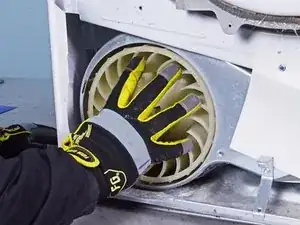
    • Move to the rear of the machine to access the drive shaft.

    • Hold the drive shaft with an adjustable wrench on the hex portion of the drum drive pulley.

    • The threads on the blower wheel are left-hand threads. The wrench must be installed to the left of the pulley to keep it from rotating counterclockwise.

  29. KuvMaSEHJHLOxJwa
    KuvMaSEHJHLOxJwa
    ngENWB1kVxmo25v1
    Yqq6Oeqw4hZtRWj5
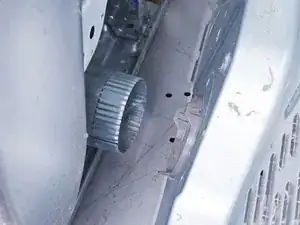
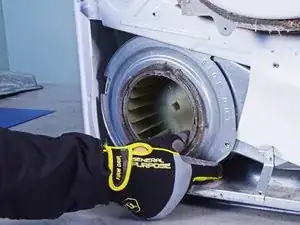
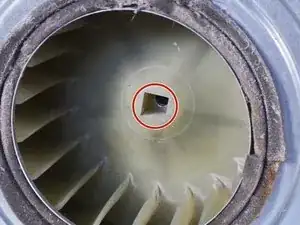
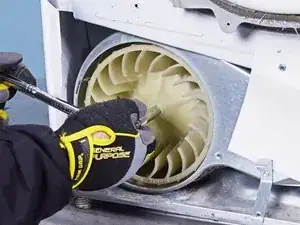
    • Use a socket wrench with an extension bar and no socket to fit into the square hole on the blower wheel.

    • Turn the wheel clockwise (to the right) to free it enough to remove it by hand.

  30. KbakMhSWcTontkmn
    KbakMhSWcTontkmn
    J1TQsoSSSTfUOET4
    FaIpLFMQETcwqODa
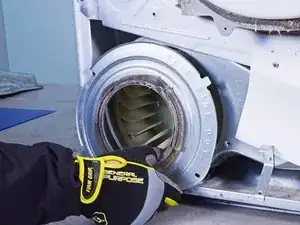
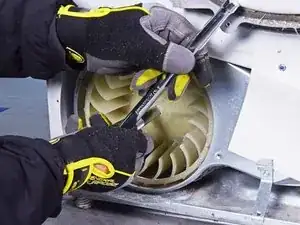
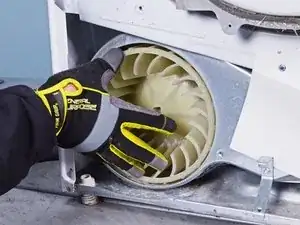
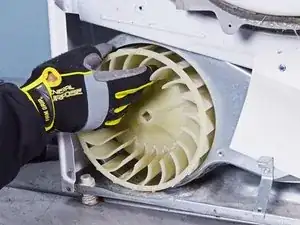
    • Rotate the blower wheel clockwise by hand until it's free from the motor shaft.

    • Remove the wheel from the blower housing.

Conclusione

To reassemble your device, follow these instructions in reverse order.

Repair didn’t go as planned? Ask our Answers community for help.

Bill Gilbert

Membro da: 30/06/22

29837 Reputazione

0 commenti