Introduzione

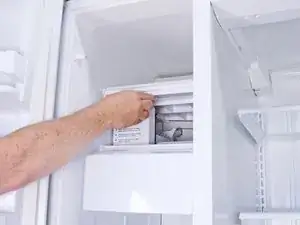
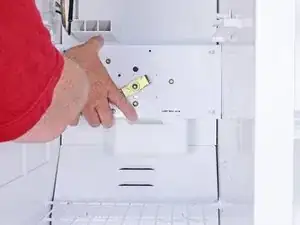
Use this guide to replace the auger motor in an older Whirlpool side‑by‑side refrigerator. The procedure involves disconnecting the motor assembly, removing the drive blade, and detaching the motor from the assembly.

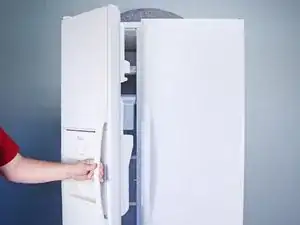
The auger motor drives the ice auger in the ice bucket to dispense ice through the door.

If the auger motor fails the refrigerator will not dispense ice, either cubed or crushed.

This guide is based on a Whirlpool Model ED5FTGXKQ02 Refrigerator.

  1. GAB31IUS1UwNdE6E
    • Before you begin your repair, perform the following:

    • Turn off your main water supply (if connected)

    • Unplug your device

  2. UkZBqjBQ1tvrfHyQ
    • Pull the handle of the freezer door towards you to open it.

  3. P4UhiOSxGKWTJYjO
    • Pull the handle of the refrigerator door towards you to open it.

  4. CLejNaNOoEinVSvv
    CLejNaNOoEinVSvv
    TT4gqeZ2pTtrM4Hd
    A1O6JFKPJKqvRl6S
    • Lift the ice maker flap.

    • Slide the ice maker flap into its slot.

  5. 4fRjPvYxtOl2aiVk
    4fRjPvYxtOl2aiVk
    BmBy55QQhPJaUFBR
    qdlvdWtUiS152Vsq
    • Llift the ice bucket slightly and pull it towards you to remove it.

  6. aISRZKsEFoohynrx
    • Use a nut driver to remove the screws securing the auger motor assembly.

    • For ease of photographing the process, the ice maker has been removed. This is not necessary to complete this guide.

  7. UPCg3rvOAmJqcFcA
    UPCg3rvOAmJqcFcA
    NkmH56CBeCmkDkkt
    d4xucBXWbFgTBmgL
    • Move the auger assembly outward and lower it to rest on the shelf below.

  8. aNMa2NSYUvQbTHxc
    aNMa2NSYUvQbTHxc
    TNDkZQgulPSDWtbi
    BwrB1Y1FFPPcUbcv
    • The auger motor assembly connector is secured by a tab at its lower edge.

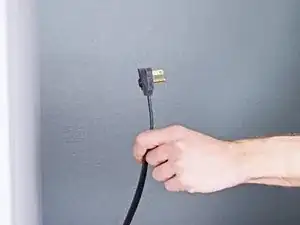
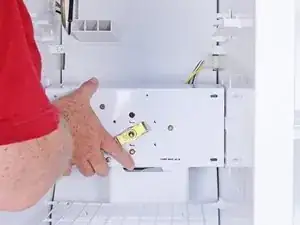
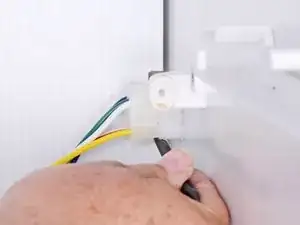
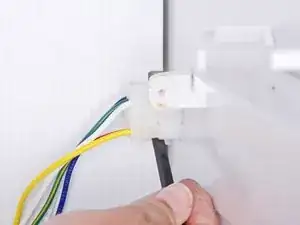
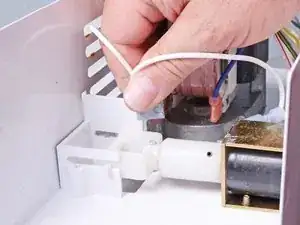
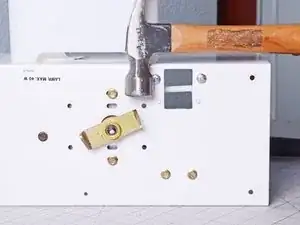
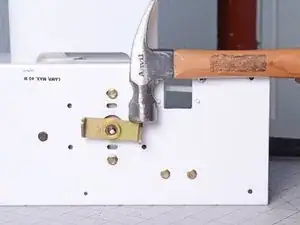
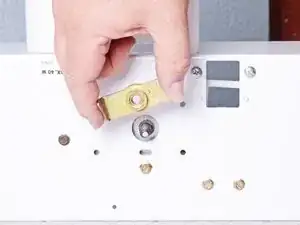
    • Use your fingers, a spudger, or a small flathead screwdriver to pry and release the tab on the connector.

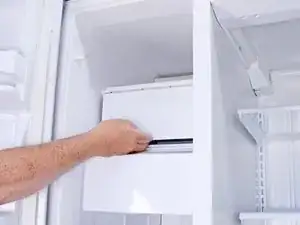
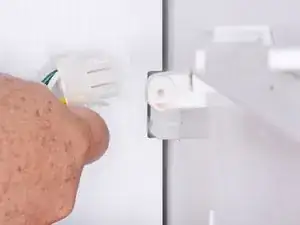
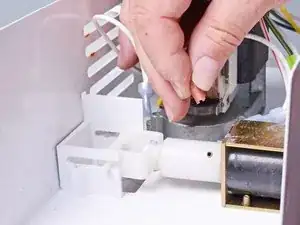
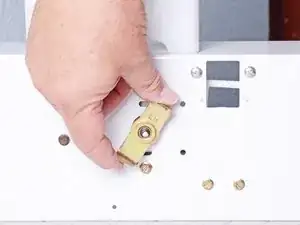
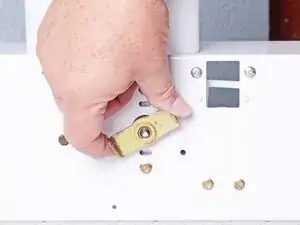
    • Pull the auger motor assembly connector straight out to disconnect it.

  9. bVDPFd1fHaAbRZJf
    bVDPFd1fHaAbRZJf
    QA3JwHS3NjDF52jJ
    • Remove the auger motor assembly from the freezer.

  10. F5IiYRMXFNJnL2XS
    F5IiYRMXFNJnL2XS
    UpnlcYwRCMb1fClC
    dQWpL6p6JG3Kb4uL
    • Pull the spade connectors on the auger motor to disconnect them.

  11. CoUCGXvYPKcEr5wK
    CoUCGXvYPKcEr5wK
    rmN1XsJkprxUKN1g
    • Use long nose pliers to pull and disconnect the ground connector on the auger motor.

  12. skwaEPxSKwfKl3Ja
    skwaEPxSKwfKl3Ja
    KdhVja31CLDYiEfu
    • The auger motor drive blade is removed by turning it clockwise.

    • Use a hammer to tap the blade clockwise to break it free.

  13. sZaYDKBfAL6LLYFu
    sZaYDKBfAL6LLYFu
    AW2QJqtnGpDb1Zsd
    xvhH4FHWcEeCPg6r
    • Turn the blade clockwise and remove it.

  14. AGvypaYUKMDHCqwK
    AGvypaYUKMDHCqwK
    hyILXnLLCYqDcNBg
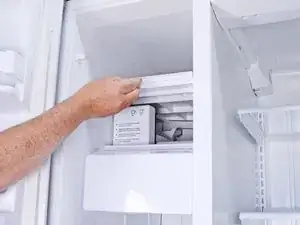
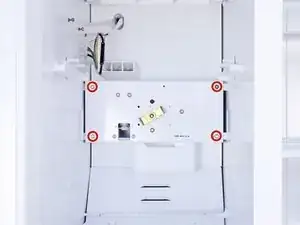
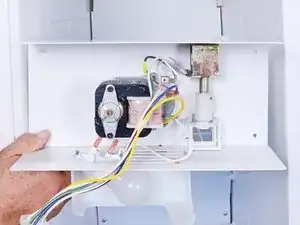
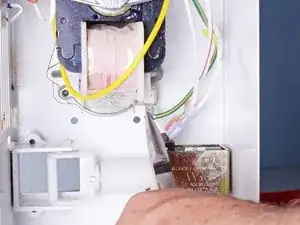
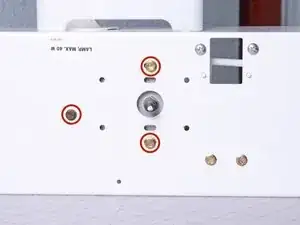
    • Use a nut driver to remove the screws securing the auger motor to the auger motor assembly.

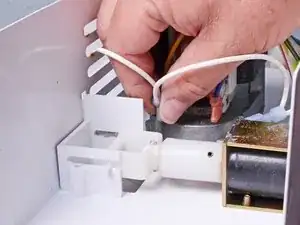
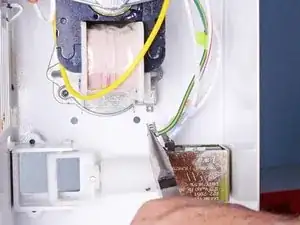
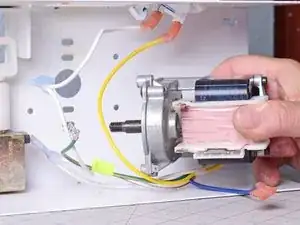
    • Remove the auger motor from the auger motor assembly.

Conclusione

To reassemble your device, follow these instructions in reverse order.

Repair didn’t go as planned? Ask our Answers community for help.

Take your e-waste to an R2 or e-Stewards certified recycler.

Bill Gilbert

Membro da: 30/06/22

29837 Reputazione

0 commenti