Introduzione

  1. GAB31IUS1UwNdE6E
    • Before you begin your repair, perform the following:

    • Turn off your main water supply

    • Unplug your device

  2. SYZt1J6m6HjBsin2
    SYZt1J6m6HjBsin2
    NdAKltEPniudWBAJ
    • The dispenser panel screws are located under the dispenser as if you're looking up into the dispenser tube (where the ice cubes and water come out).

    • Remove the screw(s) securing the two dispenser panels.

  3. qiGV1bA5RtGmGPQT
    qiGV1bA5RtGmGPQT
    Hm1pGJiPHQiYPVCf
    YdGtVvWoV1AIyYST
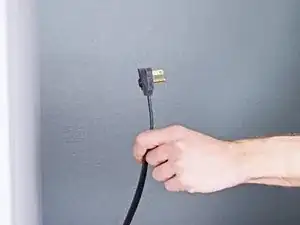
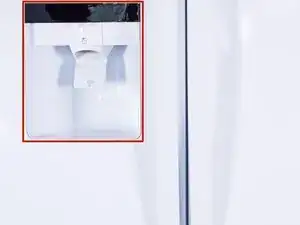
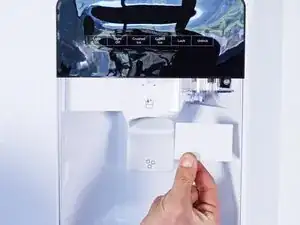
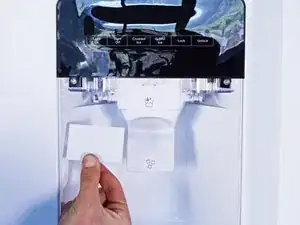
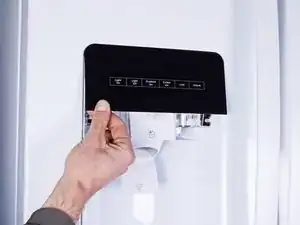
    • Pull the dispenser panels straight down to separate them from the chassis.

    • Remove the dispenser panels.

  4. YsdojtqfDF1RGWfo
    • Remove the screw(s) securing the control board.

  5. YHIacodZZUISsUaF
    YHIacodZZUISsUaF
    XXEOSqpBQUixpFAD
    LcnTsAyBqRtZWUrV
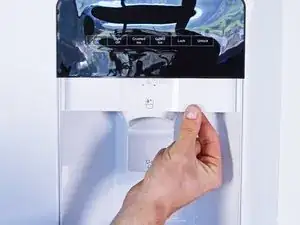
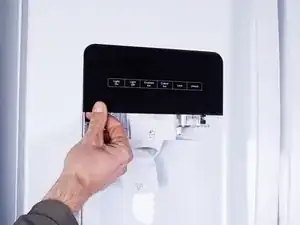
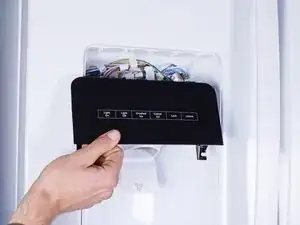
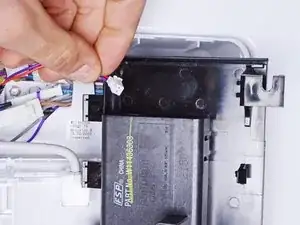
    • Tilt the bottom of the control board away from the chassis to release its clips.

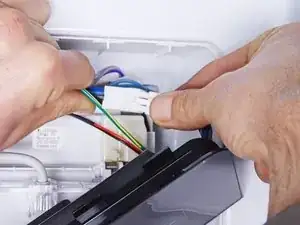
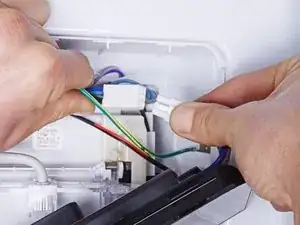
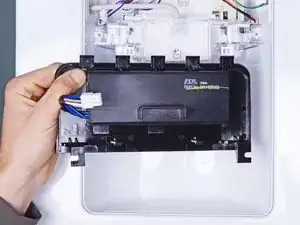
    • Pull straight down to separate the control board enough to access its connectors.

  6. upRbjNMvTVMwocdK
    upRbjNMvTVMwocdK
    Vdjv4STbceyM4Fcj
    ZttUHZrZMyADZ4qE
    • Disconnect the connectors attached to the control board.

  7. WNEDRxMM6WoUZExF
    • Remove the control board.

Conclusione

To reassemble your device, follow these instructions in reverse order.

Matt Zieminski

Membro da: 23/02/15

29558 Reputazione

0 commenti