Introduzione
Use this guide to replace the motor thermal protector and start relay combo assembly on your older Whirlpool side‑by‑side refrigerator .
This assembly combines the start relay, which energizes the motor start winding temporarily to allow the motor to start. The thermal protector protects the motor from excessive current. This current would cause the motor to overheat and ultimately fail.
When this device fails, the compressor will not start. If the start relay sticks, it can cause the starting winding to be energized continuously, which will lead to failure. If the thermal protector isn't functioning, the motor can be burned out.
This guide is based on a Whirlpool Model ED5FTGXKQ02 Refrigerator.
Strumenti
Ricambi
-
-
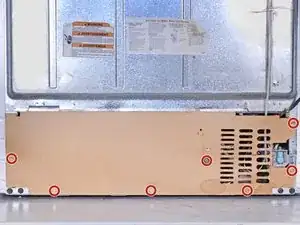
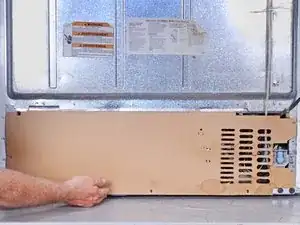
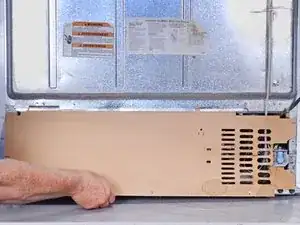
Lift the bottom edge of the condenser cover away from the refrigerator.
-
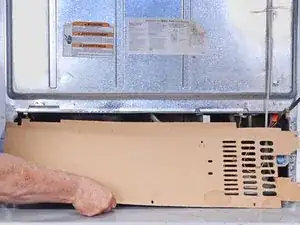
Pull down on the condenser cover to free it from the retaining tabs at the top edge and remove it.
-
-
-
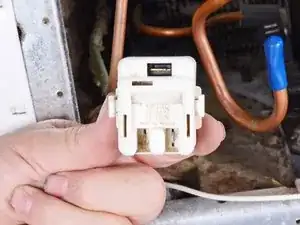
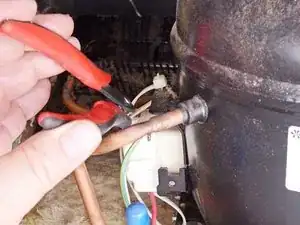
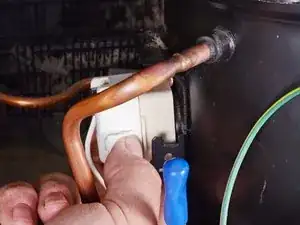
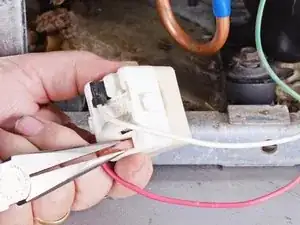
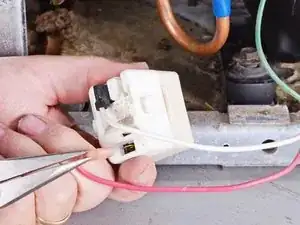
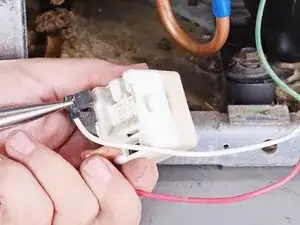
Pull the thermal protector and start relay assembly straight off the compressor to disconnect it.
-


To reassemble your device, follow these instructions in reverse order.
Repair didn’t go as planned? Ask our Answers community for help.
Take your e-waste to an R2 or e-Stewards certified recycler.