Introduzione
Getting dead-zone drift? If you've dropped the controller, threw it at a wall in a post-loss rage, or pressed too hard during your epic gaming session, your D-pad may be broken. This is a guide to replace the D-pad.
-
-
Turn the controller on its backside and push the "eject" button to discharge the battery compartment door on the bottom of the controller.
-
Pull the two AA batteries out.
-
-
-
Lift the battery compartment out of the controller and set it outside of the controller.
-
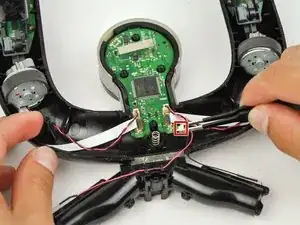
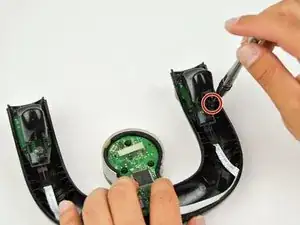
Use the precision tweezers to pull out the red and black wire attached to the white plug at the bottom side of the circuit board.
-
-
-
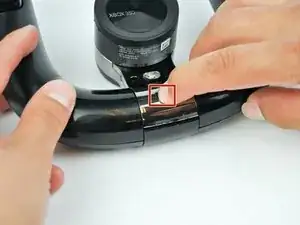
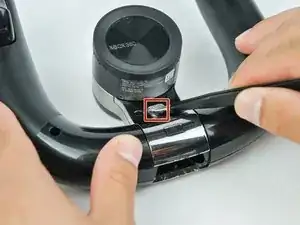
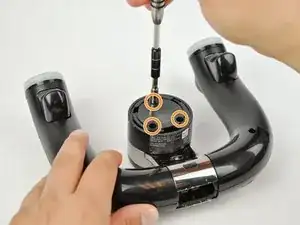
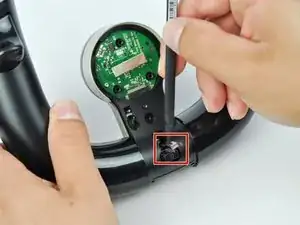
Remove the holographic Microsoft sticker with the percision tweezers to reveal a small screw.
-
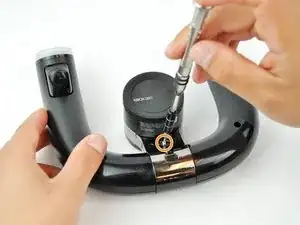
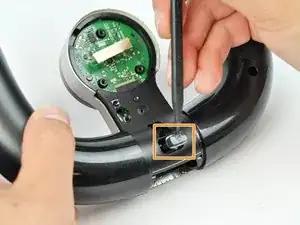
Use a T6 Torx screwdriver to remove the 1.5mm screw.
-
-
-
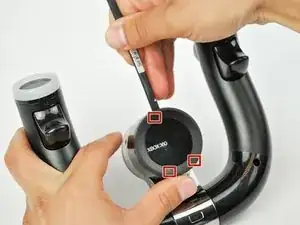
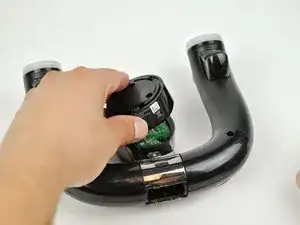
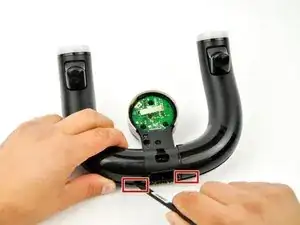
Insert a spudger and pry at these three locations to detach the middle cover.
-
Pull off the middle piece cover to reveal three screws.
-
Use a T8 Torx screwdriver to remove the three 2.3mm screws.
-
Remove the cover.
-
-
-
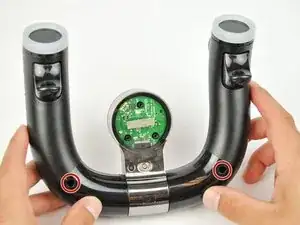
Remove the two 90mm screws with a T8 Torx screwdriver.
-
Lift up the silver middle piece to remove.
-
-
-
Use a spudger to remove the silver prong.
-
With the spudger, pinch the metal spring and slowly pull up to remove.
-
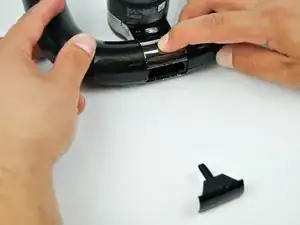
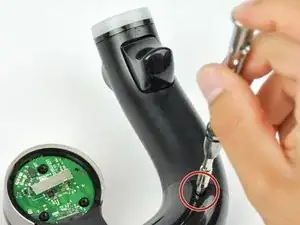
Use the spudger to remove eject button.
-
Remove the screw holding in the eject button with a T8 Torx screwdriver.
-
-
-
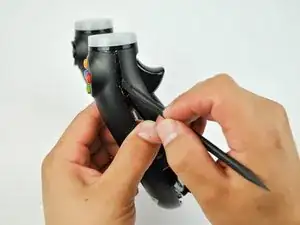
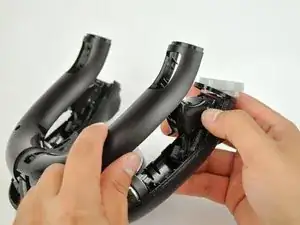
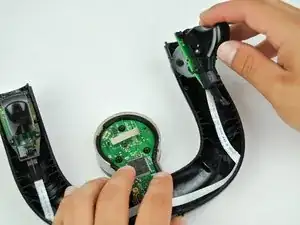
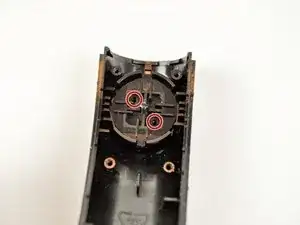
Pull the two halves apart at the bottom to detach the two latches that are holding the front and back panels together.
-
Start with one side of the controller (left or right).
-
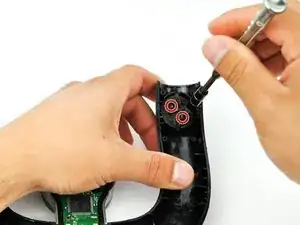
Slide the spudger towards the end of the handles and pry the two halves apart. Do the same for the opposite side.
-
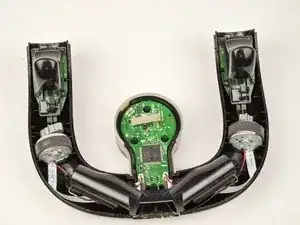
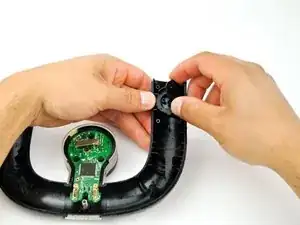
Pull the front and back panels apart to separate them and expose the inside of the controller.
-
-
-
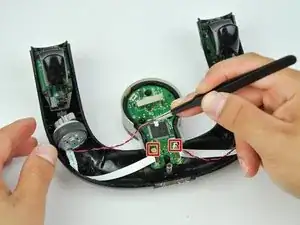
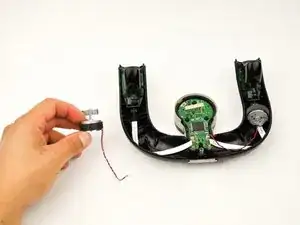
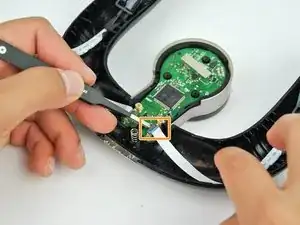
Use precision tweezers to remove the red and black wires that are attached to the circuit board.
-
-
-
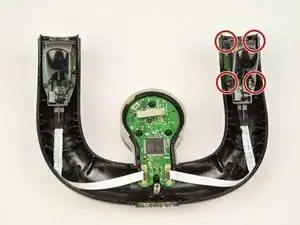
Use a T6 Torx screwdriver to remove the four 2.3mm screws.
-
Lift up the black locking tab on the ZIF connector to release the ribbon cable.
-
-
-
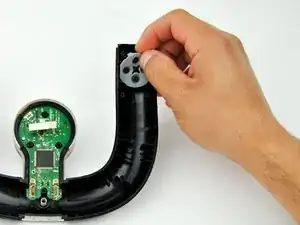
Remove the grey silicone pad on the right side to expose the backside of the D-pad.
-
Remove the two screws with a T6 Torx screwdriver.
-
-
-
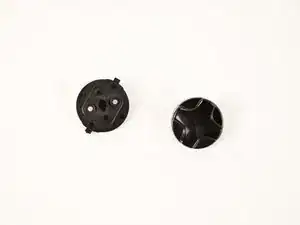
Lift and remove the black, plastic backing of D-pad. The front of the D-pad will detach as you pull the back off.
-


To reassemble your device, follow these instructions in reverse order.
Un commento
yo why are all the steps out of order?