Introduzione

Use this guide to replace a damaged motherboard in your Xiaomi Mi Watch 2021.

  1. gEOB2CyOORHjuRFh
    • Opening the Mi Watch will compromise its waterproof seals. Have replacement seals ready before you proceed past this step, or take care to avoid liquid exposure if you reassemble your watch without replacing the seals.

    • Before starting the disassembly, turn off your watch.

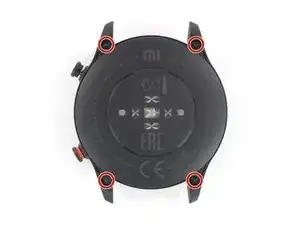
    • Remove the four 3.2 mm-long T3 Torx screws on the back of the watch.

    • A T3 screwdriver has a tight fit on these screws and might require a bit more downward pressure to unfasten the screws. A T2 fits as well but poses the risk to strip the screw heads.

  2. KevHZxf2VHNaipVf
    KevHZxf2VHNaipVf
    CVS5asmilumLYmsn
    xakEM1OrOVaKhMdo
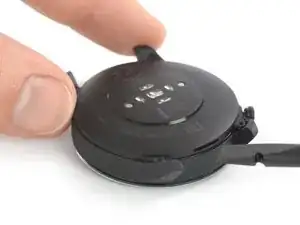
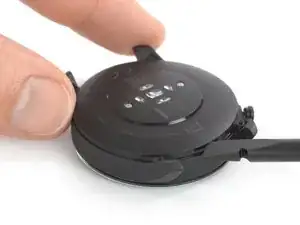
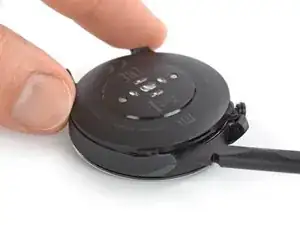
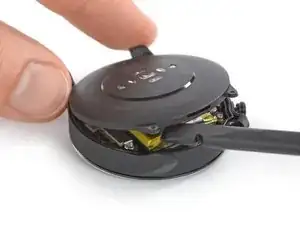
    • Insert the flat end of a spudger into the loudspeaker opening at the top edge of the rear case assembly.

    • Push the spudger upwards to create a small gap between the rear case assembly and the watch housing.

  3. L3NCDshppZYA1oAY
    L3NCDshppZYA1oAY
    M5xuihqYr3LCksKP
    • Insert your spudger into the gap and pry up the rear case assembly.

    • Only work with the edge of your spudger and do not insert it deeper than 3 mm.

    • Steady the rear case assembly with a finger to prevent it from suddenly popping open and damaging the flex cable.

    • Don’t try to remove the rear case assembly all the way yet. It is still connected to the motherboard with a thin flex cable.

  4. Iby51GYmKRiqKA2r
    Iby51GYmKRiqKA2r
    sPhCbWJmJRUgQp1U
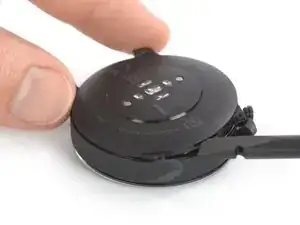
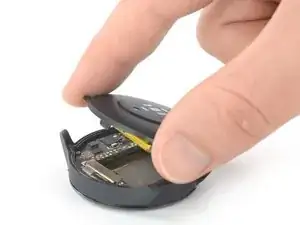
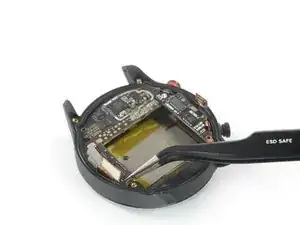
    • Carefully swing open the rear case assembly by folding the rear case to the side with the watch buttons.

    • Avoid straining the flex cable during this procedure.

  5. 2QAb3DMLcrHIdbZQ
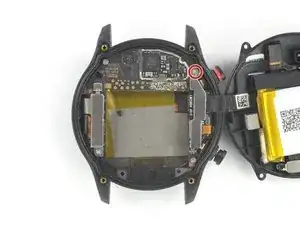
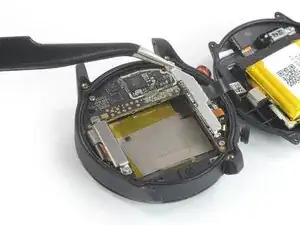
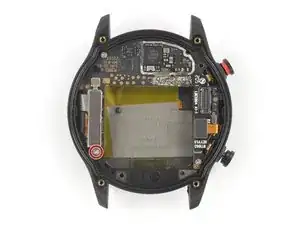
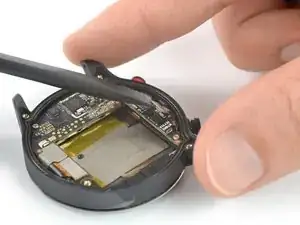
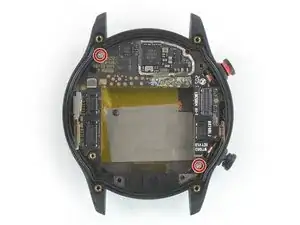
    • Remove the 2.7 mm-long Phillips screw securing the metal bracket in the top right corner of your watch.

  6. JJVMaHcUH4PlFQqy
    JJVMaHcUH4PlFQqy
    BVkZquUnIHZZpEno
    • Use a pair of tweezers to unhinge the metal bracket and remove it.

    • During reassembly, make sure to latch the metal bracket.

  7. ZYtQECoHB5P6Qcoq
    ZYtQECoHB5P6Qcoq
    GvbvgRof6sBpjQki
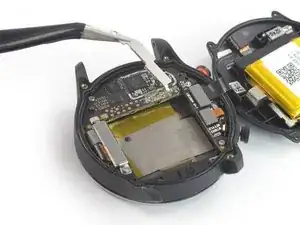
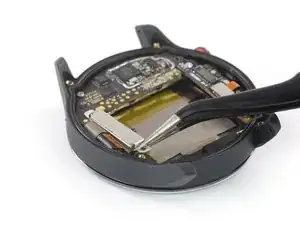
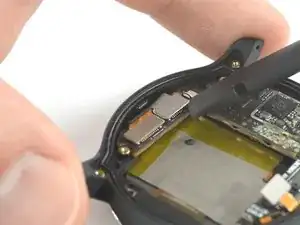
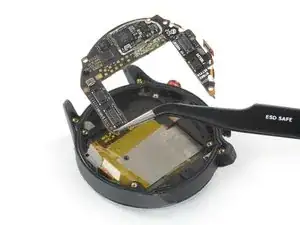
    • Use the flat end of a spudger to pry up and disconnect the rear case assembly flex connector from the motherboard.

  8. hjYKCJq3lKgBHHU5
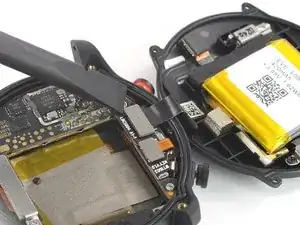
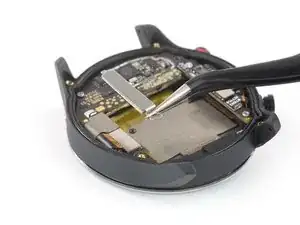
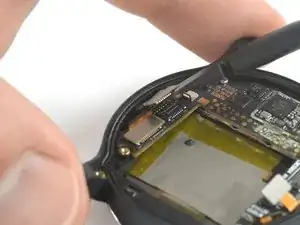
    • Remove the 2.7 mm-long Phillips screw securing the metal bracket at the bottom left corner of your watch.

  9. 5GH5kRRwSNdTWSWK
    5GH5kRRwSNdTWSWK
    EogogdHdMQ3yTnIP
    • Use a pair of tweezers to unhinge the little hook at the upper end of the metal bracket and remove it.

    • During reassembly, make sure to latch the metal bracket.

  10. sVPZKmVfwcrh36iT
    sVPZKmVfwcrh36iT
    O6EeyKSqcrwQuAcI
    • Use the flat end of a spudger to pry up and disconnect the watch button flex connector.

  11. DHKqAVe4NrDtgUfK
    DHKqAVe4NrDtgUfK
    3aueAltdHxThgmdU
    IKmvHj43mjxig2Sw
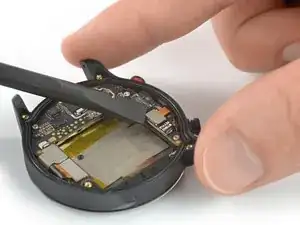
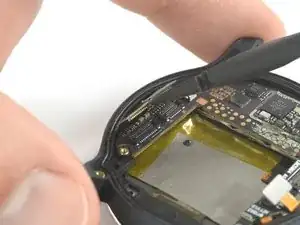
    • Use the flat end of a spudger to pry up and disconnect the screen and the digitizer flex connectors.

  12. a6cnxXSXSytYniee
    • Remove the two 2.7 mm-long Phillips screws securing the motherboard.

  13. AvYqbj4CWM1vcMgG
    AvYqbj4CWM1vcMgG
    nVb5cmQJeuM2UFVa
    • Use a pair of tweezers to lift the motherboard out of the watch housing.

    • Avoid damaging the surrounding flex cables during this procedure.

Conclusione

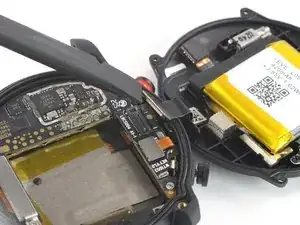
If possible, turn on your device and test your repair before resealing.

To reassemble your device, follow these instructions in reverse order.

Take your e-waste to an R2 or e-Stewards certified recycler.

Repair didn’t go as planned? Try some basic troubleshooting, or ask our Answer Community for help.

Dominik Schnabelrauch

Membro da: 23/11/16

200708 Reputazione

0 commenti