Introduzione
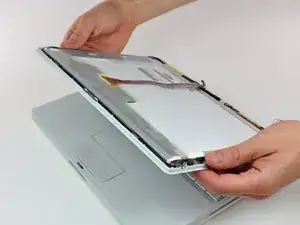
Replace a faulty display inverter with the display attached to your iBook.
Strumenti
Ricambi
-
-
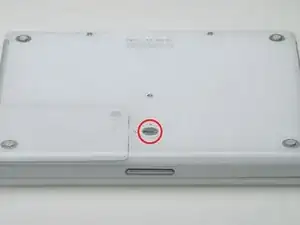
Use a coin to rotate the battery locking screw 90 degrees clockwise.
-
Lift the battery out of the computer.
-
-
-
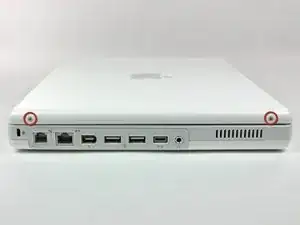
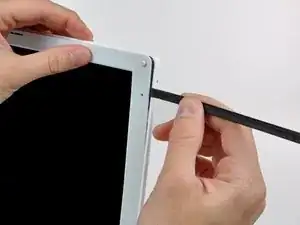
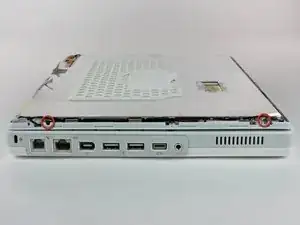
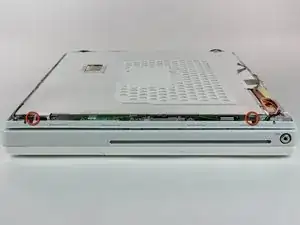
Use a 1.5mm hex screwdriver to remove the two hex screws on either side of the display (four screws total).
-
-
-
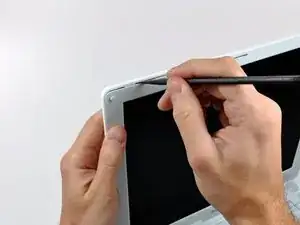
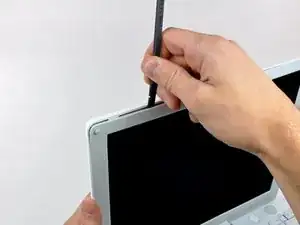
Insert the flat end of a spudger perpendicular to the face of the display into the gap between the front and rear bezels near the upper left corner of the display.
-
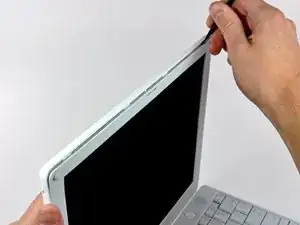
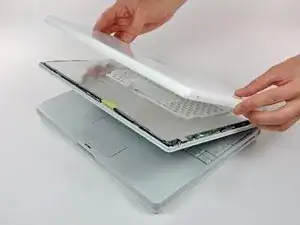
Rotate the spudger away from the display to pry the rear bezel off the front bezel.
-
-
-
Run your spudger along the top edge of the front display bezel to evenly separate the two bezels.
-
-
-
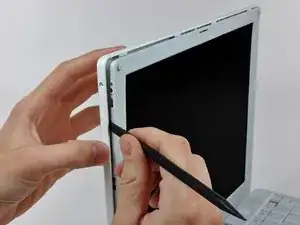
Working down from the upper left corner, use the flat end of a spudger to pry the rear bezel away from the left edge of the display.
-
-
-
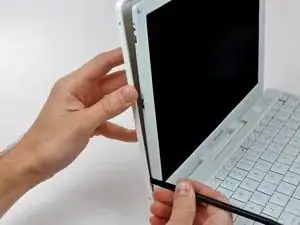
Use the flat end of a spudger to pry the rear bezel away from the right edge of the display.
-
If necessary, pry along the bottom edge of the rear bezel to separate it from the display assembly.
-
-
-
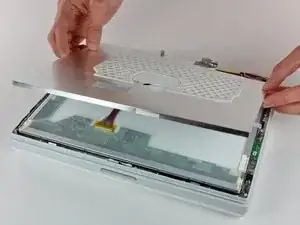
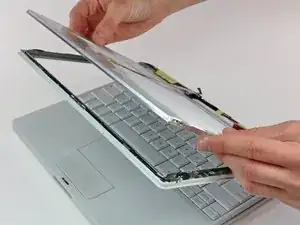
Close the display.
-
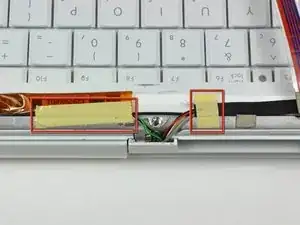
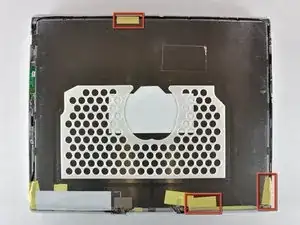
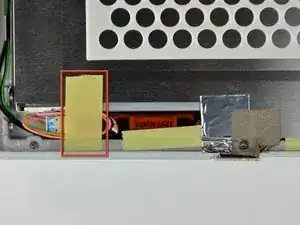
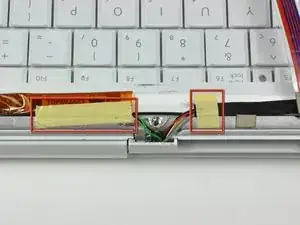
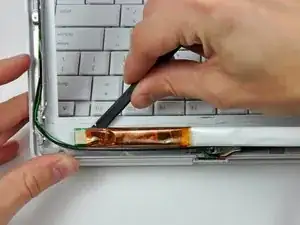
Remove the small pieces of yellow tape securing the thin metal LCD cover to the display.
-
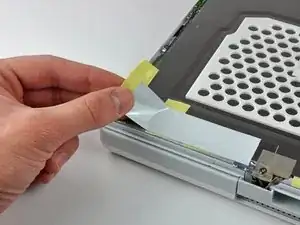
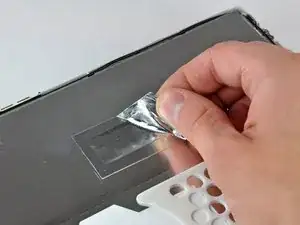
Remove the large piece of tape near the right display hinge.
-
-
-
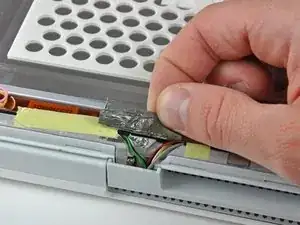
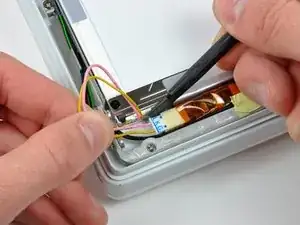
Remove the tape covering the inverter cable connector.
-
Remove the piece of foil tape near the center of the thin metal LCD cover.
-
-
-
Remove the Phillips screw near the right display hinge.
-
Use the tip of a spudger to remove the small spacer under the screw you just removed.
-
-
-
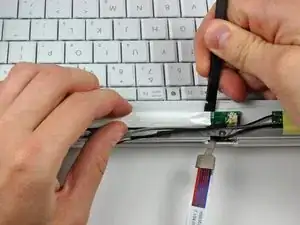
Pull the foil/braided pieces of tape off the aluminum frame of the clutch hinges. Leave the tape attached to the thin steel LCD cover.
-
Remove the small piece of tape holding the display data cable ground strap to the LCD cover.
-
-
-
Remove the two Phillips screws securing the left and right sides of the LCD to the frame of the clutch hinges (four screws total).
-
-
-
Remove the long piece of tape securing the display data cable to the LCD.
-
Disconnect the display data cable by pulling the cable away from the socket on the LCD.
-
-
-
Remove the pieces of tape holding the inverter and the inverter cables to the clutch hinges.
-
-
-
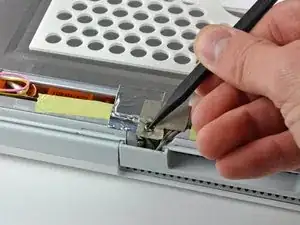
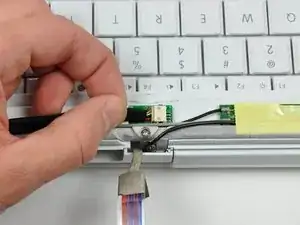
Disconnect the inverter cable by pulling its connector away from the socket on the inverter board.
-
-
-
Insert the flat end of a spudger under the middle of the inverter board.
-
Slide the spudger to the far left and right edges to separate the inverter board from the adhesive securing it to the front bezel.
-
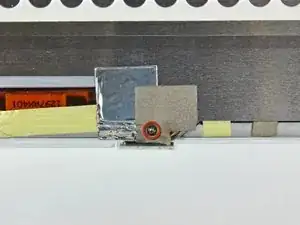
Remove the inverter board.
-


To reassemble your device, follow these instructions in reverse order.

Also unplug the computer just before taking the two steps described above.
Ken Horner -