
Introduzione
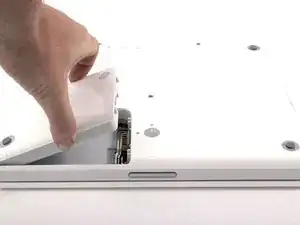
Remove your rear display bezel to access your display's internals.
-
-
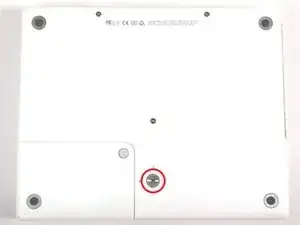
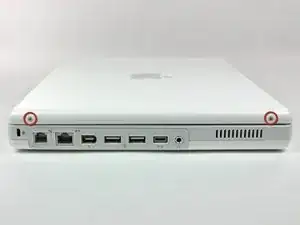
Use a 1.5mm hex screwdriver to remove the two hex screws on either side of the display (four screws total).
-
-
-
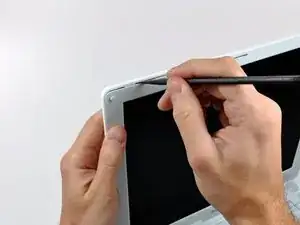
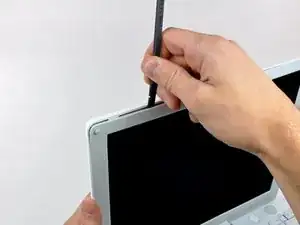
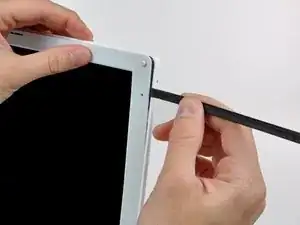
Insert the flat end of a spudger perpendicular to the face of the display into the gap between the front and rear bezels near the upper left corner of the display.
-
Rotate the spudger away from the display to pry the rear bezel off the front bezel.
-
-
-
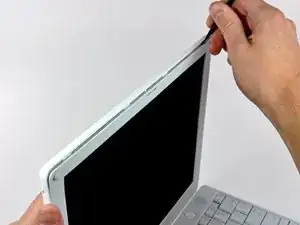
Run your spudger along the top edge of the front display bezel to evenly separate the two bezels.
-
-
-
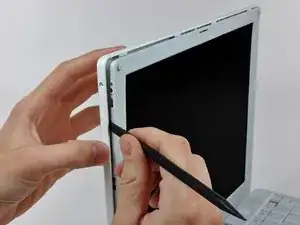
Working down from the upper left corner, use the flat end of a spudger to pry the rear bezel away from the left edge of the display.
-
-
-
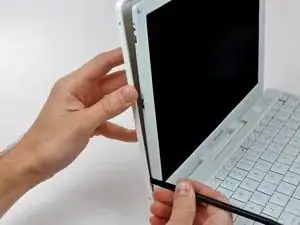
Use the flat end of a spudger to pry the rear bezel away from the right edge of the display.
-
If necessary, pry along the bottom edge of the rear bezel to separate it from the display assembly.
-
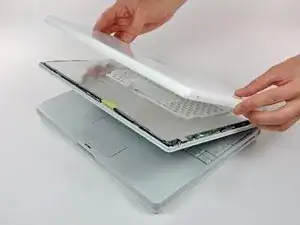
To reassemble your device, follow these instructions in reverse order.
