Introduzione

  1. 1QmsO55qVEqaxFj2
    1QmsO55qVEqaxFj2
    btcKGXIaheNWF6Kq
    UXHA5TCuYesDsyAr
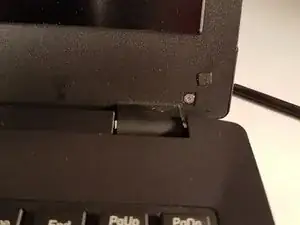
    • Unlock the button without spring

    • Slide the battery up while unlocking the button with spring

  2. VRYvaffcUYITxinx
    VRYvaffcUYITxinx
    cZPQBfPYPEwoaZLB
    eR1lyscRPbI11A53
    • Remove the two stickers circled in red

    • Unscrew the two screws

  3. LvDCUHc2blSDjeUL
    LvDCUHc2blSDjeUL
    pOtGB6NvfHfglucH
    MQljELbrCKEie5UH
    • Tilt back the screen

    • Remove the frame from the screen

  4. FjiLWfEOP16SPcEb
    FjiLWfEOP16SPcEb
    PNOjEIJQuMOcWGeZ
    CjqHtcSwVaCFxHnS
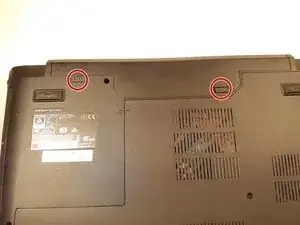
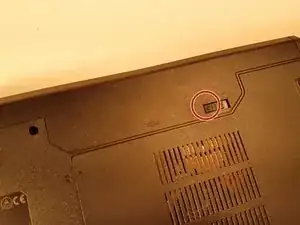
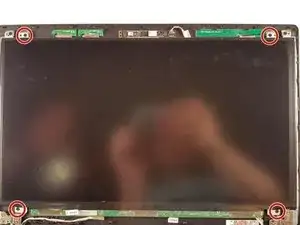
    • Unscrew the four screws circled in red

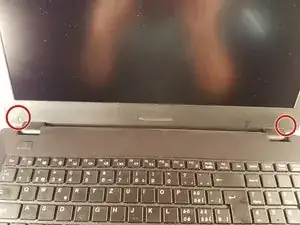
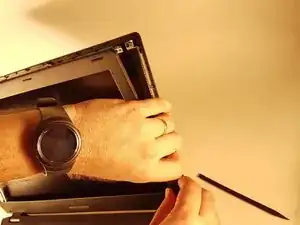
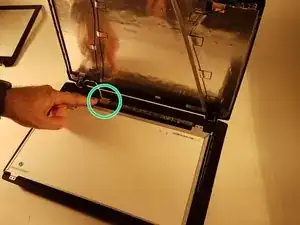
    • Put the screen gently on the keyboard

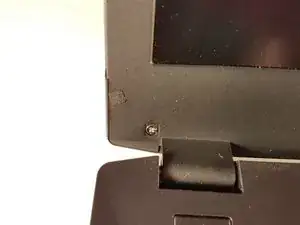
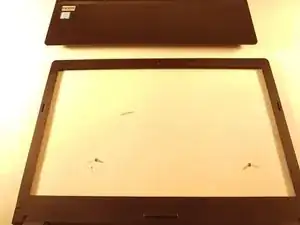
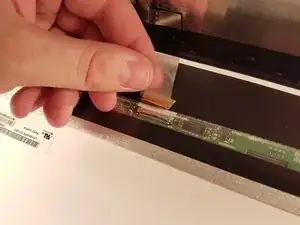
    • Remove the piece of tape then disconnect the connector surrounded in green

Conclusione

To reassemble your device, follow the instructions in reverse order.

Felice Suglia

Membro da: 15/06/13

30527 Reputazione

0 commenti