Introduzione
Guide: How to Disassemble Gel Blaster Surge
The Original Gel Blaster: Experience Gel Blaster Surge's unbeatable power, speed, and range. Includes Gel Blaster Gellets designed to maximize blasting performance and precision with Gel Blaster products. Gellets are non-toxic, non-staining, non-irritating and burst on impact, guaranteeing safe and mess-free fun
Strumenti
-
-
Removing the Hopper
-
Removing the Hopper Locate the hopper on top of your Gel Blaster Surge. Push back on the mechanism and gently lift the hopper away from the blaster.
-
-
-
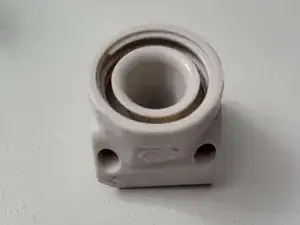
Detaching the Barrel
-
Use the included tool to twist the barrel to allow it to be unlocked and be removed from the blaster.
-
-
-
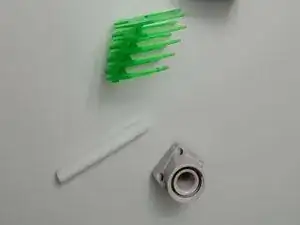
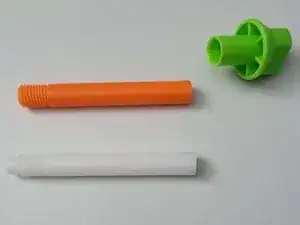
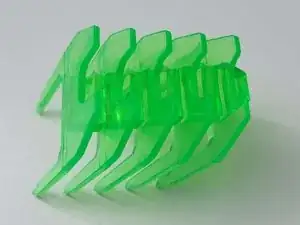
Taking Off the Green Thing
-
You kind of just pull on it :3
-
Note: Keep track of small parts, and consider using a clean workspace to prevent losing any components
-
-
-
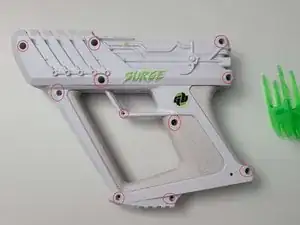
Identifying Screws
-
Refer to the top view picture of your Gel Blaster Surge to locate the 11 screws marked with circles. Using an Philips screwdriver, carefully unscrew each of these 11 screws.
-
Note: screws are different sizes, Keep track of each one.
-
-
-
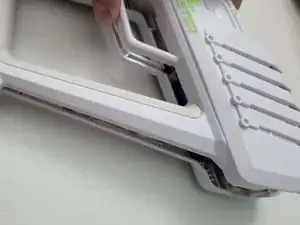
Removing the Cover
-
Once the screws are removed, gently lift, exposing the internal components of your Gel Blaster Surge.
-
-
-
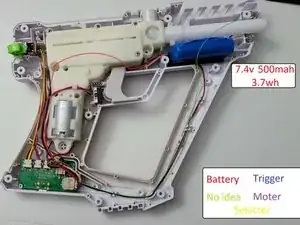
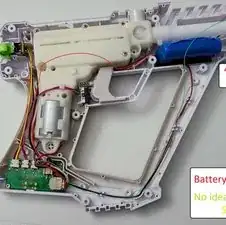
Exploring the Inside
-
By completing these steps, you have successfully disassembled your Gel Blaster Surge to access most of the internal components.
-
Refer to the inside diagram to identify the various components and wires. Take note of the wiring layout and connections.
-
If necessary, disconnect wires according to the diagram. Exercise caution and ensure you remember the connections for reassembly.
-
Caution: Proceed with the disassembly at your own risk, and be aware of any potential warranty implications.
-