Introduzione
As more and more bike lights come with integrated batteries, that will have to be replaced eventually, I decided to make this guide on how to take apart Magicshine Seemee 300.
Although there is no glue, the press fit nature of the device's panels means that it will not be easy to separate them.
-
-
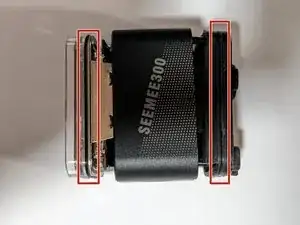
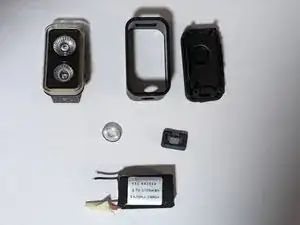
The unit has 3 main parts:
-
LED Matrix with the PCB.
-
Metal shell
-
Back plastic plug
-
Both parts are press fit into the metal shell. You will have to use tools to pry it open. Mind the O-rings designated in red
-
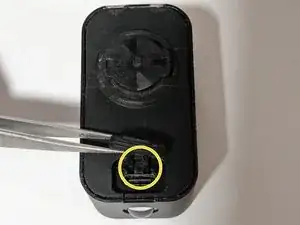
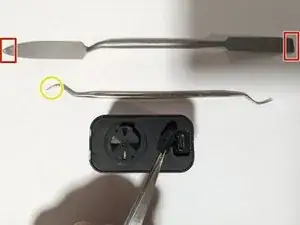
I found it easier to use the hook tool and insert it in between the usb-c port and rubber plug loop to get under the plastic.
-
-
-
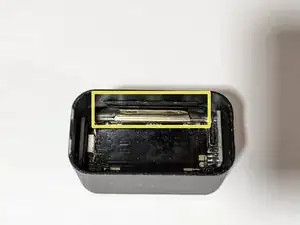
The battery will be glued to the PCB with double sided tape
-
Use your finger or a plastic spudger to carefully peal it off. The adhesive is not strong
-
You will have to desolder the leads to replace the battery
-
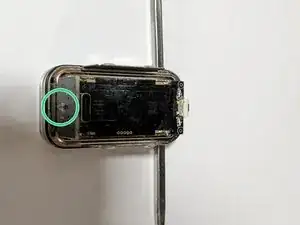
Start by desoldering the Ground lead
-
After isolating the Ground lead with a piece of tape, desolder the positive lead
-
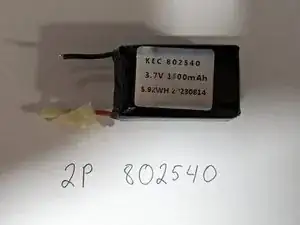
The battery is made up of two 802540 lipos wired in parallel
-
-
-
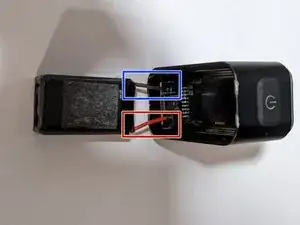
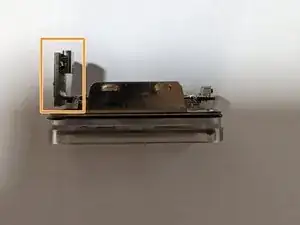
You will have to insert two flat spudgers to release the metal clips after which you should be able to press the pcb out of the shell.
-
Bending the usb port PCB a bit, could help prevent damage to the bottom LED
-
Don't rush and keep checking that your applied pressure is not being put through the bottom LED
-
-
-
If you had water intrusion and you want to get access to the other side of the PCB you will have desolder all 4 contact points
-
In that case I would suggest using wick to bridge the gap
-

Un commento
Finally someone did it! I see now that I can remove that bottom LED pretty easily. Thank you, mate, appreciate!