Introduzione
My moleskine journey travel light won't charge anymore. I wanted to open it up to see if I could replace the battery. That might actually be possible, but since my soldering skills are zero, I'll leave that to somebody else. I couldn't find any information on how to fix this device, so I'll share my findings - hope it comes in useful for someone!
-
-
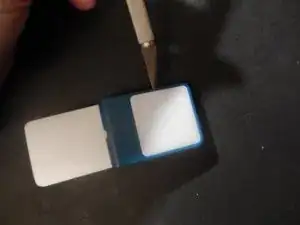
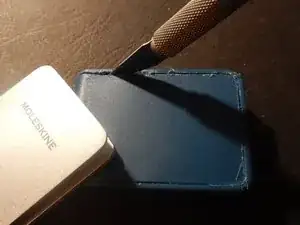
The back of the case seems to be pretty well sealed, so I start opening it on the front.
-
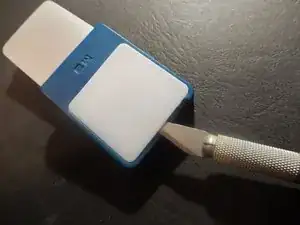
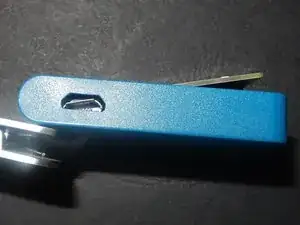
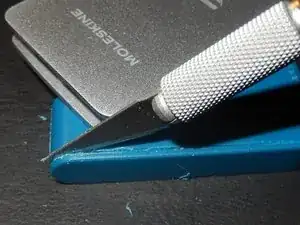
I insert a paper cutter in the narrow gap between the white light cover and the casing and gently pry upwards. Any other very thin opening tool should work as well.
-
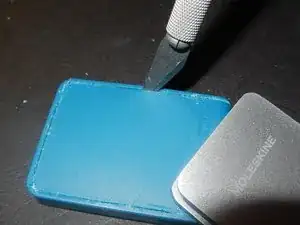
Turns out the light cover is only lightly adhered and clicks off easily enough. I proceed along all four edges, gently prying upward, and soon the cover is removed.
-
-
-
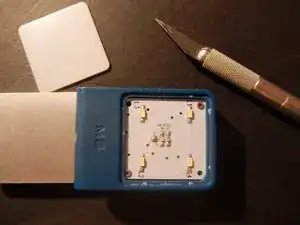
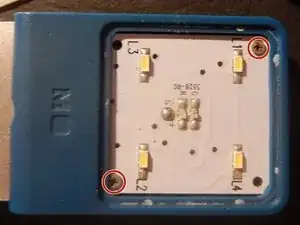
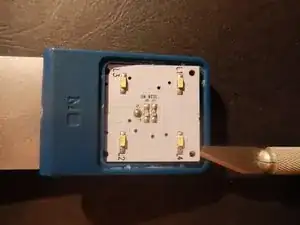
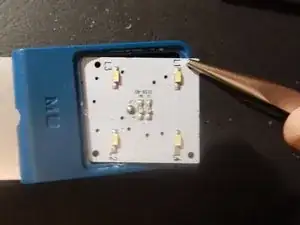
The circuit board is held down by two small Phillips screws.
-
Using a PH000 screwdriver, I remove them. They are pretty soft and the material wants to give in to the driver, but by pressing down firmly while turning the screwdriver I manage to remove them without damaging the heads too much.
-
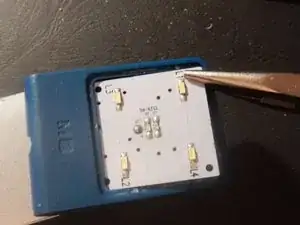
The circuit board's corners are tucked under the case. More prying with my paper cutter gets the top two corners out.
-
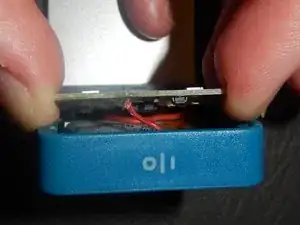
I'm careful around the top because that's where the on/off switch is located, so there might be some cables there that I don't want to damage. I only pry close to the corners and avoid the centre of the top edge.
-
And I was right - when I manage to open the gap between circuit board and case further, there's the cable.
-
-
-
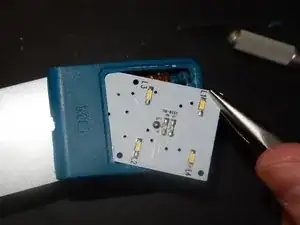
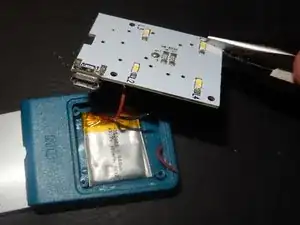
The lower part of the circuit board seems to extend quite a bit underneath the casing. So instead of prying, I pull - to no avail.
-
I try with a small set of pliers to get a better grip, grabbing the board by a corner so as not to damage the circuitry. I manage to get the board out a bit further, but then it's stuck and I soon see why: The USB charging port is caught on the casing.
-
If I don't want to risk tearing it off or at least damaging it, I can't proceed this way.
-
-
-
I use the paper cutter to slice through the welded seams on the back. It's a messy affair, but I actually make some progress.
-
At the bottom, near the ball joint, the seams are easier to slice, and eventually, the knife breaks through the surface even on one of the straight edges.
-
I thought I might be able to cut the case open now, but in some places, the knife simply won't get through. After more than half an hour's slicing, I give up.
-
-
-
The device is in such a state by now that I decide it doesn't matter any more if I break the charging port. After all, what good is a travel light that can't travel because it only works when connected to a charger?
-
So I take the pliers to the circuit board again and apply some brute force. I pull and jiggle, changing the angle a few times and eventually, the board comes out.
-
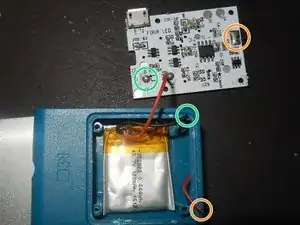
Some cables are torn in the process, but it looks like someone with soldering skills could fix that. The charging port looks unharmed.
-
cable for the on/off switch
-
one battery cable
-
-
-
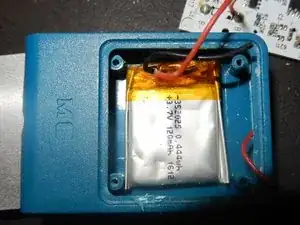
Just the battery pack to remove now. It's only lightly adhered and comes out with just one pry with a spudger.
-
Final verdict? This light is definitely not meant to be taken to pieces. Also, I'm not impressed with the quality of the components. Those screws, soft like butter! And why did they have to weld it shut, couldn't they have used screws to attach the back plate?
-
About the only repair-friendly feature is the very mild adhesive used to hold battery and light cover in place. Considering the price tag of this light however, all in all the insides are disappointing. Which is unfortunate, because while it worked, it was the perfect reading light.
-


3 commenti
Thank you for the teardown. It looks manageable.
Note 1: since there are Phillips-head screws on the front, you were, quite obviously, on the right track. I am pretty sure that the case is being welded right after the molding process, before the installation of the circuitry.
Note 2: my guess is, the things that constrained you were the battery adhesive, combined with short wires. There is no such problem until you glue the battery in. The wires are pre-soldered, and the package is ready to go.
I am going to try one myself. Here are some guesses:
1. As always, pre-heating the device would soften any adhesive. Both the reflector and the battery should come out easier.
2. If the battery is still stuck, while the reflector comes off, it is a good time to desolder as much as possible. PCB on its own should come out easily.
3. As for the replacements, 352025 are the dimensions, 3.7V is universal between such batteries, and a little charging-controller PCB inside a battery is a must.
4. Epoxy!
Oleg R -
Hi @olegr , thank you for your insights! The reflector and the battery actually came out really easily in my case. I'd be grateful though if you could share your repair in a guide, that would be super helpful :) Either way, let me know if you manage to repair yours. Good luck!
@mariaparker here you go: Moleskine Journey Travel Light Battery Replacement
Wouldn't bother buying the thing, if not for your article. So, thank you!
Oleg R -