Introduzione
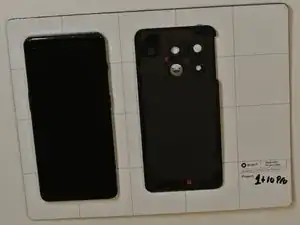
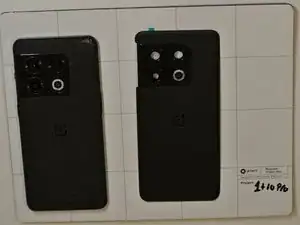
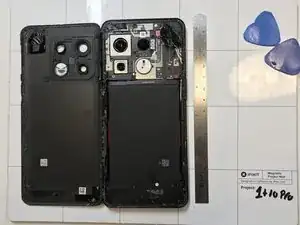
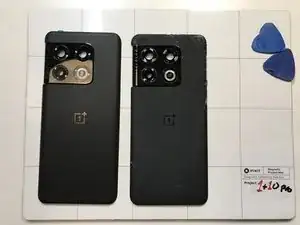
I decided to take a deep dive into my phone as I needed to replace the back cover since it had shattered.
-
-
I heated up the edges until I could barely touch it any more, then I started to pry in the middle of the long edges. Was a bit hard to get a good grip so ended up starting the "crack" with a metal spudger.
-
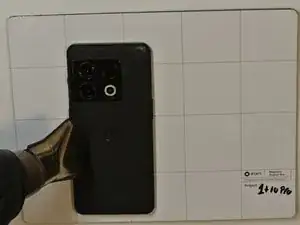
I would have wanted to use tape and a suction cup, but the surface is super non stick.
-
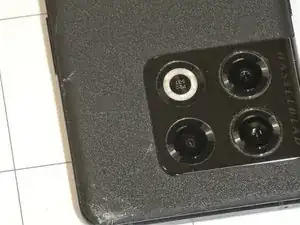
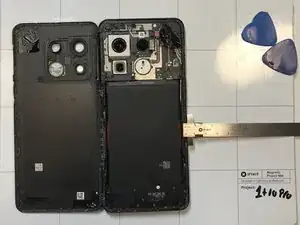
The inside has good amount of clearance, so I wasn't worried about hitting any vital components when cutting the glue with the picks, only place I was more careful at was around the cameras, since the case has weird geometry which can cause higher stresses in the already fragile glass.
-
-
-
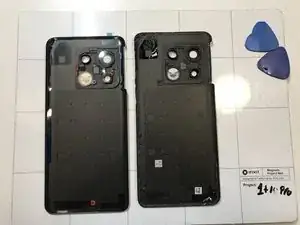
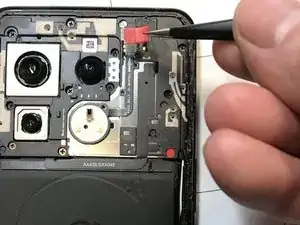
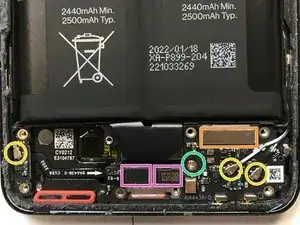
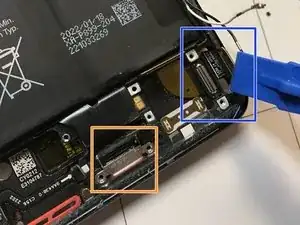
On the back there is this retainer for the ribbon connection for the wireless charge coil, just the red rubber keeping it in place.
-
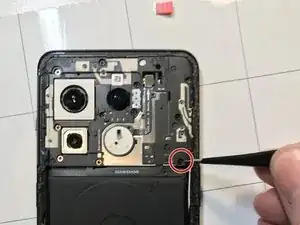
Second picture with the red circle was supposed to show the red rubber plug with some adhesive towards the screw underneath, but it escaped my tweezers at the speed of confusion and has taken refuge in the ether, no idea what use it had other than to look pretty, which is not very useful inside an opaque phone.
-
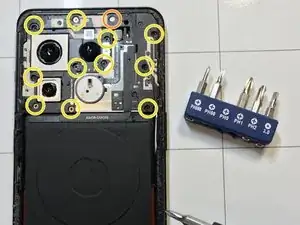
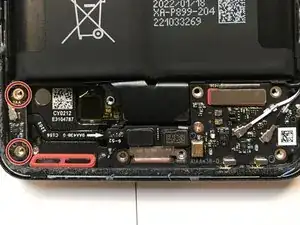
Third picture has all of the circles, all ph0, and all need to vacate the premises to continue. Orange is a tamper sticker screw, seems to be made of a proper tamper proof sticker material, it's only coming off in pieces.
-
-
-
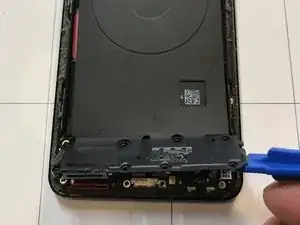
Bottom part is the same as the upper part, but with a lot less circles, there is a tamper sticker on one of these screws as well.
-
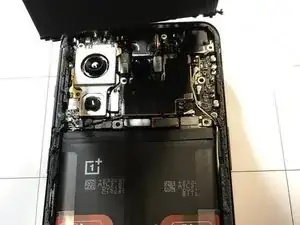
And when all the screws are gone, I could lift up the skirt to show whats hidden beneath, from bottom to top.
-
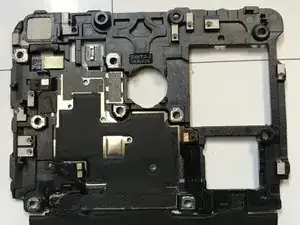
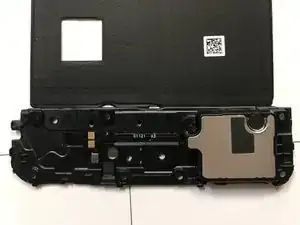
The plastic parts, upper and lower are lightly clipped in the sides, but come off with some light prying.
-
-
-
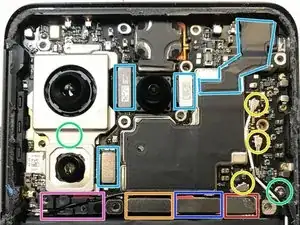
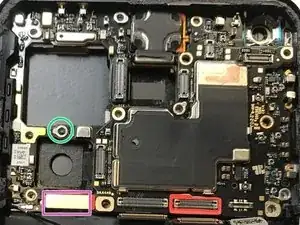
Closeup shots of the upper and lower boards.
-
The light blue is the cameras, the front facing one needed to have the mylar pealed before I could disconnect the connector, and the sticky bezel were...sticky.
-
The yellow are the antenna cables, not sure what the left black lead is tho, goes down to a mini board at the bottom that then goes via a ribbon to the daughter board with the simtray?! edit: the black lead goes to the Antenna Board Flex Cable
-
The red one is power and the orange is just a connection to the bottom one, not sure, guessing a bit here.
-
The darker blue is the display, and I have no idea what the pink ones do. edit: the pink goes to the Sim Card Reader Board
-
Green circle is ph00, holding the boards tight to the frame/screen assembly. There is one screw hiding under the main camera assembly seen in the second picture of the mainboard.
-
-
-
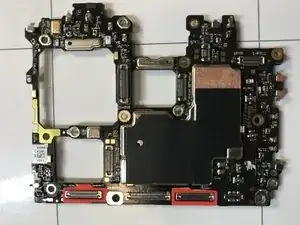
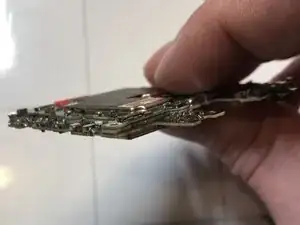
Mainboard out of it's shell, back and front...and side.
-
It's a three layered cake, with some topping on each side.
-
-
-
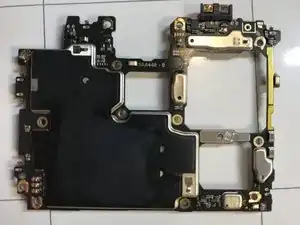
As above, so is below.
-
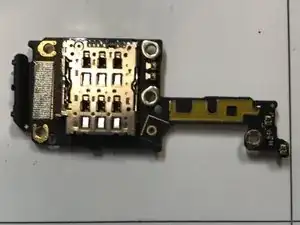
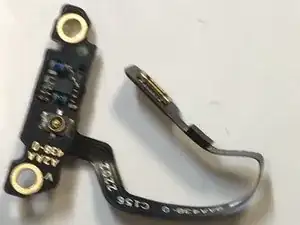
Images 1&2 is the Simcard Reader Board, and image 3 is the Antenna Board Flex Cable, Thanks for the info Travis Grams
-
-
-
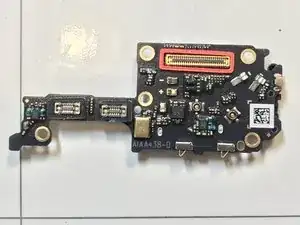
Below the simtray board we can see the usb-c port in orange, and the actual display connector in blue.
-
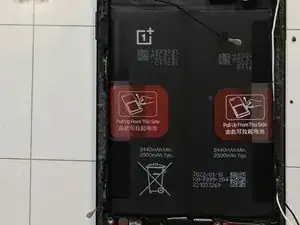
Hollowed out phone, par the battery.
-
Battery seems to be on there pretty good, I did tug a bit on the tabs and it feels like the glue wants to give up its juice, but since I really don't want to get a new battery just for fun, I decided not to tempt fate more than necessary.
-
Re-assembly in reverse order.
-
-
-
Aaand here it is re-assembled, fate was tempted and I failed. That green laser beam shooting out of the screen at full blast wasn't there before, but has become a mainstay thru boot screens and all other screen interactions, good thing I only use the screen to look at.
-
Had been too quick in re-assembly and put in the two screws on the mini board, and those were thru-hole type, so I ended up touching the screen in a bad way.
-
Phone still works, all touch inputs, and most colors, and back cover that I set out to replace got replaced and I had a teachable experience on the way. 10/10 -I'll have to dive again. It's like the bitemoji is taunting me...
-
I might update this again in the future. Hope you enjoyed my dive into my phone.
-


Un commento
Thanks so much for this teardown + rebuild!
10/10, easy to follow, detailed, and enjoyed a few laughs throughout ;)
Lauren A -