Introduzione
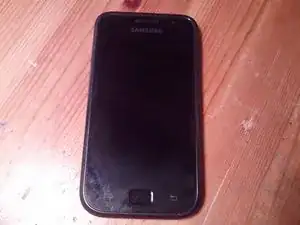
Here we are with a broken, water damaged/bricked Samsung Galaxy S.
I've taken it apart before, so why not now.
Lets go!
-
-
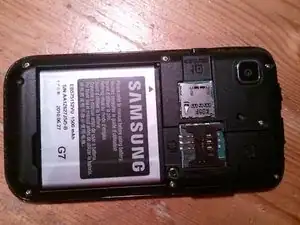
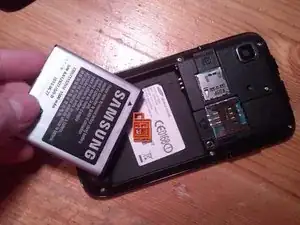
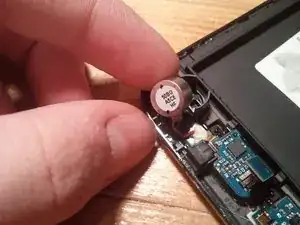
The battery!
-
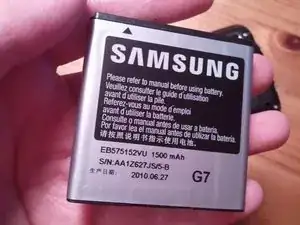
It shows 1500mAh, decent.
-
also the manufacturing date is shown.
-
I added a piece of sticky tack, to cover up the IMEI code, again showing how hi-tec i am!
-
-
-
This is the point of no return when it comes to warranty.
-
But that's okay, i'm using this phone for spares anyways.
-
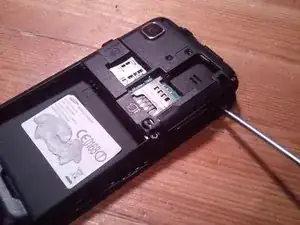
Sticky tack
-
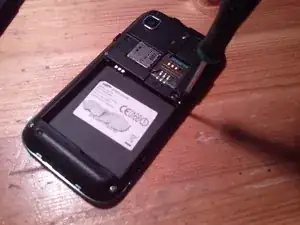
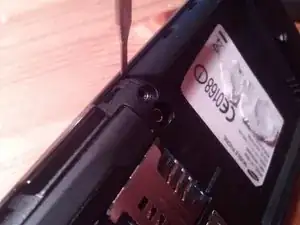
Screws, 7 to be exact!
-
-
-
Here comes the first tricky part. it's easiest to start right under the volume button, and work your way from there.
-
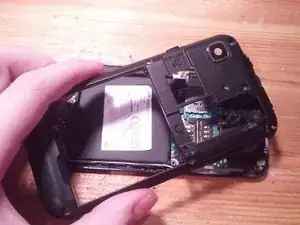
And it's off!
-
-
-
Lets see the innards of this thing.
-
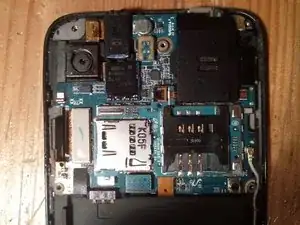
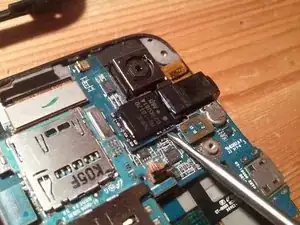
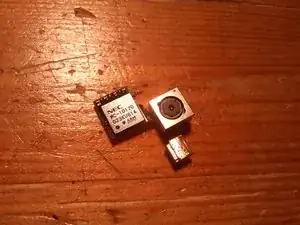
The back camera.
-
And the front facing camera
-
The speaker, actually quite large.
-
Water detector on the plastic cover, as you can see, this is a water damaged phone. normally you would see a purple pattern.
-
Contacts, probably for antennas.
-
-
-
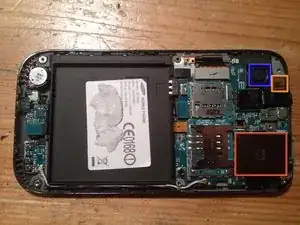
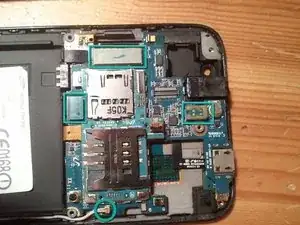
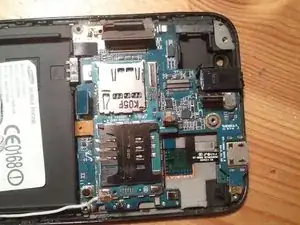
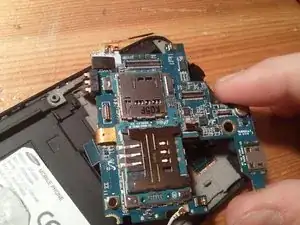
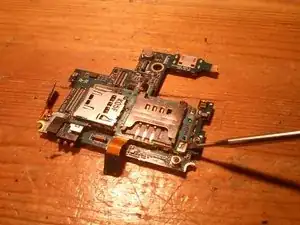
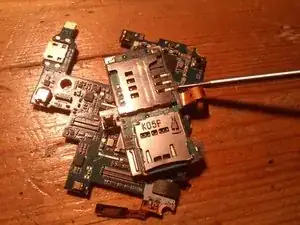
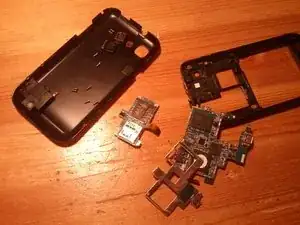
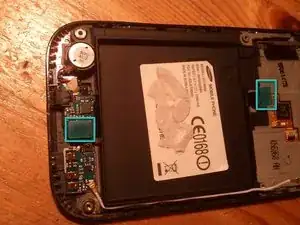
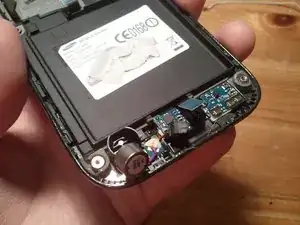
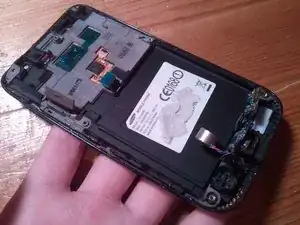
Now for the motherboard!
-
Detach all (4) of these to get the motherboard out.
-
Done! (do not try to remove yet)
-
-
-
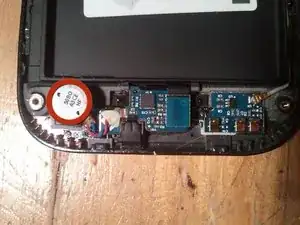
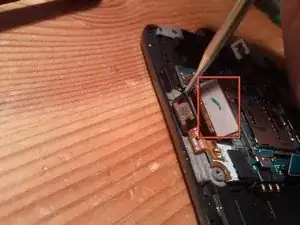
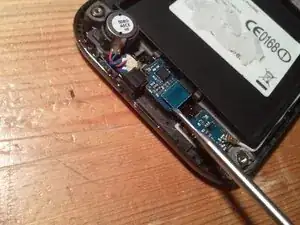
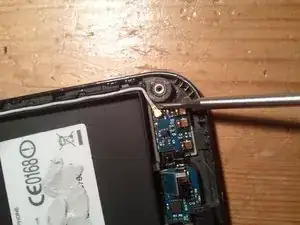
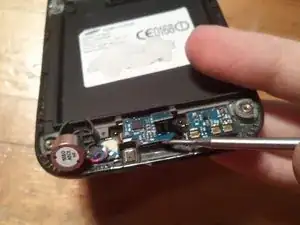
Now detach the power button, its held down by a little bit of glue, not a big deal.
-
Lift it carefully, making sure no connectors are stuck on. Especially the one marked red.
-
-
-
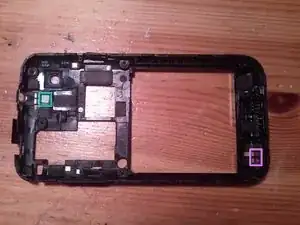
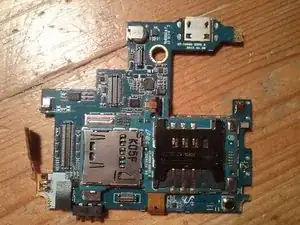
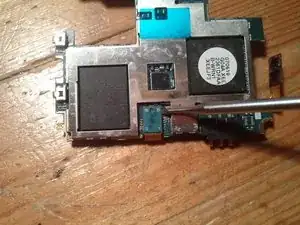
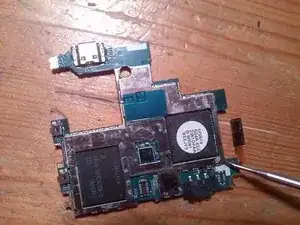
Front/back
-
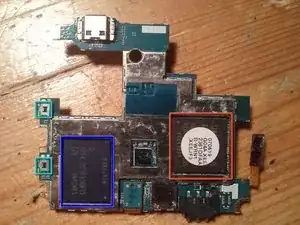
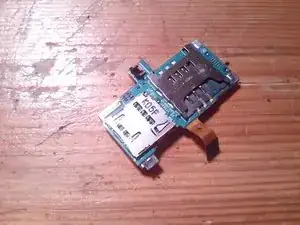
Flash memory.
-
CPU running at 1Ghz, but can be overclocked.
-
Volume buttons.
-
Ill add more specific specs when i get around to it.
-
-
-
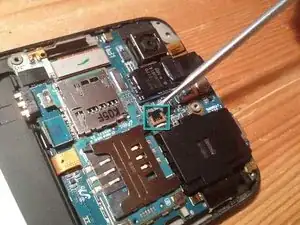
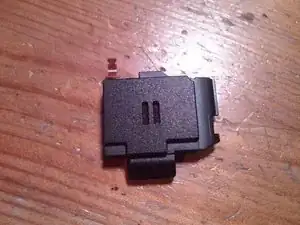
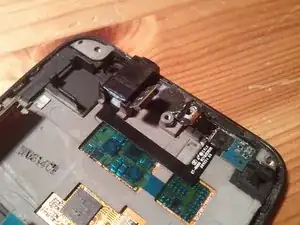
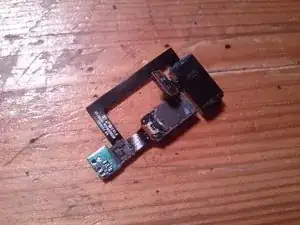
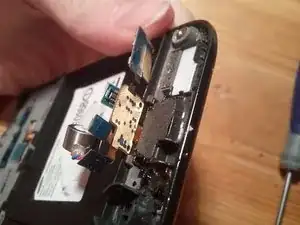
Now for the component that holds the headphone jack, earpiece and both proximity and light sensor.
-
This thing quite literally just pulls off. you can remove it without any special tools!
-
-
-
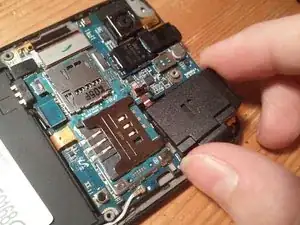
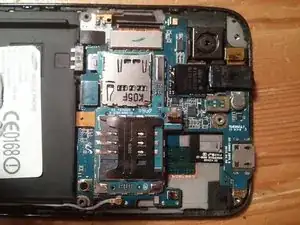
Now for the bottom portion, including the Mic, vibrating engine and the antenna board.
-
We seem to be connected together!
-
-
-
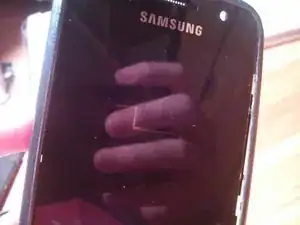
see that? the AMOLED display is actually transparent!
-
Can't go farther than this without a heat gun that I don't have. I tried removing the bezel, but with no luck.
-
That's about it! Thank you for reading, and please give me feedback!
-
This is my first teardown, and pictures were taken with a functional Galaxy s phone.
-


8 commenti
I would like to replace just the front lens of the phone , cuz the old one got cracked, can you do a tutorial on that , do I have to teardown the hole phone to replace the front panel without the digitizer.
Samsung galaxy s1 i900
You have come a long way from this tear down to the ones done now!
thank you. my son broke his Galaxy S sim card pins(third smart phone in five months!!!) and I am hoping to repair it myself with the help of your fix-it.Will let you know if I succeed.Margaret, April 2014.
margaret -