Introduzione
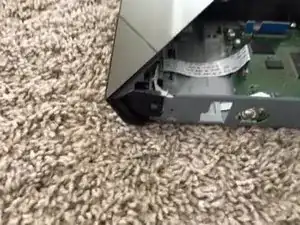
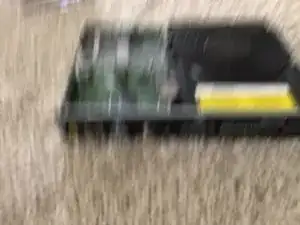
Hi everyone! shingle here. I’m taking apart my Blu-Ray Player to clean it. I figured I might as well post a teardown. I’m recording video and taking pictures with an iPad, so the image quality might not be very good. Also, it’s pretty dirty (I bought it at a thrift store), and may be missing screws and such. Took me about an hour and 20 minutes to fully disassemble it, but I was also writing the guide, so it will probably be faster for you.
-
-
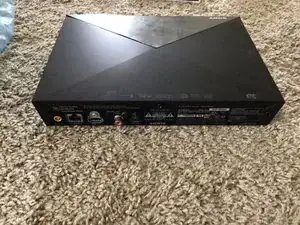
Remove the outer three black screws on the back of the device. Do not remove the silver screw above the HDMI port yet. Do not remove the black screw next to the COAX jack yet.
-
-
-
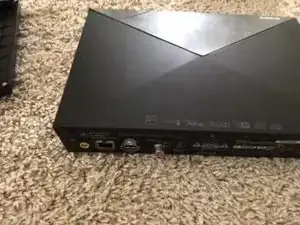
Remove the two remaining screws on the back of the device (mentioned previously).
-
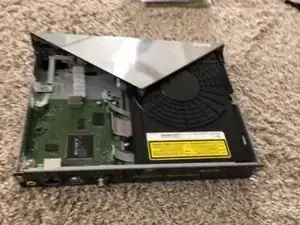
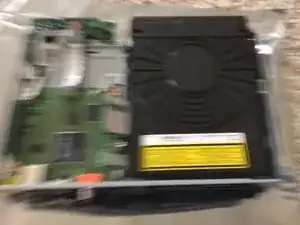
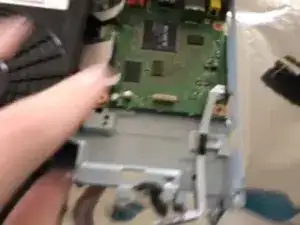
Remove the three motherboard screws (used to affix motherboard to chassis.
-
Ignore my rambling, don’t remove the screw(s) holding down the drive yet.
-
Don’t actually take out the motherboard yet, just the screws.
-
-
-
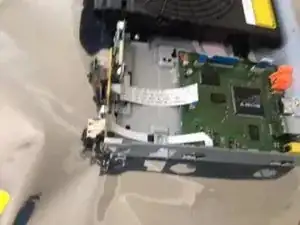
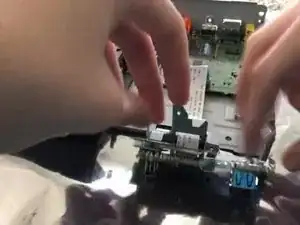
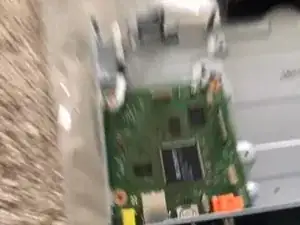
Pop the clasp, daughterboard comes out. Don’t forget, the ribbon cables are still connected.
-
-
-
Remove the WiFi Module screw.
-
Move the ribbon cable out and over the retaining clip.
-
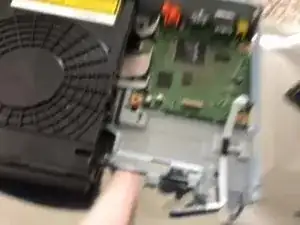
The WiFi Module will now come out like the USB Daughterboard.
-
Again, don’t forget, the ribbon cables are all still connected, so be careful.
-