Introduction
Keep your aging Mac from going obsolete by installing a patched version of macOS Ventura.
If you cannot Download MacOS Ventura on your Mac, download it after you installed OpenCore, as we will explain in step 11.
Parts
-
-
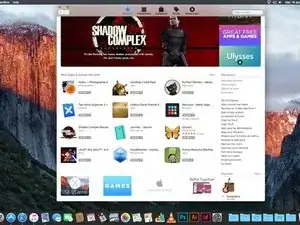
If you're currently running macOS Mojave, click this link to find the Mojave installer in the App Store. For Catalina, click here.
-
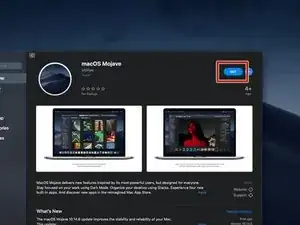
Click Get or Download
-
-
-
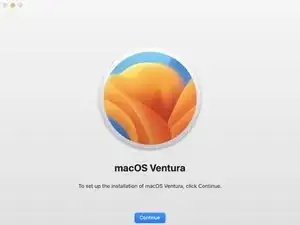
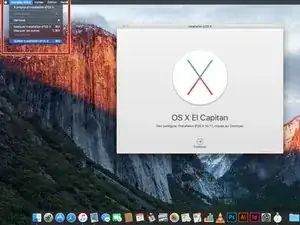
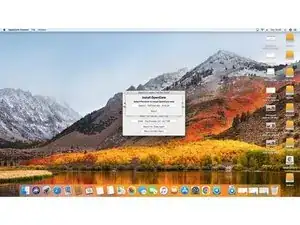
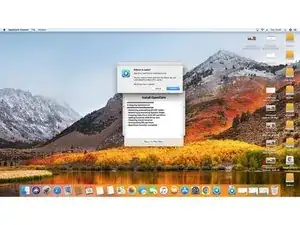
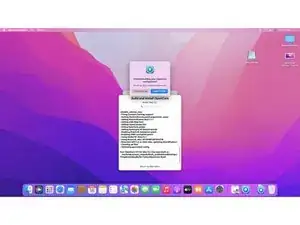
After the downloading process is complete, close the App Store. The installation window should appear afterwards.
-
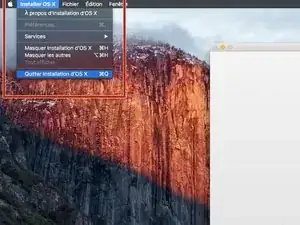
[*red]Click the "Install macOS (whatever version you have downloaded)" menu at the top left of the screen, and select "Quit Install macOS (whatever version you have) ."
-
-
-
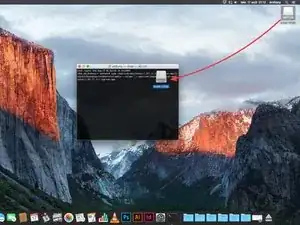
Insert your USB drive into your Mac's USB port.
-
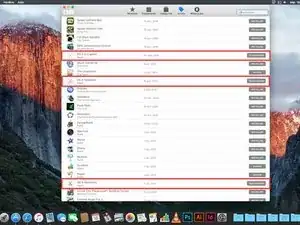
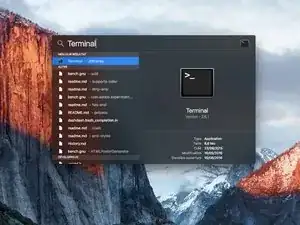
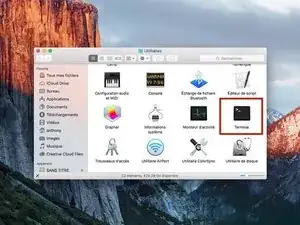
Open Finder to find your USB or if your Finder preferences have been set, you can find it on the Desktop.
-
-
-
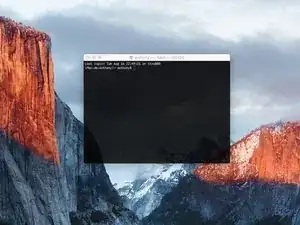
In Terminal, type one of the following commands, depending on your version of macOS. (The name of the version of macOS, is the one you want to install on the key and downloaded.)
-
For El Capitan : sudo /Applications/Install\ OS\ X\ El\ Capitan.app/Contents/Resources/createinstallmedia --volume /Volumes/MyVolume --applicationpath /Applications/Install\ OS\ X\ El\ Capitan.app
-
For Yosemite : sudo /Applications/Install\ OS\ X\ Yosemite.app/Contents/Resources/createinstallmedia --volume /Volumes/MyVolume --applicationpath /Applications/Install\ OS\ X\ Yosemite.app
-
For Mavericks : sudo /Applications/Install\ OS\ X\ Mavericks.app/Contents/Resources/createinstallmedia --volume /Volumes/MyVolume --applicationpath /Applications/Install\ OS\ X\ Mavericks.app
-
For Sierra : sudo /Applications/Install\ macOS\ Sierra.app/Contents/Resources/createinstallmedia --volume /Volumes/MyVolume --applicationpath /Applications/Install\ macOS\ Sierra.app
-
Other versions, see the next step.
-
-
-
For High Sierra : sudo /Applications/Install\ macOS\ High\ Sierra.app/Contents/Resources/createinstallmedia --volume /Volumes/MyVolume --applicationpath /Applications/Install\ macOS\ High\ Sierra.app
-
For Mojave : sudo /Applications/Install\ macOS\ Mojave.app/Contents/Resources/createinstallmedia --volume /Volumes/MyVolume
-
For Catalina: sudo /Applications/Install\ macOS\ Catalina.app/Contents/Resources/createinstallmedia --volume /Volumes/MyVolume
-
For Big Sur: sudo /Applications/Install\ macOS\ Big\ Sur.app/Contents/Resources/createinstallmedia --volume /Volumes/MyVolume
-
For Monterey : sudo /Applications/Install\ macOS\ Monterey.app/Contents/Resources/createinstallmedia --volume /Volumes/MyVolume
-
For Ventura : sudo /Applications/Install\ macOS\ Ventura.app/Contents/Resources/createinstallmedia --volume /Volumes/MyVolume
-
-
-
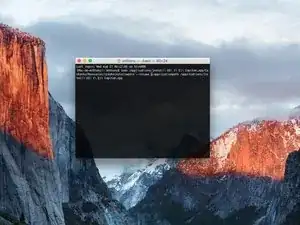
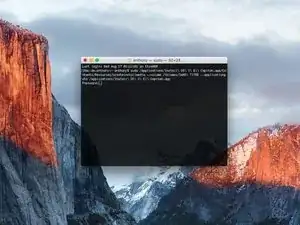
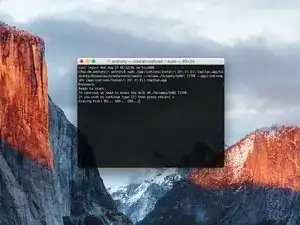
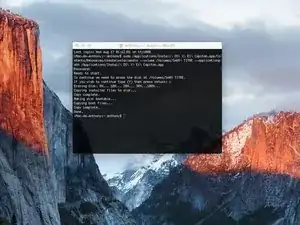
After correctly entering the command with the name of your USB drive, press the [return] key.
-
Enter the macOS administrator password.
-
Press [return].
-
Check the name and path of your USB key. If it looks correct, press the [Y] key, then press [return].
-
-
-
To boot off the USB, first make sure the Mac is off and then press and hold the [option] key when you hear the chime/turn it on .
-
-
-
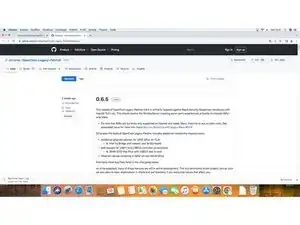
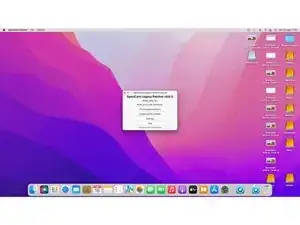
Go to this link and check the last release of OpenCore Legacy Patcher. At the time of writing, it was version 0.6.5.
-
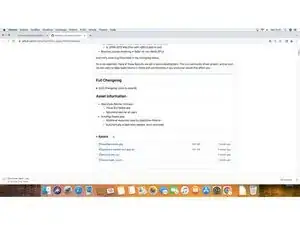
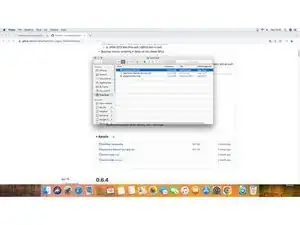
Scroll down the page until you find the Assets section of the latest release. Open it and download the file named OpenCore-Patcher-GUI.app.zip.
-
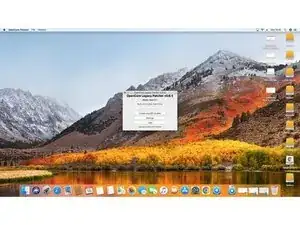
After the download ends, open the zip file to extract the OpenCore-Patcher app and open it.
-
-
-
If you do not have downloaded the MacOS installer of the version you wanted earlier, now you can use OpenCore to do so.
-
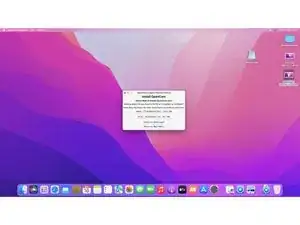
You can select Create macOS Installer to both download and create the USB installer for your selected version.
-
-
-
After it finish to build your OpenCore configuration, select Install to Disk and then select the USB you just inserted.
-
You will then get prompted to insert your Mac password to continue.
-
-
-
After OpenCore finish the installation, you will get prompted to reboot.
-
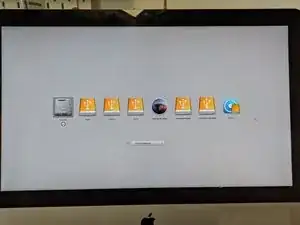
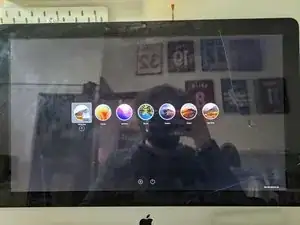
While the Mac is rebooting, hold the option key to enter boot disk selection.
-
-
-
After you enter the boot disk selection, select EFI Boot disk (it is the lask USB you created).
-
Now select the MacOS Ventura installer and follow the usual MacOS install procedure.
-
-
-
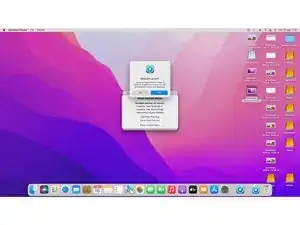
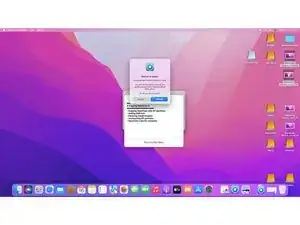
After you finish to install MacOS, open again OpenCore Patcher and select Post Install Root Patch.
-
Then, select Start Root Patching.
-
-
-
OpenCore will ask you to relaunch as root. Select yes.
-
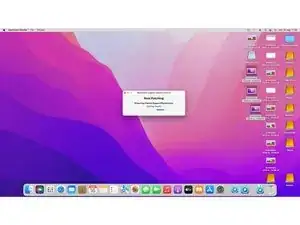
Then OpenCore will start patching your MacOS installation to make it compatible with your Mac.
-
After it finish to patch, it will ask you to reboot apply patches.
-
While your Mac reboots, hold down the [option] key to enter again boot disk selection. From there, select again EFI Boot and your Mac will start normally.
-
-
-
Now unplug all the USB drive that are still plugged in.
-
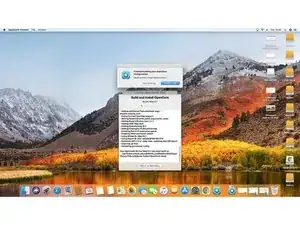
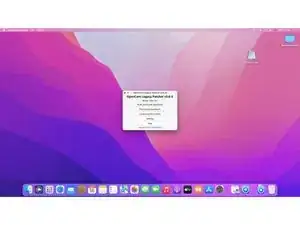
After your Mac boots into MacOS, open one last time OpenCore and select Build and Install OpenCore.
-
After it finish to build OpenCore, select Install to disk.
-
-
-
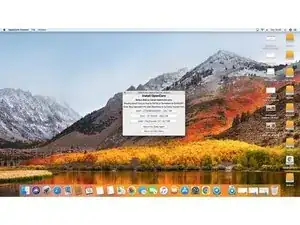
This time select disk0 to install OpenCore to your Mac internal drive, then select the EFI partition.
-
When it finish to install OpenCore, it will ask to reboot your Mac. While it reboots, hold down again the [option] key to enter one last time the boot disk selection.
-
Efter you enter the disk boot selection, hold down the [option] key and select the EFI disk to make this the default option.
-
Done! You succesfully installed Ventura on your Mac!
-


That’s it! You now have macOS Ventura installed on your Mac.
One comment
I've been running this on an old Mac Mini Late 2012 semi-successfully. However it seems some menus get blurry and some apps none of the art elements will load. Guessing it's things that try to call on Metal. Anyone seen or aware of a fix for these bugs?
I have previously downloaded this file, but it does not show up on my purchased list. Also tried Apple Support downloads, but they only have “Update” versions to download.
Peter Simons -
If, you’re on macOS Majove, it’s impossible to download previous versions of Mac systems. Excepted, macOS High Sierra but, I don’t know for how long.
Anthony Fassler -
If you have issues logging into the (App Store -> purchased) due to 2FA, get the code sent to your device and append it to your Apple ID password to log in
Joe Verba -
You can download older versions of the OSX. Here are the download-links (unfortunately an article in german, but you can find the download-links below):
https://www.macwelt.de/a/high-sierra-sie...
Gerrit -
If you already have Mojave and just want to download the installer, you might not able to until you disable auto update.
Just head to the Mojave page:
https://apps.apple.com/ph/app/macos-moja...
Then click the download button.
Software Update will come up, click Advanced and uncheck the auto update.
You will be able to download now.
Edmar Herrero -
Does not work anymore :-(
wanda_name -
Hélas , en effet : j’ai été prise de vitesse car je pensais devoir acheter un MAC neuf , et quand j’ai vu les performances à prix égal à celui payé en 2013 , j’ai dit NON !
Comment continuer de me servir de mon MAC BBOK PRO ?
Votre site répond à toutes nos question , même l’assistance en ligne de APPLE est incompétente !
Merci
GULLY -
I’m trying to make a bootable usb for El Capitan for a SSD - my current working mac is High Sierra - is this doable? I keep getting errors because El Capitan is too old to run on my working mac.
Claire -
Hi Claire did you get any response about this enquiry?
Gabriel Davila -
https://support.apple.com/fr-fr/HT201260
tidrol_69 -