Introduction

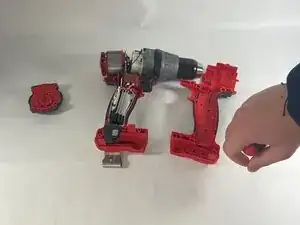
Is your drill not functioning properly, specifically when it comes to pulling the trigger? If so, this guide will help you remove and replace your current faulty trigger mechanism. This guide strictly covers replacement of the trigger assembly only. For a full drill disassembly breakdown, refer to this guide.

  1. MPSvrFVZY6EXNQEg
    MPSvrFVZY6EXNQEg
    wngtTFEDIk221NWP
    • Remove the battery from the drill.

  2. kAe1mx2JT1VAhtRD
    kAe1mx2JT1VAhtRD
    w2Z1kCp6QTUGZUv4
    fFfNJBatlTWEQRVv
    • Remove the indicated screws (M3 x 16mm Pan Hd. ST T-10 Screws) with screwdriver.

  3. tdknR4EUcTCnCdnE
    tdknR4EUcTCnCdnE
    ufwBTGoJVJXgG6Jw
    wkiEZpJGydFWUPSQ
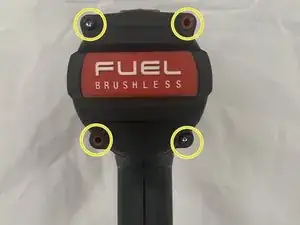
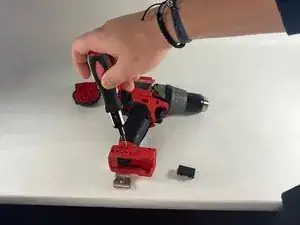
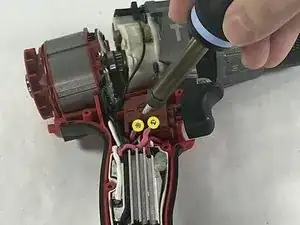
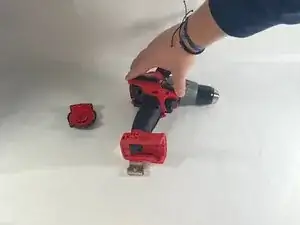
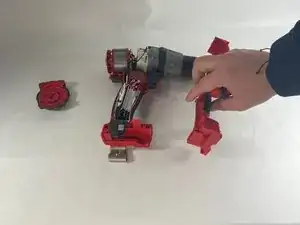
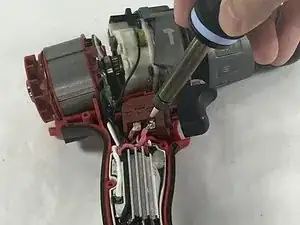
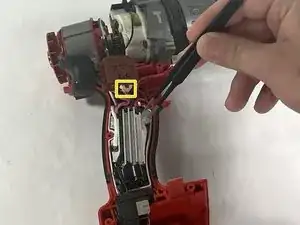
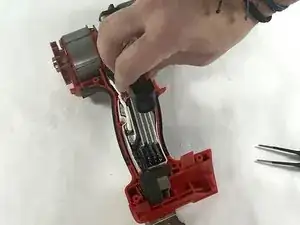
    • Gently lift the cover off the drill. Be careful not to force it or damage any of the internal components.

    • If the cover doesn't come off easily, check for any clips or latches that may be holding it in place. These can usually be released by pressing them with a small flathead screwdriver.

  4. Gsq2DJF6GUMLHsqF
    Gsq2DJF6GUMLHsqF
    QYEPP52UkQqhrQor
    • Desolder the two solder joints on the trigger assembly.

    • USE CAUTION! Soldering irons get extremely hot, as will everything they make prolonged contact with.

  5. KsAyXqiDxdIsRVgD
    KsAyXqiDxdIsRVgD
    tNUberIdpVtEbL1M
    • Using tweezers, remove the header connector.

    • To avoid damage, be careful replicating this step in both the removal and replacement processes.

  6. TrYLRdMCdSH5FHte
    • Remove the trigger mechanism entirely.

Conclusion

To reassemble your device, follow these instructions in reverse order.

Brandon Farquharson

Member since: 13/03/23

147 Reputation

0 comments