Introduzione
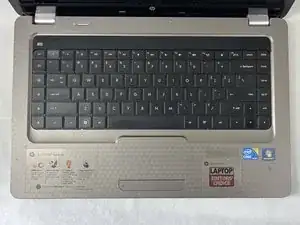
If your HP G62-234DX laptop's keyboard is not working, use this guide to replace the keyboard.
The keyboard on a laptop is a user input interface, meaning it allows the user to input information and functions and interact with the laptop. When one key or several do not work, it can be difficult or impossible to use the device. Keys have a limited number of keystrokes and may need to be replaced during the lifetime of your laptop.
Before you begin, turn off the laptop and unplug from the charger.
-
-
Place your laptop on a clean, flat surface with the bottom facing up.
-
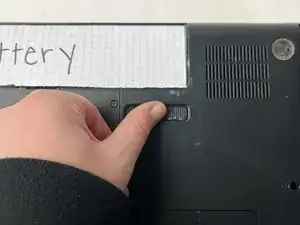
Slide the battery lock to the left.
-
Slide the battery out from the laptop while holding the lock to the left.
-
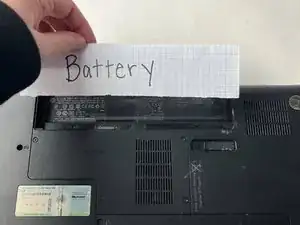
Remove the battery.
-
-
-
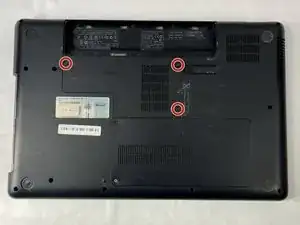
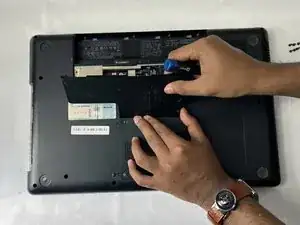
Use a Phillips #0 screwdriver to remove the three 6.0 mm screws.
-
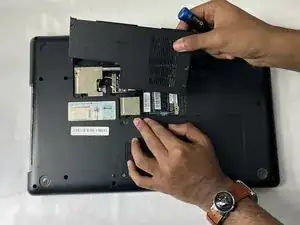
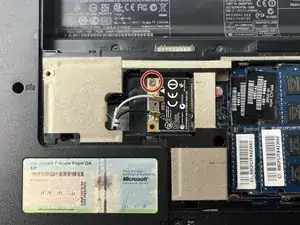
Remove the back panel to access the Wi-Fi card.
-
-
-
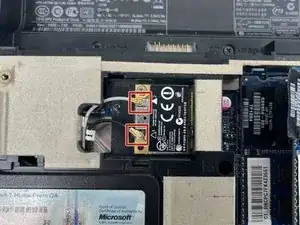
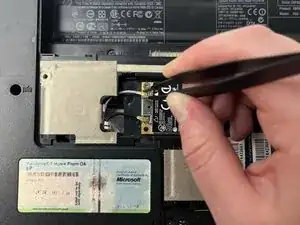
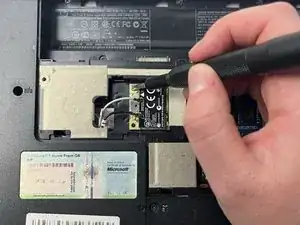
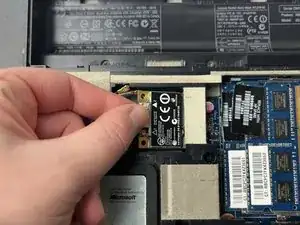
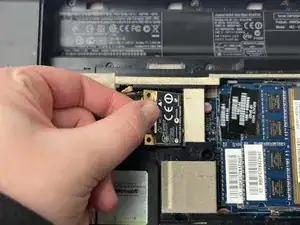
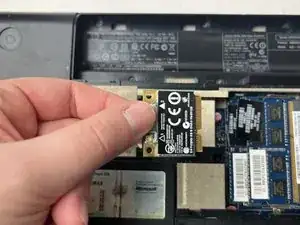
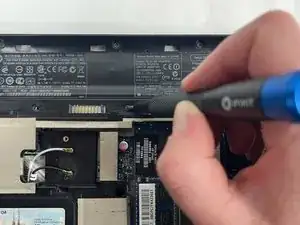
Slide a thin, ESD-safe pry tool or tweezers under the wire until it's snug against the connector, and pry straight up from the board to disconnect the coaxial cables from the Wi-Fi card.
-
-
-
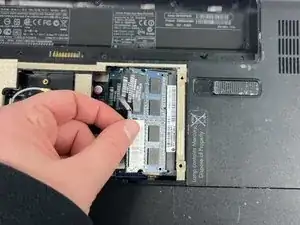
Release the tabs on each side of the chip by simultaneously pushing each tab away from the RAM chip.
-
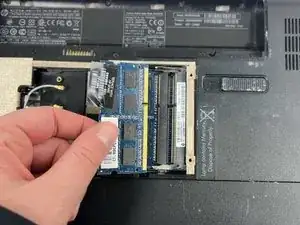
Slide the RAM card out of the slot to remove it.
-
-
-
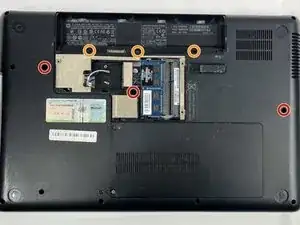
Use a Phillips #0 screwdriver to remove three 6.5 mm screws.
-
Use a Phillips #0 screwdriver to remove three 5.0 mm screws.
-
-
-
Rotate the laptop back to its standard orientation and flip open the screen.
-
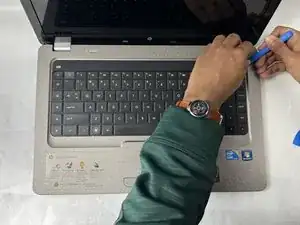
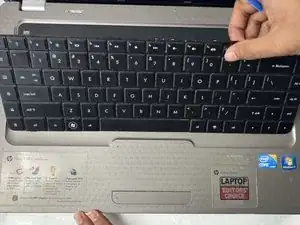
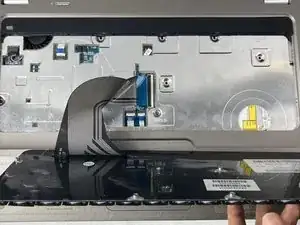
Use the iFixit opening tool to separate the keyboard from the tabs. Start from one point on the edge and work your way around until all of the tabs are released.
-
-
-
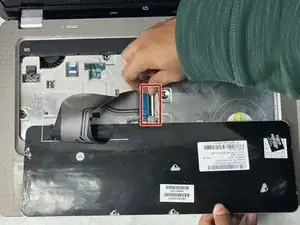
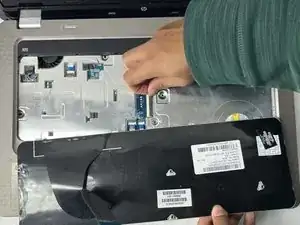
Flip up the locking flap using either your fingernail, or a spudger.
-
Remove the ribbon from the ZIF connector.
-


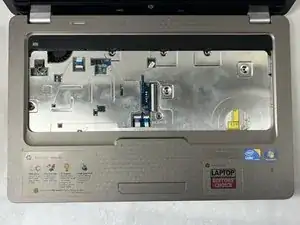
To reassemble your device, follow these instructions in reverse order with the replacement keyboard. Make sure to be careful when reconnecting small or delicate pieces, and don't rush!