Introduzione
If your HP G62-234DX laptop is not connecting to Wi-Fi or is constantly buffering despite being in range of a reliable network, use this guide to replace the Wi-Fi card.
This guide will provide a breakdown of the Wi-Fi care replacement process. Following these steps will help you replace your Wi-Fi if it is not working properly.
The Wi-Fi card allows the device to connect to a network wirelessly. Inability to connect to a network makes it is impossible to go online or upload work to the cloud. This limits the functionality of the laptop and is not ideal for most laptop users.
Before using this guide, make sure there is not an issue with the Wi-Fi network itself as this would also prevent you from having a stable connection to the internet or even connecting at all.
Before the repair, turn off your laptop and disconnect from the charger.
-
-
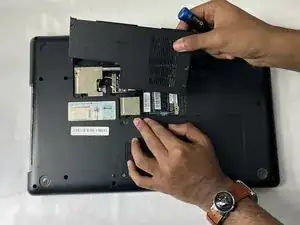
Place your laptop on a clean, flat surface with the bottom facing up.
-
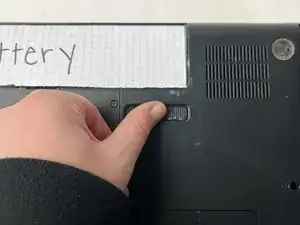
Slide the battery lock to the left.
-
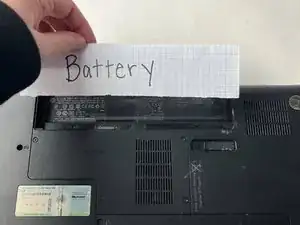
Slide the battery out from the laptop while holding the lock to the left.
-
Remove the battery.
-
-
-
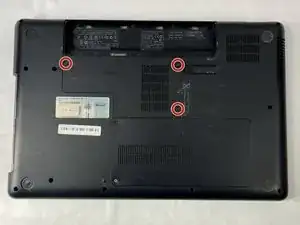
Use a Phillips #0 screwdriver to remove the three 6.0 mm screws.
-
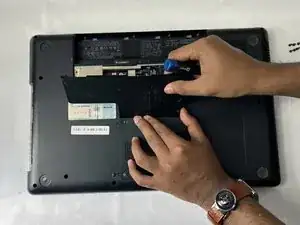
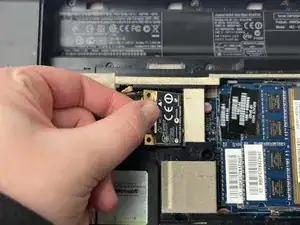
Remove the back panel to access the Wi-Fi card.
-
-
-
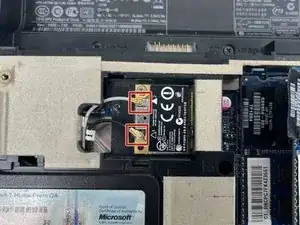
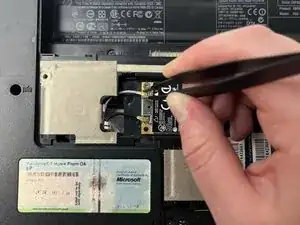
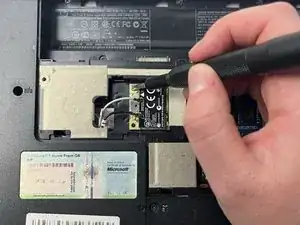
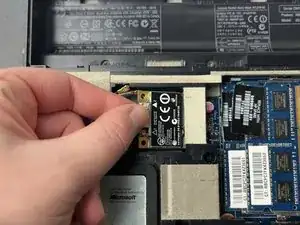
Slide a thin, ESD-safe pry tool or tweezers under the wire until it's snug against the connector, and pry straight up from the board to disconnect the coaxial cables from the Wi-Fi card.
-


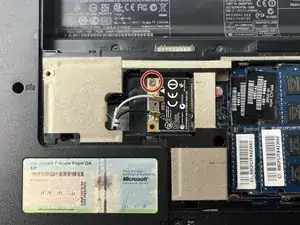
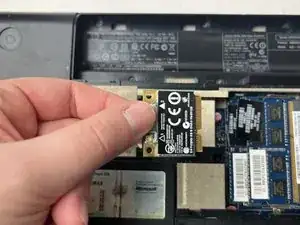
To reassemble your device, follow these instructions in reverse order. Make sure to be careful when attaching the wires back into the Wi-Fi card, they can be very fragile.