Introduzione
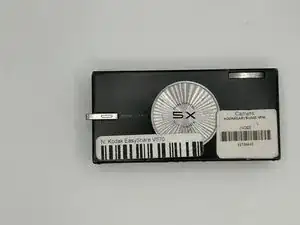
This guide is created to teach others how to take apart a Kodak EasyShare V570.
There may be problems in the internals of your Kodak EasyShare V570. It could be a faulty motherboard, a blown circuit, or any number of other problems! This guide will help you take apart your camera and identify the problem! In this guide, we won't be going farther than the first layer of screws, as the creators of this guide do not have the tools for wiring.
-
-
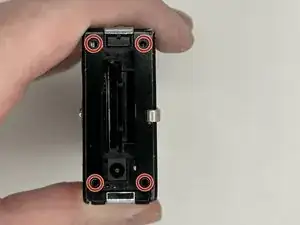
Remove the four corner screws using a Philips #000 Screwdriver.
-
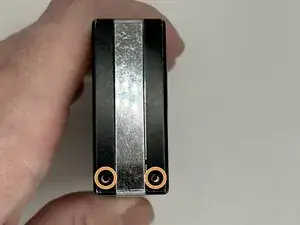
On the right side of the camera, remove the two Phillips #000 screws at the bottom.
-
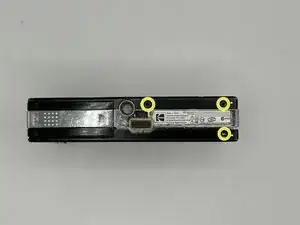
On the underside of the camera, remove the three Phillips #000 screws.
-
-
-
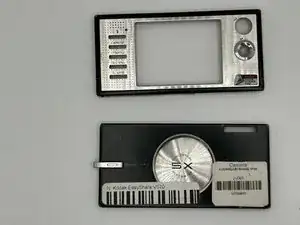
As soon as all the screws from the casing are removed, use the iFixit opening pick to slide around the border.
-
If the cover appears loose, try to take it off (with your fingers) while slightly wiggling it, and it should detach.
-