Introduzione
Guida solo prerequisita per rimuovere il display del tuo Pixel 2 XL.
-
-
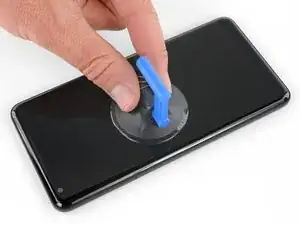
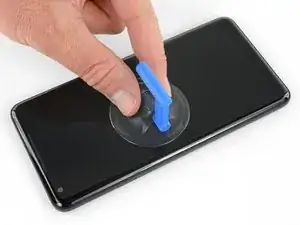
Applica una ventosa il più vicino possibile al lato SIM del telefono, appena prima della curva del bordo.
-
-
-
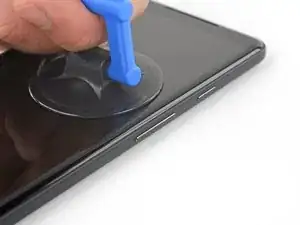
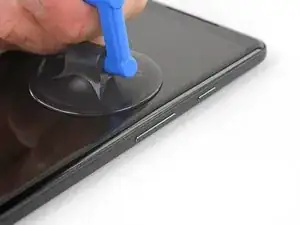
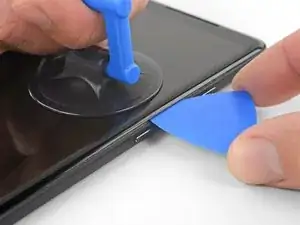
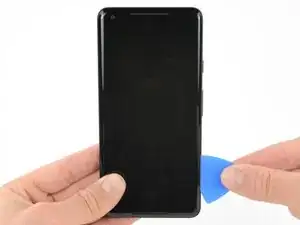
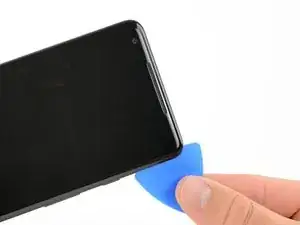
Tira la ventosa con una trazione decisa e costante e inserisci un plettro di apertura tra il pannello frontale e la cover posteriore.
-
-
-
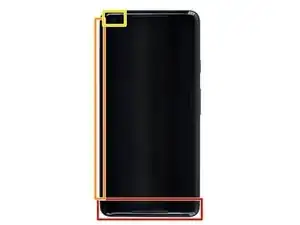
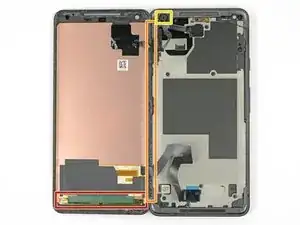
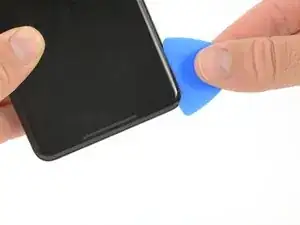
Non inserire il plettro per più di 6 mm nel bordo inferiore del telefono. Se il plettro entrasse in contatto con la parte curvata del pannello OLED, lo schermo potrebbe danneggiarsi.
-
Non tagliare lungo il bordo sinistro: ci sono dei delicati cavi del display che potrebbero danneggiarsi.
-
Nell'angolo superiore sinistro, limitati a dei tagli molto superficiali: infilando l'attrezzo molto all'interno potresti danneggiare la fotocamera anteriore.
-
-
-
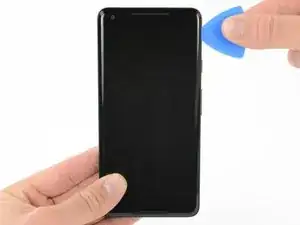
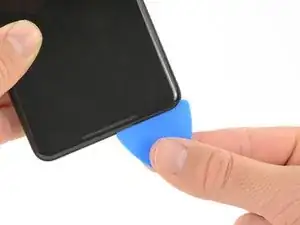
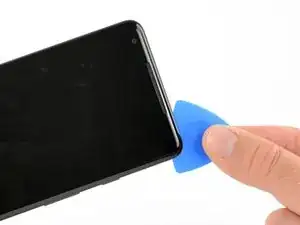
Fai scorrere il plettro di apertura verso il basso lungo il lato destro del telefono per staccare la colla dello schermo.
-
-
-
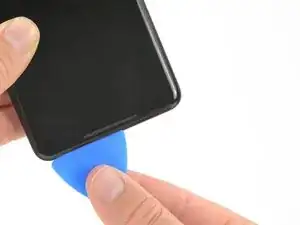
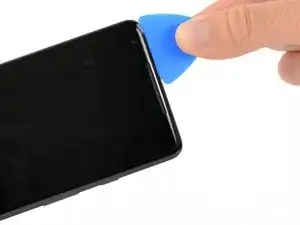
Fai scorrere il plettro di apertura attorno all'angolo inferiore destro e lungo il bordo inferiore del telefono.
-
-
-
Inserisci di nuovo il bordo piatto del plettro nell'angolo superiore destro del telefono e fallo scorrere attorno all'angolo e al bordo superiore.
-
-
-
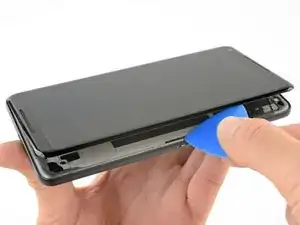
Solleva delicatamente lo schermo dal lato destro del telefono, aprendolo come se fosse un libro.
-
Disponi delicatamente il display di piatto sul tavolo vicino alla parte rimanente del telefono, tenendolo vicino per evitare di forzare i cavi del digitizer e dello schermo.
-
-
-
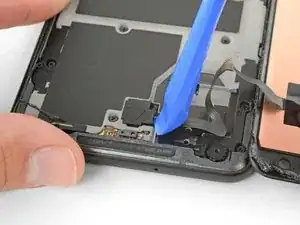
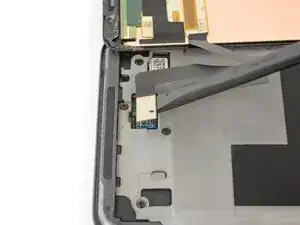
Usa l'angolo di uno strumento di apertura per sollevare la cover del connettore del cavo del digitizer.
-
Rimuovi la cover del connettore.
-
-
-
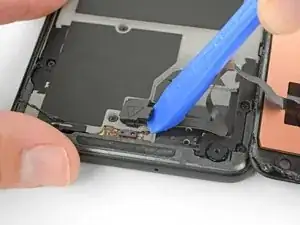
Usa l'estremità a punta di uno spudger per sollevare il connettore del cavo del digitizer e staccarlo dal suo zoccolo sulla scheda madre.
-
-
-
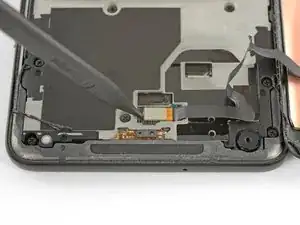
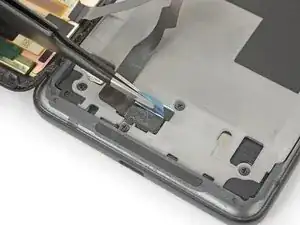
Usa delle pinzette per rimuovere eventuali nastri adesivi sulla cover del connettore dello schermo.
-
-
-
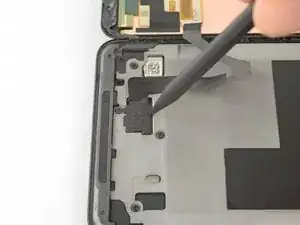
Inserisci l'estremità a punta di uno spudger nel piccolo foro sul bordo della cover del connettore dello schermo.
-
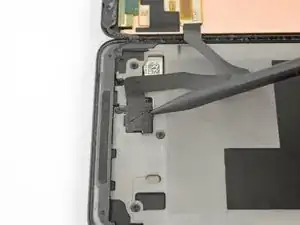
Usa lo spudger per estrarre la cover dal suo alloggiamento.
-
Rimuovi la cover del connettore.
-
-
-
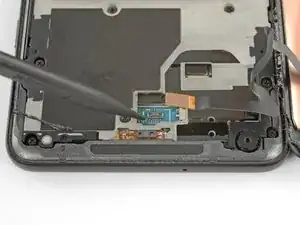
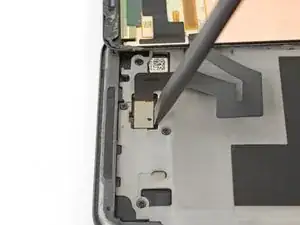
Usa l'estremità piatta di uno spudger per sollevare il connettore del cavo del display dal suo zoccolo.
-
Rimuovi lo schermo.
-

Per rimontare il tuo dispositivo, segui queste istruzioni in ordine inverso.

Shouldn’t this be “As close as possible to the volume rocker”?
Mihai Turdean -
Forget about the tiny toy suction cup they provide to battery replacement kits. I used a dent puller from an automotive shop. The smallest they had was just small enough for the Pixel's screen. I still needed to heat the edges with a heat gun.
Tamás Polgár -
I wish someone tell me in advance that if I doing this replacement after using phone for a few years it better to have spare "display adhesive" and be ready to follow Google Pixel 2 XL Display Adhesive Replacement
Original adhesive become dirty with time and fat chances it will be damaged during opening phase. In my case I replaced battery but can't use the phone, as still waiting for adhesive to be delivered
Maxim Vorontsov -