
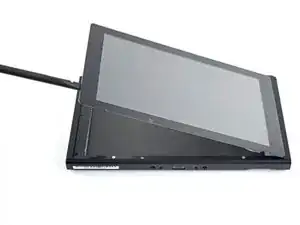
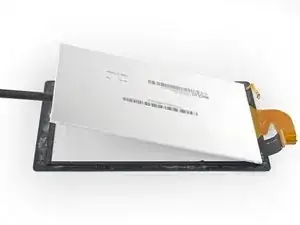
Introduzione
Questa è una guida solo prerequisita! Fa parte di un'altra procedura e non deve essere seguita da sola.
-
-
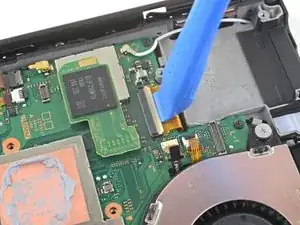
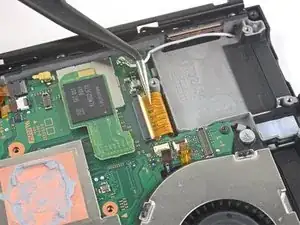
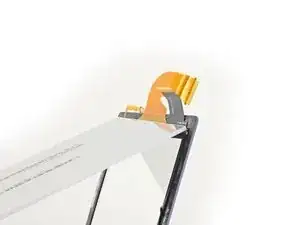
Usa uno strumento di apertura, uno spudger o un'unghia per ruotare verso l'alto l'aletta di bloccaggio incernierata sul connettore ZIF del cavo a nastro dello schermo.
-
-
-
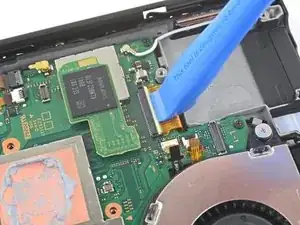
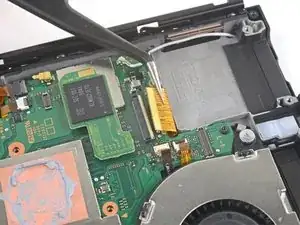
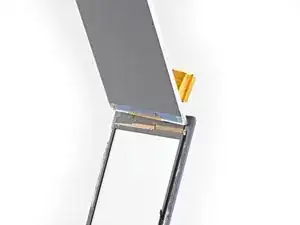
Usa uno strumento di apertura, uno spudger o un'unghia per ruotare verso l'alto l'aletta di bloccaggio incernierata sul più piccolo connettore ZIF del cavo a nastro dello schermo.
-
-
-
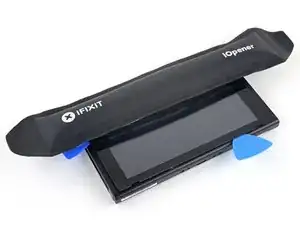
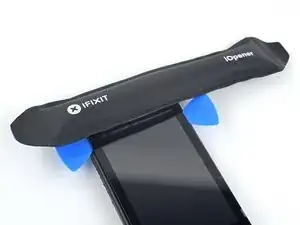
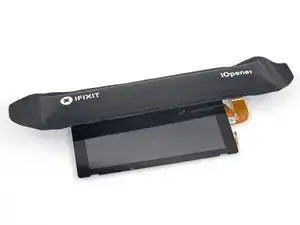
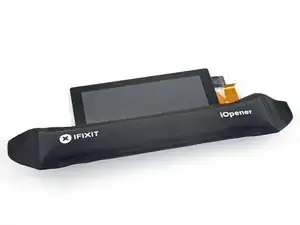
Scalda un iOpener e appoggialo al bordo inferiore dello schermo per un paio di minuti per ammorbidire l'adesivo.
-
-
-
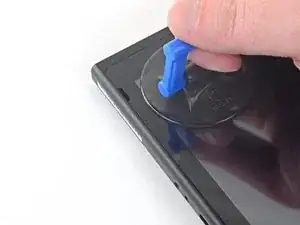
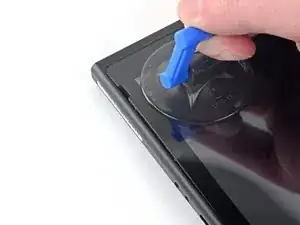
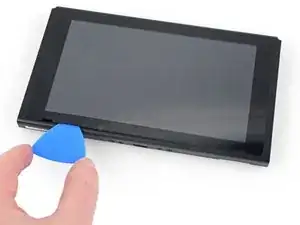
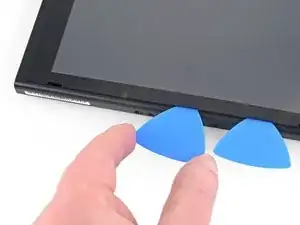
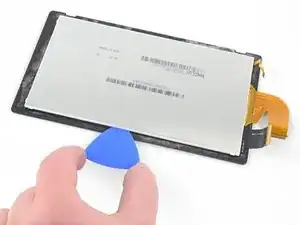
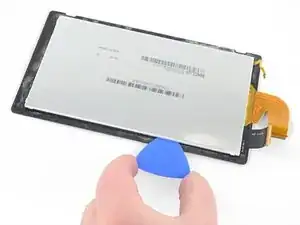
Fai aderire una ventosa all'angolo in basso a sinistra dello schermo.
-
Tira verso l'alto la ventosa con forza costante per creare una fessura.
-
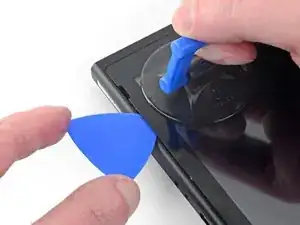
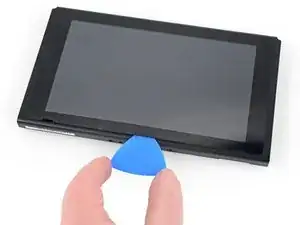
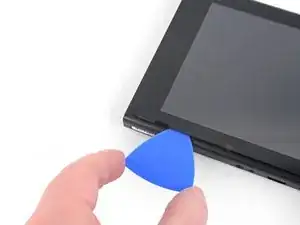
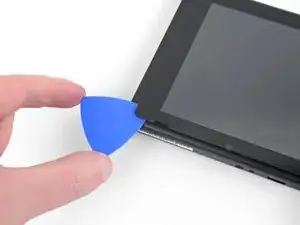
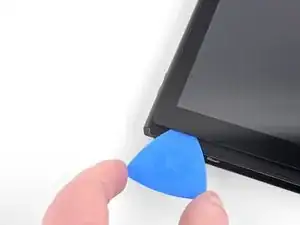
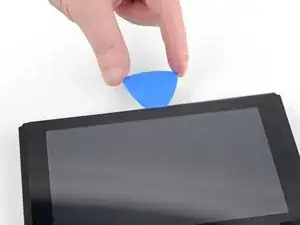
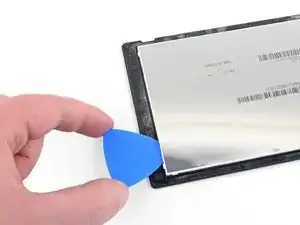
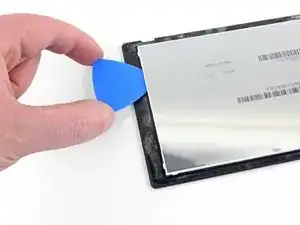
Infila la punta di un plettro nella fessura, assicurandoti di infilarlo solo per 5 mm.
-
-
-
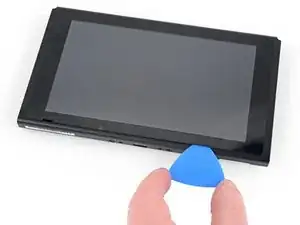
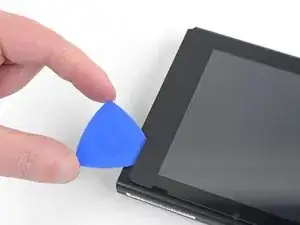
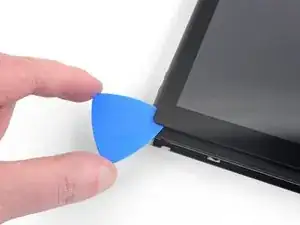
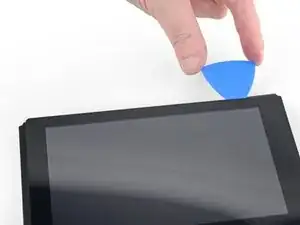
Fai scorrere il plettro sotto il bordo inferiore dello schermo per tagliare l'adesivo.
-
Lascia il plettro infilato sotto lo schermo per evitare che l'adesivo si reincolli.
-
-
-
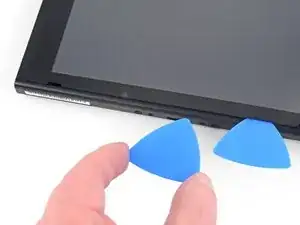
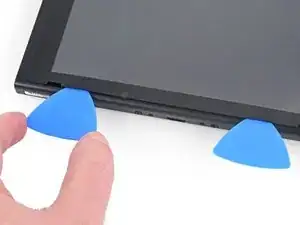
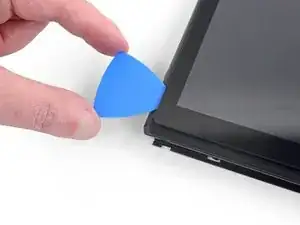
Infila un secondo plettro nella fessura a sinistra del primo plettro.
-
Fai scorrere indietro il secondo plettro verso il lato sinistro del dispositivo.
-
Lascia il plettro infilato.
-
-
-
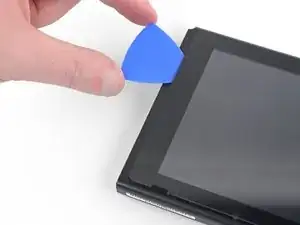
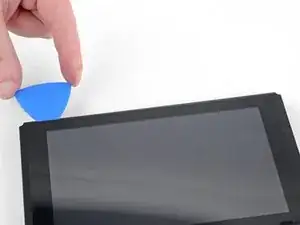
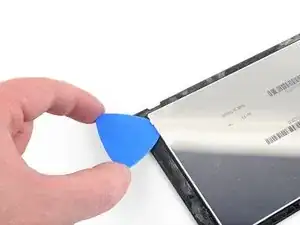
Continua a far scorrere il plettro attorno all'angolo in basso a sinistra per tagliare l'adesivo.
-
-
-
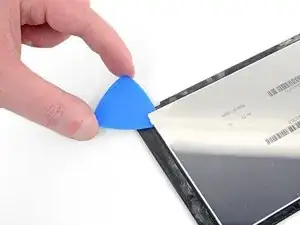
Continua a far scorrere il plettro sotto il bordo sinistro dello schermo per tagliare l'adesivo.
-
-
-
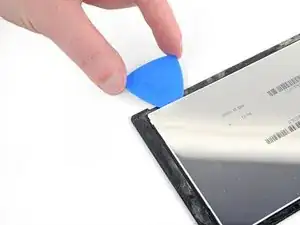
Continua a far scorrere il plettro attorno all'angolo in alto a sinistra dello schermo per tagliare l'adesivo.
-
-
-
Continua a far scorrere il plettro sotto il bordo superiore dello schermo per tagliare l'adesivo.
-
-
-
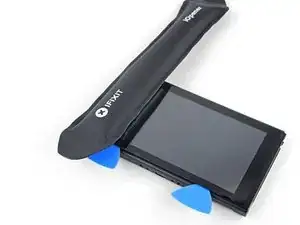
Scalda il bordo destro dello schermo per un paio di minuti per ammorbidire l'adesivo.
-
Infila la parte piatta di uno spudger nella fessura sotto il bordo sinistro dello schermo.
-
Solleva attentamente e lentamente il bordo sinistro dello schermo, aprendolo come un libro.
-
-
-
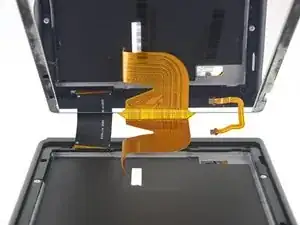
Solleva il bordo destro dello schermo dal dispositivo, facendo passare i cavi a nastro attraverso la cornice.
-
-
-
Scalda il bordo superiore del gruppo dello schermo per un paio di minuti per ammorbidire l'adesivo che tiene insieme il pannello LCD e il digitizer.
-
-
-
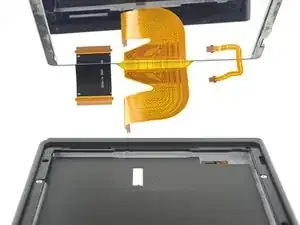
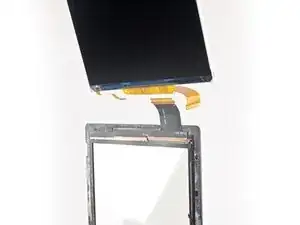
Gira il gruppo dello schermo a faccia in giù.
-
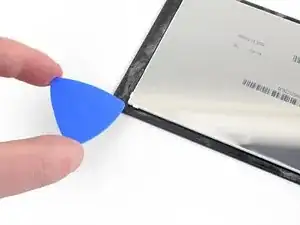
Infila un plettro tra il pannello LCD e il digitizer sotto l'angolo in alto a sinistra.
-
Fai scorrere il plettro sotto il bordo superiore del gruppo dello schermo per tagliare l'adesivo.
-
-
-
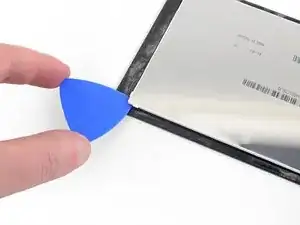
Scalda il bordo sinistro del gruppo dello schermo per un paio di minuti per ammorbidire l'adesivo.
-
-
-
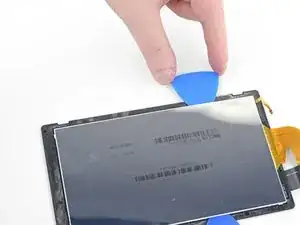
Infila il plettro e fallo scorrere sotto il bordo sinistro del gruppo dello schermo per tagliare l'adesivo.
-
-
-
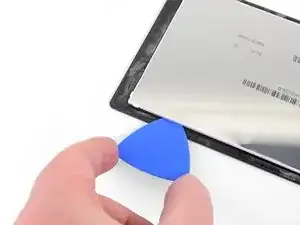
Continua a far scorrere il plettro attorno all'angolo in basso a sinistra del gruppo dello schermo per tagliare l'adesivo.
-
-
-
Scalda il bordo inferiore del gruppo dello schermo per un paio di minuti per ammorbidire l'adesivo.
-
-
-
Scalda il bordo destro del gruppo dello schermo per un paio di minuti per ammorbidire l'adesivo.
-
-
-
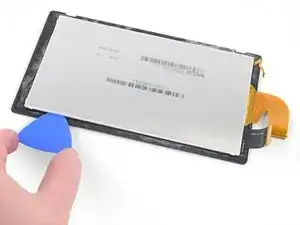
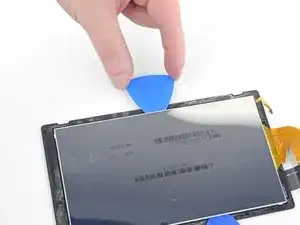
Infila la parte piatta di uno spudger tra il pannello LCD e il digitizer nel bordo sinistro del gruppo dello schermo.
-
Solleva attentamente e lentamente il bordo sinistro del pannello LCD, aprendolo come un libro.
-


Per rimontare il dispositivo, segui le istruzioni in ordine inverso.

How to replace locking flap incase it flys off
Jonathan D'Costa -