
Introduzione
Usa questa guida per sostituire l'altoparlante sinistro di un MacBook Air 13" 2019. È l'altoparlante sul lato della porta USB-C del case.
Ricambi
-
-
Se il tuo MacBook funziona con Big Sur v11.1 o successive, disattivare l'Auto Boot potrebbe non funzionare. Puoi procedere normalmente, ma assicurati di scollegare la batteria appena sei dentro.
-
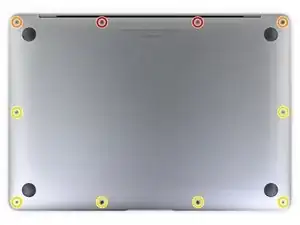
Usa un cacciavite pentalobe P5 per rimuovere le viti seguenti:
-
Due viti da 7,9 mm
-
Due viti da 7,1 mm
-
Sei viti da 2,6 mm
-
-
-
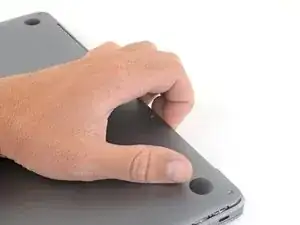
Infila le dita tra lo schermo e il case inferiore per sollevare dall'Air la cover stessa.
-
Rimuovi il case inferiore.
-
-
-
Stacca il nastro adesivo che copre il connettore della batteria quanto basta per scoprire lo stesso connettore.
-
-
-
Usa uno spudger per far scorrere il connettore della batteria parallelamente alla scheda logica, tirandolo fuori dal suo zoccolo sulla scheda.
-
-
-
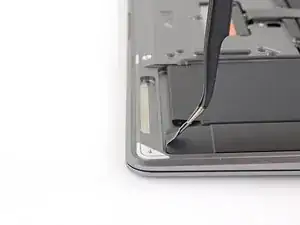
Usa delle pinzette per sollevare la linguetta dell'adesivo nero sulla parte inferiore dell'altoparlante sinistro, quanto basta a poterla afferrare con le dita.
-
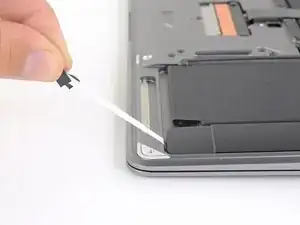
Afferra la linguetta della striscia adesiva e, lentamente e con cautela, tira fuori la striscia adesiva da sotto l'altoparlante.
-
Se la striscia adesiva si rompe, lasciala dov'è e procedi con il passo successivo.
-
-
-
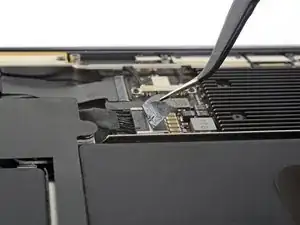
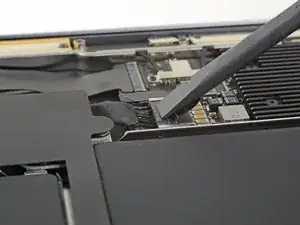
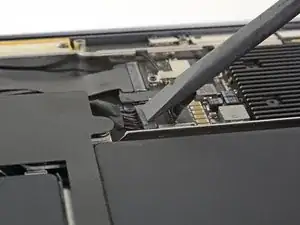
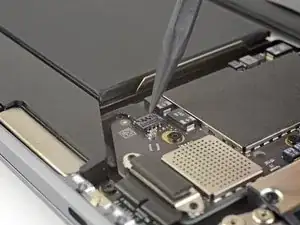
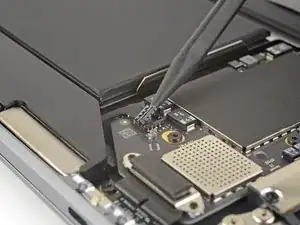
Fai scorrere la punta di uno spudger sotto il cavo dell'altoparlante destro e fai leva verso l'alto per scollegare lo speaker.
-
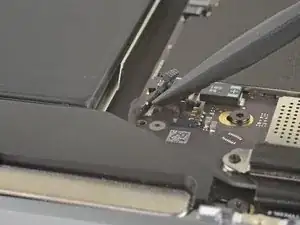
Una volta scollegato il connettore, fai scorrere l'estremità piatta di uno spudger sotto il cavo per staccare l'adesivo che fissa il cavo alla scheda logica.
-
-
-
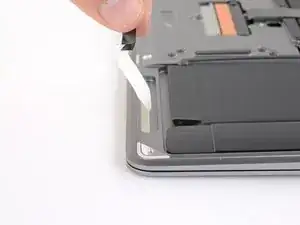
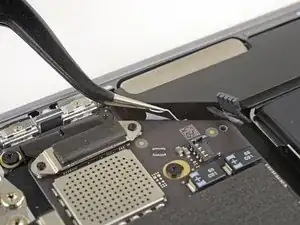
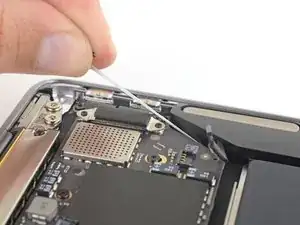
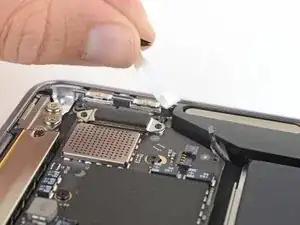
Usa delle pinzette per sollevare la linguetta della striscia adesiva sopra dell'altoparlante sinistro, quanto basta per poterla afferrare con le dita.
-
Afferra la linguetta della striscia adesiva e, lentamente e con cautela, tira fuori la striscia adesiva da sotto l'altoparlante.
-
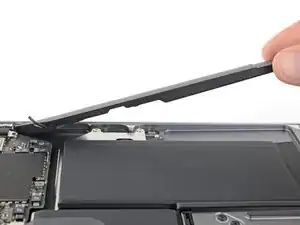
Applica del calore sull'altoparlante per ammorbidire l'adesivo sottostante.
-
Fai scorrere con delicatezza uno spudger o un plettro di apertura sotto l'altoparlante per staccare l'adesivo.
-
Confronta la tua parte di ricambio con quella originale: potrebbe essere necessario il trasferimento di alcuni componenti o la rimozione di protezioni adesive dalla parte nuova prima di installarla.
Per rimontare il tuo dispositivo, segui i passi della guida in ordine inverso.
Porta i tuoi rifiuti elettronici a un riciclatore certificato R2 o e-Stewards.
La riparazione non è andata secondo i piani? Vai sulla nostra comunità Risposte per trovare aiuto nella risoluzione dei problemi.

If the first thing you do is disconnect the battery, is it really an issue if you don’t (or can’t) disable auto-boot?
maccentric -
I agree, why disable Auto-Boot when the lid is closed and the battery is disconnected immediately? – I've never had an issue since 2016 when the feature was introduced.
stevebsiegel -
On my machine, the longest two screws were in the corners, while the other two long screws were in the middle. Perhaps previous service in the past had them replaced into the wrong place? In any case, the longest screws do seem to fit in either place. I guess 0.8mm is not very much of a difference. Seems like poor design if they could have used one size of screw.
johann beda -
Just did one, and it also had longest screws in the corners.
maccentric -
Just did another, and the long ones were in the middle. Definitely poor design and quality control.
maccentric -