Introduzione
Usa questa guida per rimuovere e sostituire in sicurezza una batteria esausta in uno Steam Deck LCD.
Per la tua sicurezza, accendi il tuo Steam Deck e lascia che la batteria si scarichi sotto al 25% prima di iniziare la tua riparazione. Una batteria agli ioni di litio carica può essere molto pericolosa se viene accidentalmente forata. Scaldare una batteria carica rappresenta un rischio di incendio.*** Se la batteria sembra gonfia, prendi precauzioni aggiuntive.
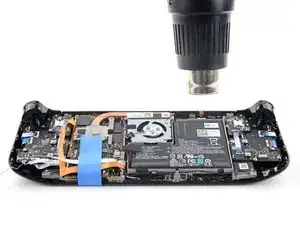
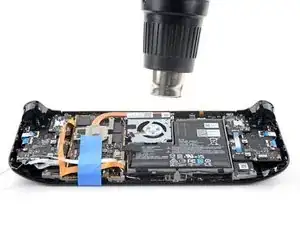
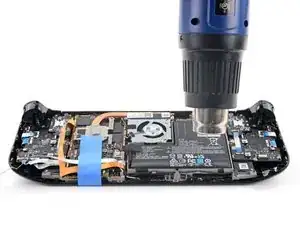
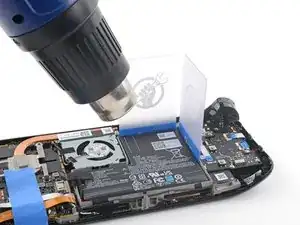
Nota: La batteria è incollata saldamente allo Steam Deck, il che richiede molti cicli ripetuti di riscaldamento e sollevamento. Il calore prodotto da un iOpener potrebbe non essere sufficiente per ammorbidire l'adesivo, quindi per questa procedura è raccomandata una pistola termica (o, in alternativa, un asciugacapelli).
Ricorda: segui le [ESD#Section_Minimize_ESD_Risk|procedure di sicurezza generali per le scariche elettrostatiche (ESD)|new_window=true] mentre ripari il dispositivo.
Non riutilizzare la batteria dopo averla rimossa, poiché è un potenziale pericolo per la sicurezza. Sostituiscila con una nuova batteria.
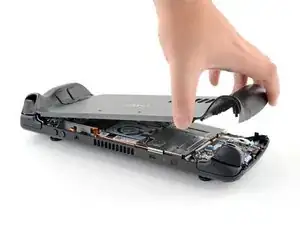
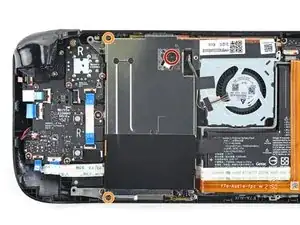
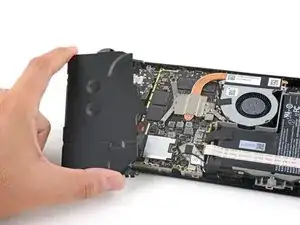
Nota: Valve ha iniziato a spedire gli Steam Deck LCD con design interni aggiornati all'inizio del 2023. Il tuo Steam Deck potrebbe avere un aspetto diverso rispetto a quello raffigurato nelle foto, ma la procedura è molto simile. Rimuovi il case posteriore per verificare quale versione possiedi. Lo Steam Deck originale avrà una protezione in lamiera semplice sulla scheda madre e una ventola con lati quadrati, come mostrato qui. Lo Steam Deck aggiornato avrà una protezione in lamiera nera sulla scheda madre e una ventola con lati curvi, come mostrato qui.
- Trova le guide per Steam Deck OLED qui.
-
-
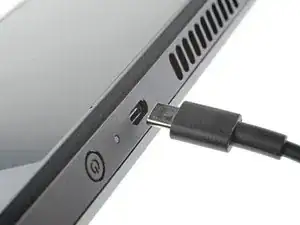
Accendi il tuo Steam Deck e lascia che la batteria si scarichi sotto il 5% prima di iniziare le riparazioni. Una batteria ai polimeri di litio carica può essere pericolosa se perforata accidentalmente.
-
-
-
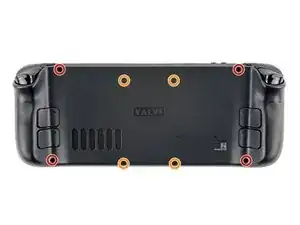
Usa un cacciavite a croce Phillips per rimuovere le otto viti che fissano la cover posteriore:
-
Quattro viti da 9,5 mm
-
Quattro viti da 5,8 mm
-
-
-
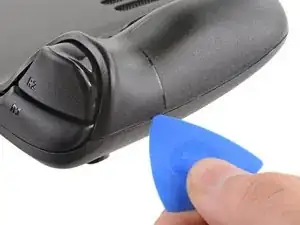
Inserisci un plettro di apertura nella fessura sottile tra la cover posteriore e il guscio frontale, lungo il bordo di una delle impugnature.
-
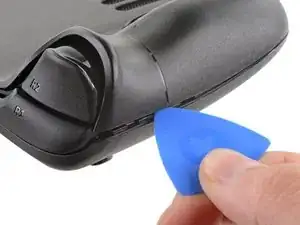
Fai leva sulla cover posteriore per sganciare le clip di bloccaggio.
-
-
-
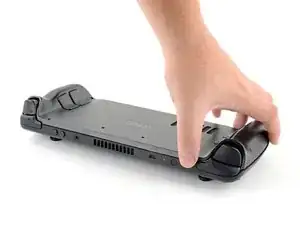
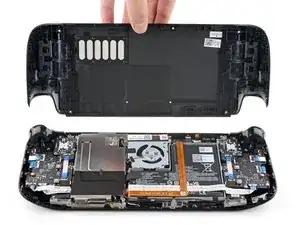
Afferra la cover posteriore dall'apertura che hai appena creato e sollevala e allontanala dal dispositivo per sganciare le clip sui lati lunghi.
-
Rimuovi la cover posteriore.
-
-
-
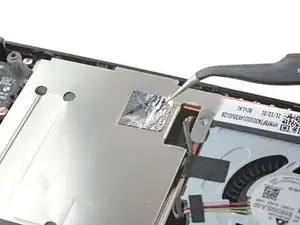
Se possiedi una versione aggiornata dello Steam Deck con la copertura nera della scheda madre, salta questo passaggio.
-
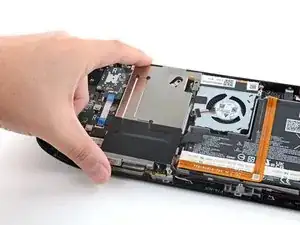
Usa un paio di pinzette per rimuovere il pezzo di foglio d'alluminio che copre la vite nascosta sulla protezione della scheda madre.
-
-
-
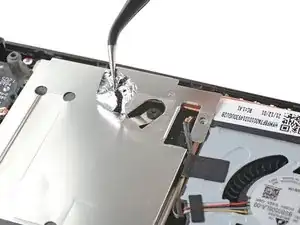
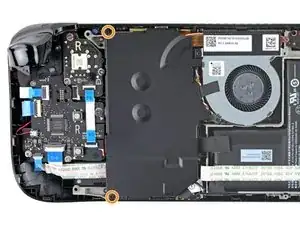
Usa un cacciavite a croce Phillips per rimuovere le tre viti che tengono ferma la protezione della scheda:
-
Una vite da 3,4 mm
-
Due viti da 3,7 mm
-
-
-
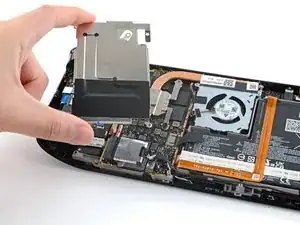
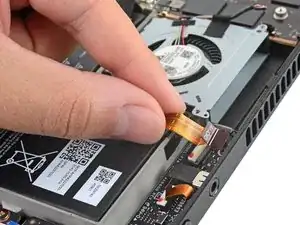
Prendi il cavo della batteria dalla sua linguetta e tiralo via dalla scheda madre per scollegarlo.
-
-
-
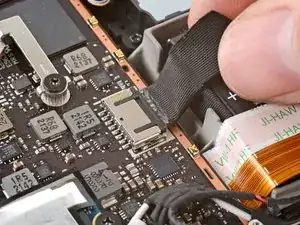
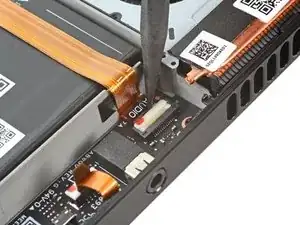
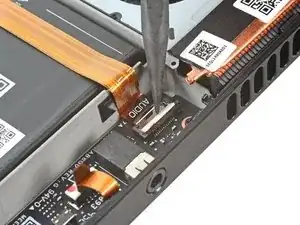
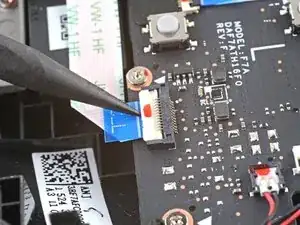
Usa la punta di uno spudger per sollevare l'aletta di bloccaggio sul connettore ZIF del cavo audio.
-
-
-
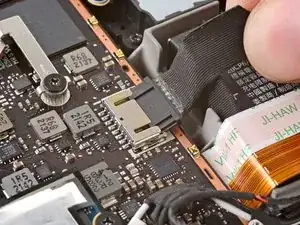
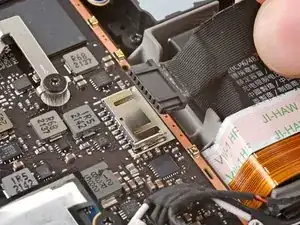
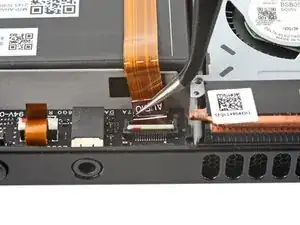
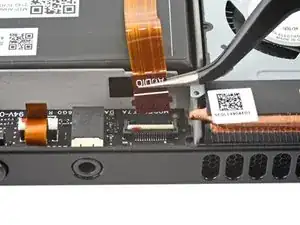
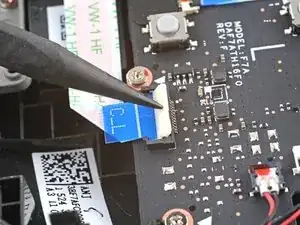
Usa la punta di uno spudger per sollevare l'aletta di bloccaggio sul connettore ZIF della scheda dei pulsanti.
-
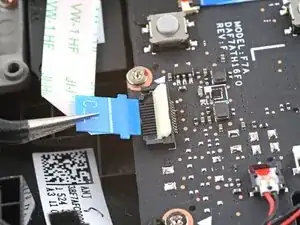
Usa un paio di pinzette per far scorrere il cavo via dal suo connettore.
-
-
-
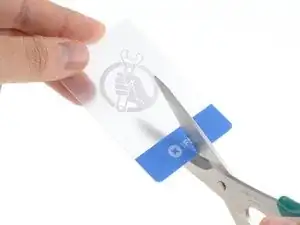
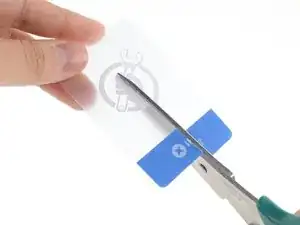
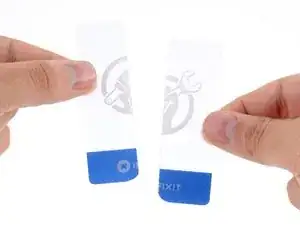
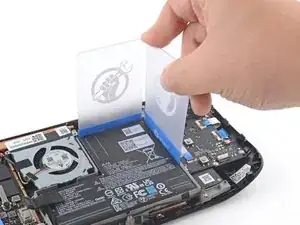
Usa un paio di forbici per tagliare una scheda di plastica a metà per il lato lungo.
-
Arrotonda tutti gli angoli appuntiti, perché potrebbero graffiare o forare la batteria.
-
-
-
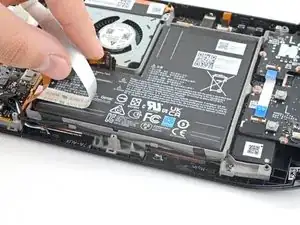
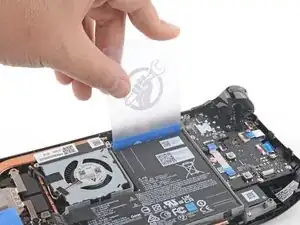
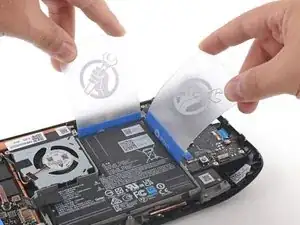
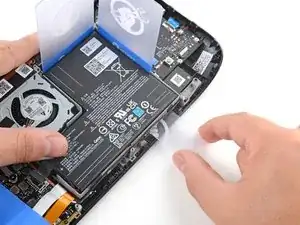
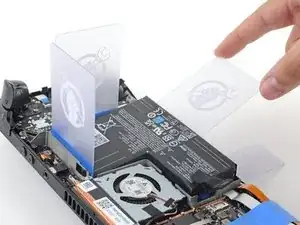
Inserisci un scheda in plastica non tagliata tra il bordo superiore della batteria e la cornice.
-
Inserisci una seconda scheda in plastica tra il bordo destro della batteria e la cornice.
-
-
-
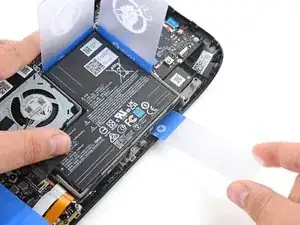
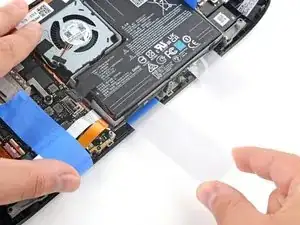
Inserisci una delle schede in plastica tagliate sotto la batteria vicino al bordo inferiore destro.
-
Spingi la scheda al di sotto per tagliare l'adesivo della batteria, muovendola da un lato all'altro mentre procedi.
-
-
-
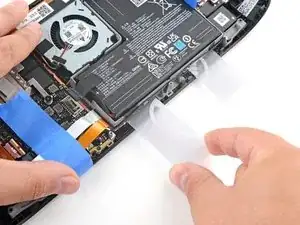
Inserisci la seconda scheda di plastica sotto la batteria vicino al bordo inferiore sinistro.
-
Spingi la scheda al di sotto per tagliare l'adesivo della batteria, muovendola da un lato all'altro mentre procedi.
-
-
-
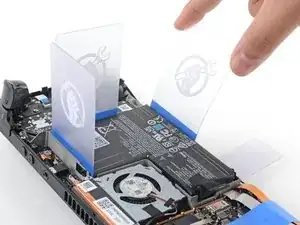
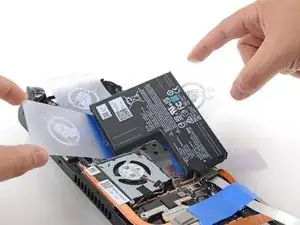
Inserisci una scheda in plastica lungo il bordo inferiore della batteria per sollevarla dalla cornice.
-
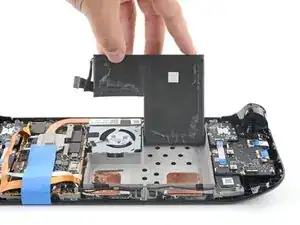
Solleva la batteria, allontanandola dallo Steam Deck per separarla completamente dall'adesivo.
-
Se stai avendo problemi, ripeti il processo di riscaldamento e sollevamento su tutti i bordi finché la batteria non si allenta.
-
-
-
Rimuovi la batteria.
-
Inumidisci un panno privo di pelucchi con dell'alcool isopropilico (>90%) e usalo per rimuovere tutto l'adesivo rimasto dall'alloggiamento della batteria. Non utilizzarne troppo. Evita che goccioli attraverso i fori del telaio.
-
Rimuovi e getta via un lato delle pellicole protettive dei nuovi adesivi e incollali sulla nuova batteria, usando la vecchia batteria come punto di riferimento per capire dove vanno incollati.
-
Rimuovi e getta via le pellicole protettive rimaste. Appoggia la batteria in posizione e premi saldamente.
-


Per rimontare il dispositivo, segui queste istruzioni in ordine inverso.
Porta i tuoi rifiuti elettronici a un riciclatore certificato R2 o e-Stewards.
La riparazione non è andata secondo i piani? Prova delle soluzioni ai problemi di base o chiedi alla nostra comunità Risposte Steam Deck per trovare aiuto.

9 commenti
Is it safe to apply small amounts of >90% isopropyl alcohol under the battery to loosen the adhesive bond? Or would that drip into the screen or other components and potentially cause damage?
Your mileage may vary. Isopropyl alcohol may be an effective method to loosen the adhesive, but you run the risk of excess leaking onto or into the display or other components, due to the cutouts on the battery tray. Your second sentence is spot-on, hence the recommendation to carefully use heat instead.
Why couldn’t they of used pull tabs for the adhesive so this process would not be so difficult and tedious. It would also be less risk of over heating the battery/steam deck or puncturing the battery. This is really the only design choice I can criticize of the steam deck. Pull tabs would of made this a repair the average person could achieve.
I feel like patience is everything in this scenario I mean. Just take your time and relax & it will all be ok ! When dealing with particular situations like this just take you're time simple as that I promise. Especially, since Ifixit.com has some of the best guides EVER!!
It seems crazy to me that they made this process so difficult, surely battery is one of (if not THE) most common things that you'll need to eventually replace? I suppose they must have been limited by what they could achieve?
If your Steam Deck won't charge or turn on, you might need to disconnect your battery and then plug it back in.
I thought my battery had gone completely dead but when I plugged the battery back in, the Steam Deck would then accept a charge.
My Deck wouldn't accept at charge or respond at all prior to disconnecting the battery.
Make sure to try this trick before completely removing your battery.
Thanks iFixit for making these guides.
Duane Degn -