Introduzione
Recupera la tue capacità di conversazione seguendo questa guida per sostituire il cavo combinato della fotocamera iSight e del microfono.
Strumenti
-
-
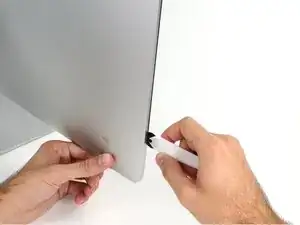
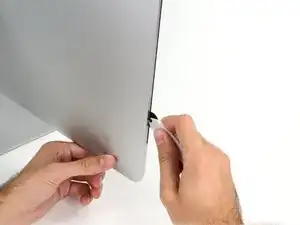
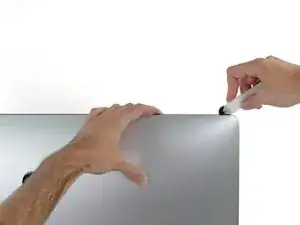
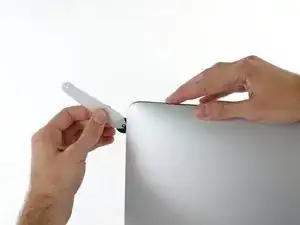
Iniziando sulla parte sinistra del display, accanto al pulsante di alimentazione, inserire l'attrezzo per l'apertura dell'iMac nello spazio fra il pannello di vetro e il case posteriore.
-
-
-
Utilizza l'attrezzo come una rotella tagliapizza: fallo scorrere nella feritoia e taglierà a metà le strisce adesive in schiuma.
-
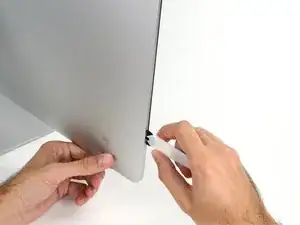
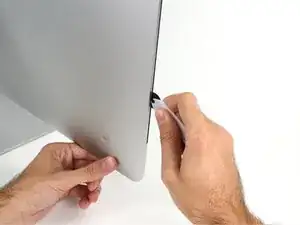
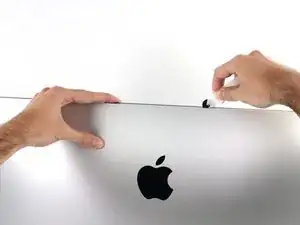
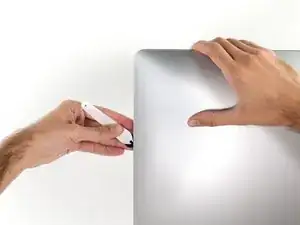
Usa l'attrezzo lungo il lato sinistro del display.
-
-
-
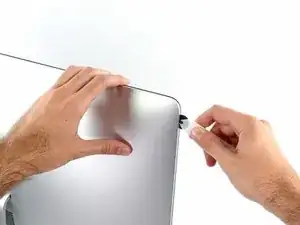
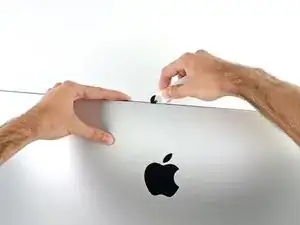
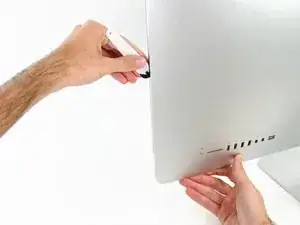
Continuare lungo la parte superiore del display.
-
È consigliabile far scorrere ripetutamente l'attrezzo avanti e indietro lungo la parte già tagliata, per fare in modo di separare il più possibile l'adesivo.
-
-
-
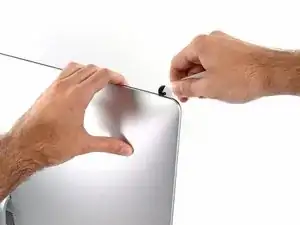
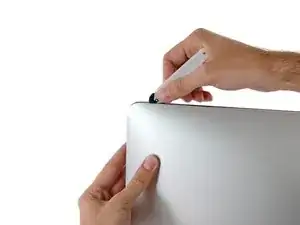
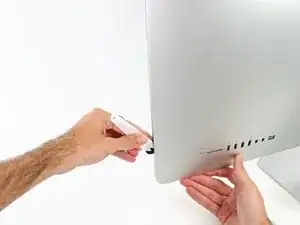
Terminare l'applicazione dell'attrezzo per l'apertura nella parte inferiore del lato destro del display.
-
-
-
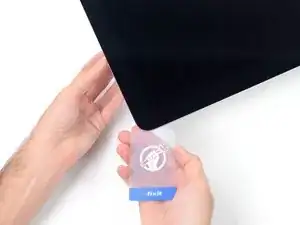
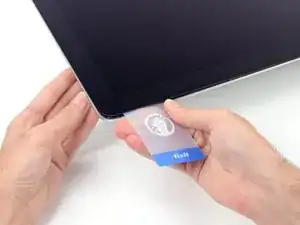
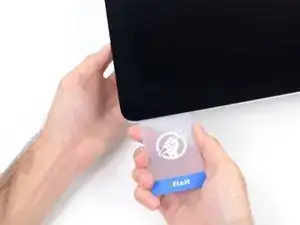
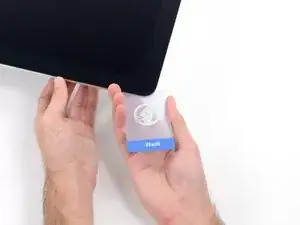
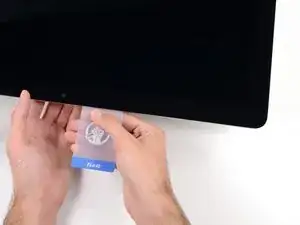
A partire dall'angolo superiore destro dell'iMac, inserire una scheda di plastica fra il display e il telaio.
-
-
-
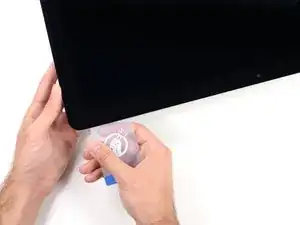
Ruotare delicatamente la scheda di plastica per aumentare lo spazio fra il display e il telaio.
-
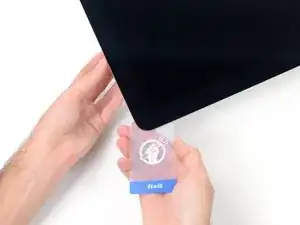
Eseguire movimenti lenti, facendo attenzione a non fare troppa pressione sul vetro del display, poiché occorre solo uno spazio di circa 0,63 cm.
-
-
-
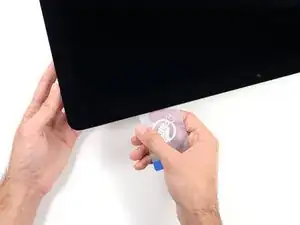
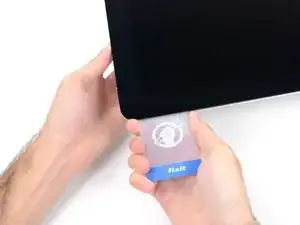
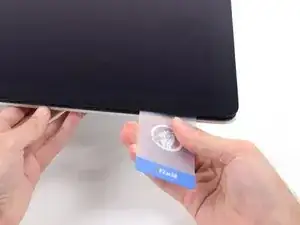
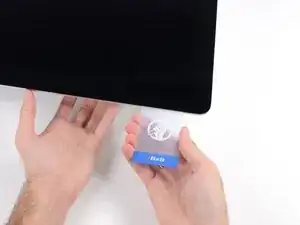
Inserire nuovamente la scheda nell'angolo e lasciarla in sede per evitare che l'adesivo si riattacchi.
-
-
-
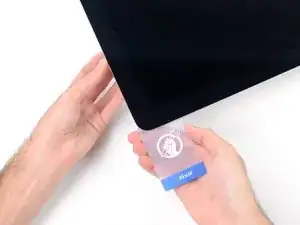
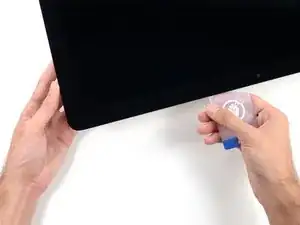
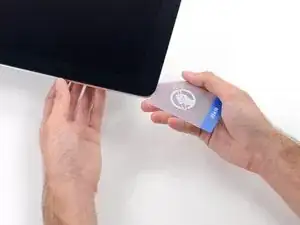
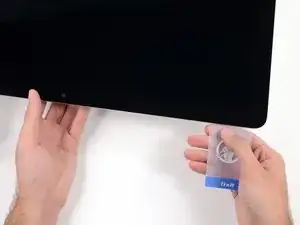
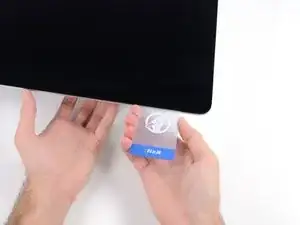
Inserire una seconda scheda nello spazio fra il display e il telaio nell'angolo superiore sinistro.
-
-
-
Ruotare delicatamente la scheda per aumentare leggermente lo spazio fra il display e il telaio.
-
-
-
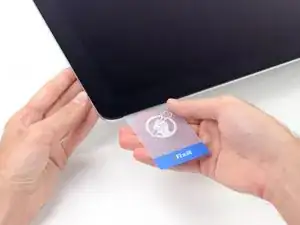
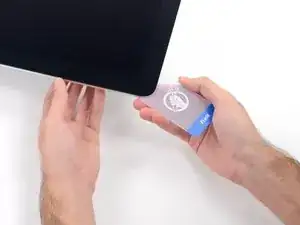
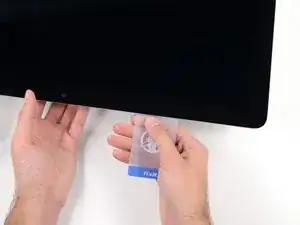
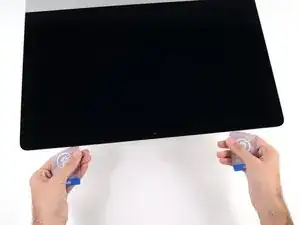
Far scorrere la scheda di plastica verso il centro, fermandosi nuovamente prima della fotocamera iSight.
-
-
-
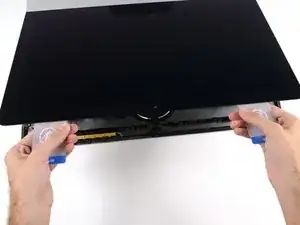
Mantenendo le schede inserite vicino agli angoli come indicato, ruotarle delicatamente per aumentare lo spazio fra il display e il case.
-
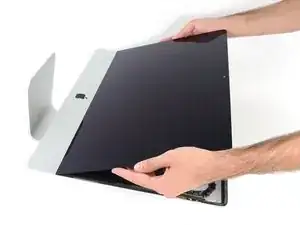
Iniziare a sollevare la parte superiore del display dal telaio.
-
-
-
Mantenendo sollevato il display con una mano, utilizzare l'altra per scollegare il cavo di alimentazione.
-
-
-
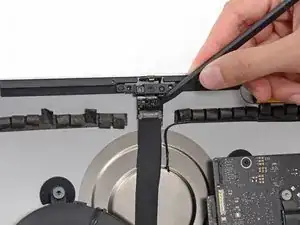
Ruotare verso l'alto la staffa metallica di fissaggio sul cavo dati del display.
-
Scollegare il cavo dati del display.
-
-
-
Prendi la piccola aletta all'estremità di una delle strisce adesive ai bordi inferiori dello schermo e tirale verso la parte superiore dell'iMac per rimuoverla.
-
Ripeti questo passaggio con l'altra striscia adesiva e rimuovila.
-
-
-
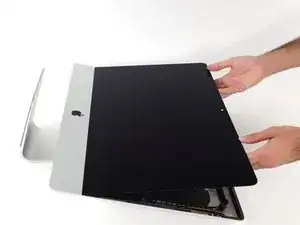
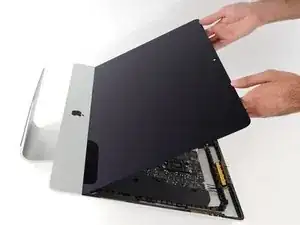
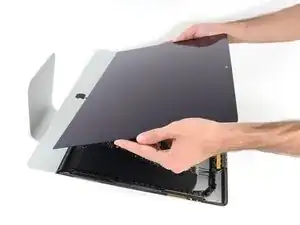
Solleva il display dal telaio e rimuoverlo dall'iMac.
-
Potrebbe essere necessario sollevarlo lentamente da un lato per liberarlo dall'adesivo restante.
-
-
-
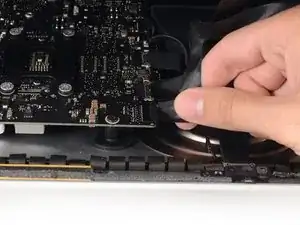
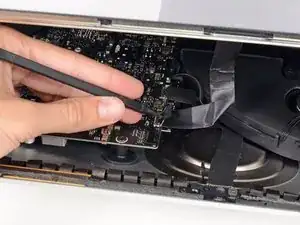
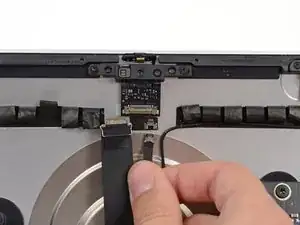
Usa la punta di uno spudger per ruotare verso il basso la staffa di bloccaggio in metallo del cavo della fotocamera.
-
-
-
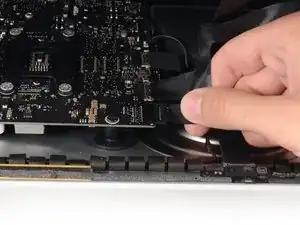
Tira delicatamente il cavo della fotocamera verso il basso dalla sua presa sulla scheda della fotocamera.
-
-
-
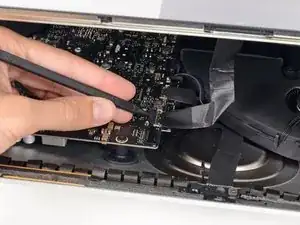
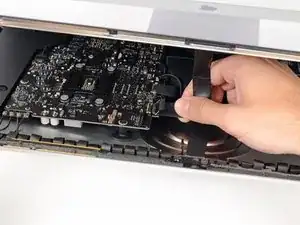
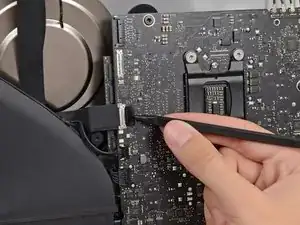
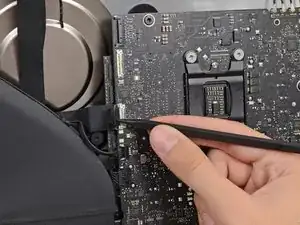
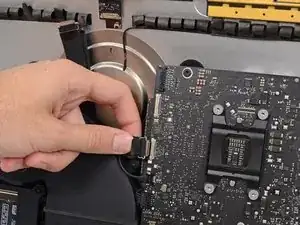
Usa la punta di uno spudger per ruotare verso l'alto la staffa di bloccaggio in metallo che fissa il connettore del cavo della fotocamera sulla scheda madre.
-
-
-
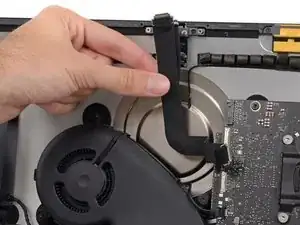
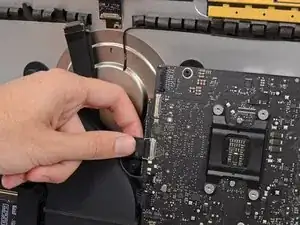
Il cavo della fotocamera è attaccato alla copertura posteriore con dell'adesivo. Separalo delicatamente e rimuovilo dalla copertura posteriore.
-


Per rimontare il tuo dispositivo, segui le istruzioni in ordine inverso e usa la nostra guida per le strisce adesive per riattaccare lo schermo.

I have (21.5 inch, mid 2017, 2.3 ghz) base model same as this but not 4k. How much max ram can I install in my iMac??
Narendra Verma -
This guide contains many extra steps for what should be a straight forward, simple parts replacement without disturbing more than the display, left hand speaker and removal of 4 logic board screws for play. Nothing else except for the left hand speaker wire & iSight cable from logic board, the lower support bracket and loosening the speaker so as to move it around a bit.
For the ram, I bent a pair of cheap tweezers long ago supplied with these replacement kits to the perfect angle for holding, locating and inserting the ram into the slots under the logic bd after moving each retainer w/spudger and popping out the old. Pay attention to the orientation of the ram when removing/inserting the ram! An automotive mirror is handy along with a small flashlight for closeups. Once the ram is aligned properly substitute your fingers for the tweezers, ease it into the slot, push up & engage! Reinstall screws and all else. I have done this job successfully this way countless times. For a tweezers pic contact me!
Ross Elkins -
Additionally, if a blade is present, I install the OSx system on the blade and everything else, apps and home folders on the new SSD. You get the very fast boot off of the blade and the full ssd for all else!
Ross Elkins -