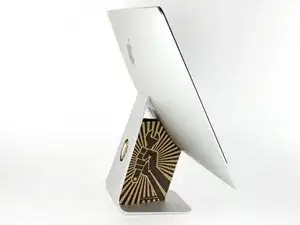
Introduzione
Segui questa guida per sostituire lo speaker destro.
-
-
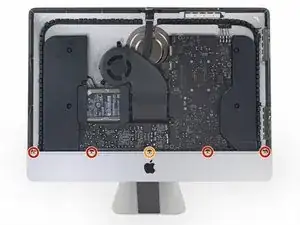
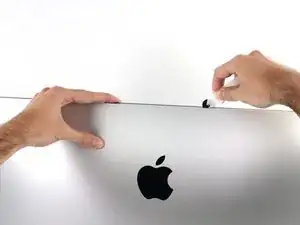
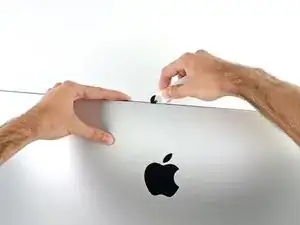
Rimuovi le seguenti cinque viti a croce Phillips che tengono in posizione la staffa di supporto inferiore:
-
Quattro viti da 3,2 mm
-
Una vite da 1,7 mm
-
-
-
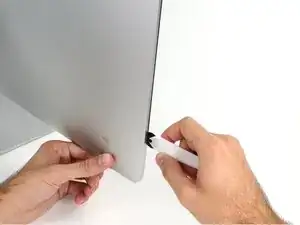
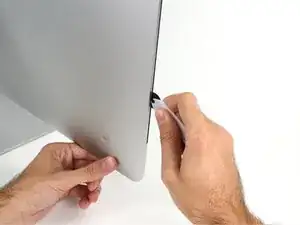
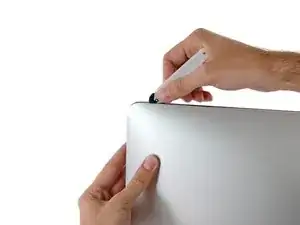
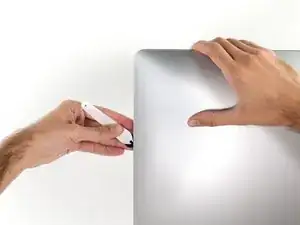
Iniziando sulla parte sinistra del display, accanto al pulsante di alimentazione, inserire l'attrezzo per l'apertura dell'iMac nello spazio fra il pannello di vetro e il case posteriore.
-
-
-
Utilizza l'attrezzo come una rotella tagliapizza: fallo scorrere nella feritoia e taglierà a metà le strisce adesive in schiuma.
-
Usa l'attrezzo lungo il lato sinistro del display.
-
-
-
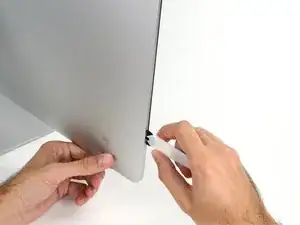
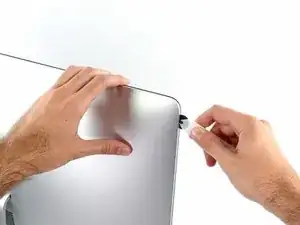
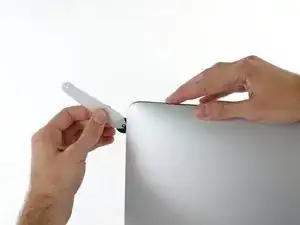
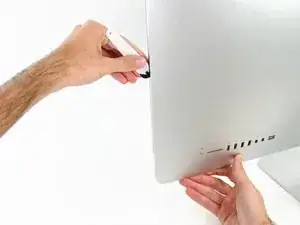
Continuare lungo la parte superiore del display.
-
È consigliabile far scorrere ripetutamente l'attrezzo avanti e indietro lungo la parte già tagliata, per fare in modo di separare il più possibile l'adesivo.
-
-
-
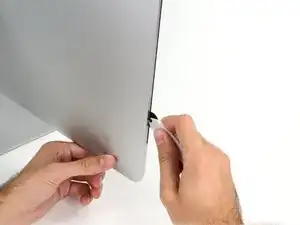
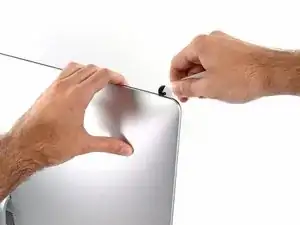
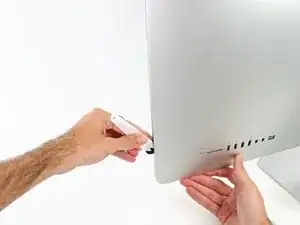
Terminare l'applicazione dell'attrezzo per l'apertura nella parte inferiore del lato destro del display.
-
-
-
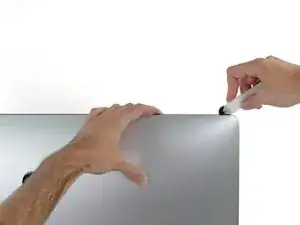
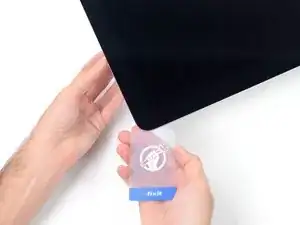
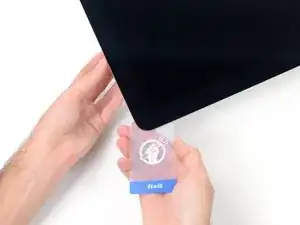
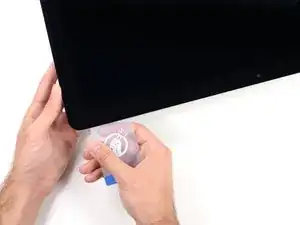
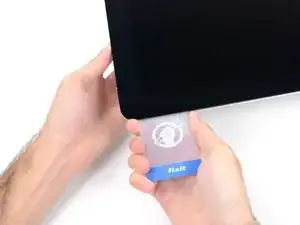
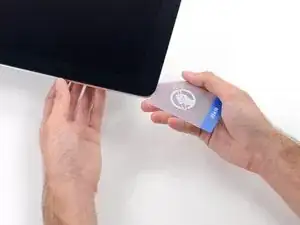
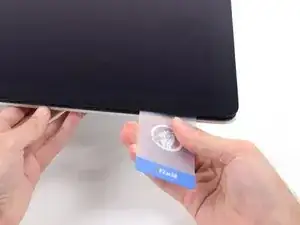
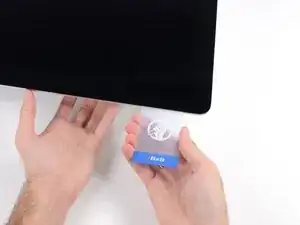
A partire dall'angolo superiore destro dell'iMac, inserire una scheda di plastica fra il display e il telaio.
-
-
-
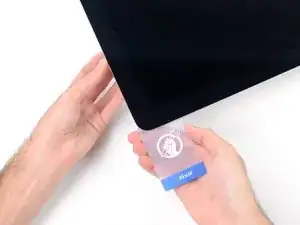
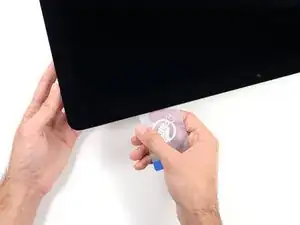
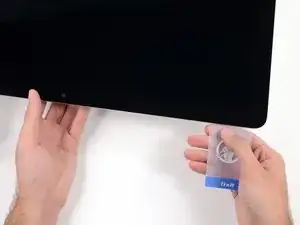
Ruotare delicatamente la scheda di plastica per aumentare lo spazio fra il display e il telaio.
-
Eseguire movimenti lenti, facendo attenzione a non fare troppa pressione sul vetro del display, poiché occorre solo uno spazio di circa 0,63 cm.
-
-
-
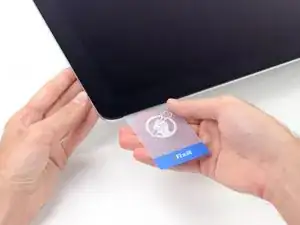
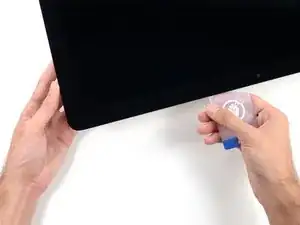
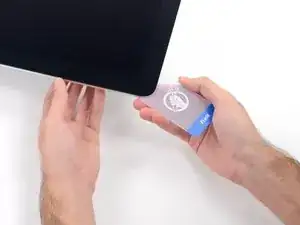
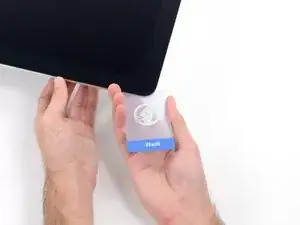
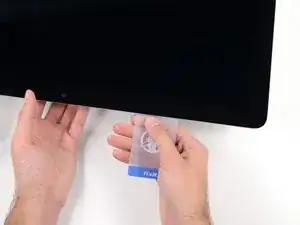
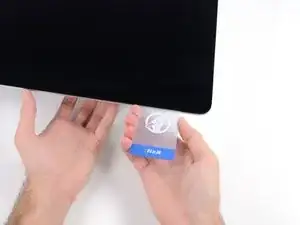
Inserire nuovamente la scheda nell'angolo e lasciarla in sede per evitare che l'adesivo si riattacchi.
-
-
-
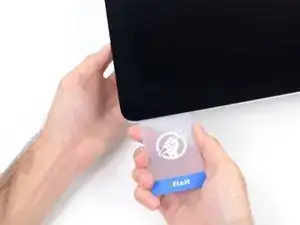
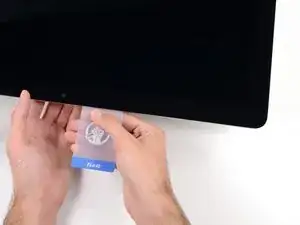
Inserire una seconda scheda nello spazio fra il display e il telaio nell'angolo superiore sinistro.
-
-
-
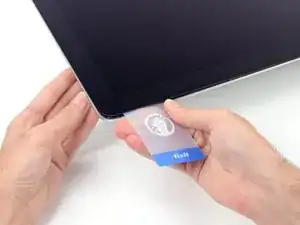
Ruotare delicatamente la scheda per aumentare leggermente lo spazio fra il display e il telaio.
-
-
-
Far scorrere la scheda di plastica verso il centro, fermandosi nuovamente prima della fotocamera iSight.
-
-
-
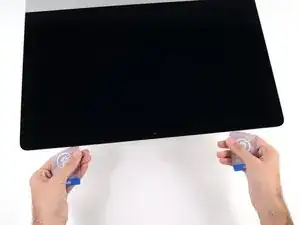
Mantenendo le schede inserite vicino agli angoli come indicato, ruotarle delicatamente per aumentare lo spazio fra il display e il case.
-
Iniziare a sollevare la parte superiore del display dal telaio.
-
-
-
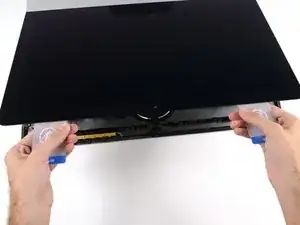
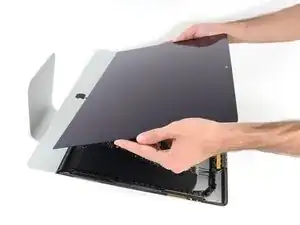
Mantenendo sollevato il display con una mano, utilizzare l'altra per scollegare il cavo di alimentazione.
-
-
-
Ruotare verso l'alto la staffa metallica di fissaggio sul cavo dati del display.
-
Scollegare il cavo dati del display.
-
-
-
Prendi la piccola aletta all'estremità di una delle strisce adesive ai bordi inferiori dello schermo e tirale verso la parte superiore dell'iMac per rimuoverla.
-
Ripeti questo passaggio con l'altra striscia adesiva e rimuovila.
-
-
-
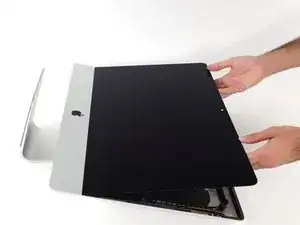
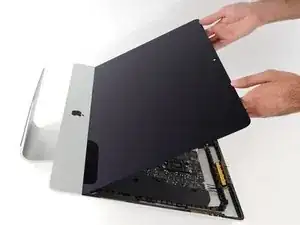
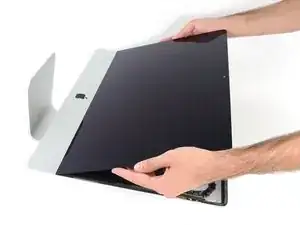
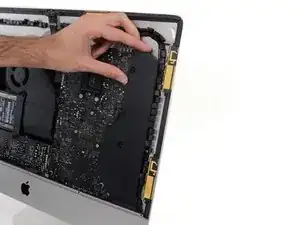
Solleva il display dal telaio e rimuoverlo dall'iMac.
-
Potrebbe essere necessario sollevarlo lentamente da un lato per liberarlo dall'adesivo restante.
-
-
-
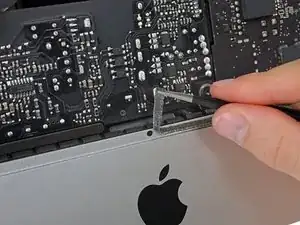
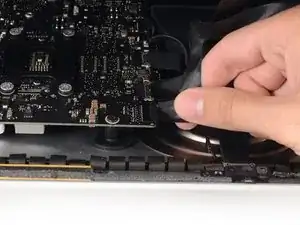
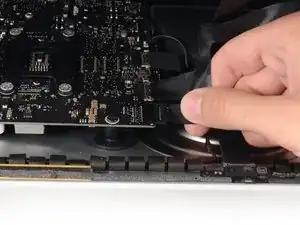
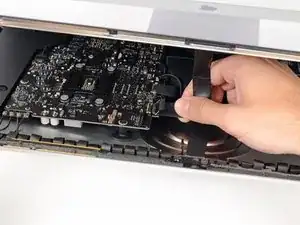
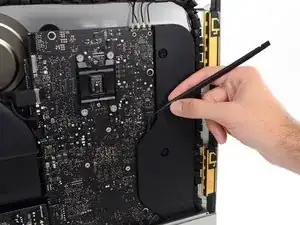
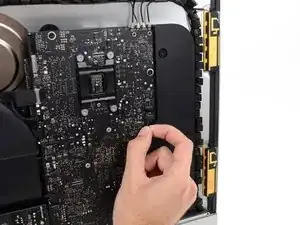
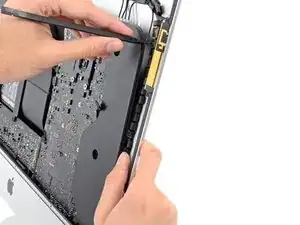
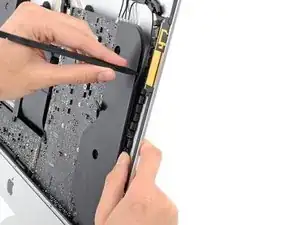
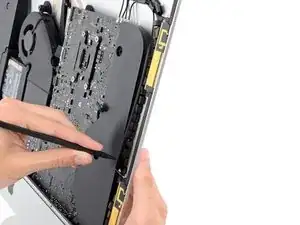
Usa uno spudger per rilasciare il connettore del cavo dello speaker destro dalla sua presa sulla scheda madre.
-
Tira il connettore verso il basso per sfilarlo dalla sua presa.
-
-
-
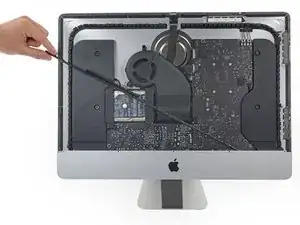
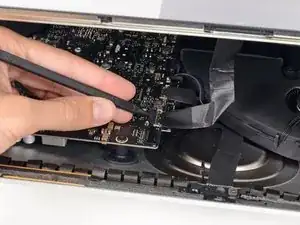
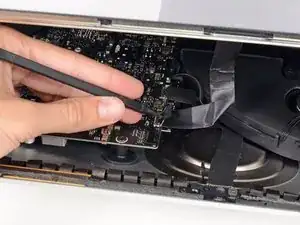
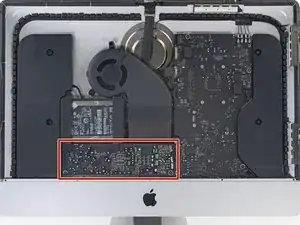
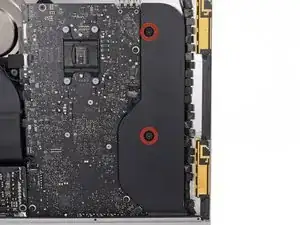
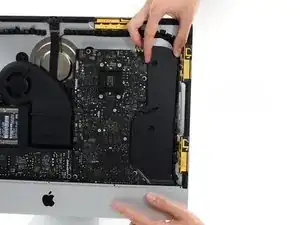
Svita le due viti Torx T10 da 10,0 mm che fissano lo speaker destro alla copertura posteriore.
-
-
-
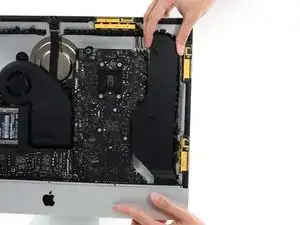
Solleva di un paio di centimetri lo speaker destro dalla copertura posteriore, per scoprire il cavo dell'antenna che passa sul suo bordo destro.
-
-
-
Infila la punta di uno spudger tra lo speaker destro e il cavo dell'antenna che è infilato nel bordo destro dello speaker.
-
Fai scorrere lo spudger lungo il bordo destro dello speaker per separare il cavo dell'antenna dal suo alloggio nello speaker destro.
-
-
-
Tira lo speaker destro verso l'alto per un paio di centimetri, verso la parte superiore dell'iMac.
-
Tira lo speaker verso l'alto e rimuovilo dall'iMac. Questo passaggio può richiedere della forza: usa entrambe le mani e fai ondeggiare lo speaker avanti e indietro lo speaker per rimuoverlo.
-


Per rimontare il tuo dispositivo, segui le istruzioni in ordine inverso e la nostra guida per le strisce adesive per reincollare il vetro dello schermo.

I used the CR-V 4.0 standard screwdriver head to help peel away the adhesive lining. My fingers were too big to grab it, and my fingernails too short to get the removal started. This 4 screw head worked perfectly.
airshack -