Introduzione
-
-
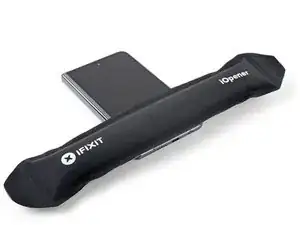
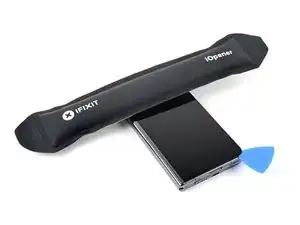
While you're waiting for the adhesive to soften, note the following:
-
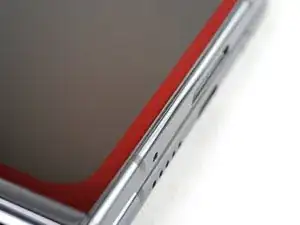
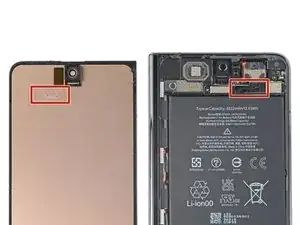
The adhesive is under the dark black border surrounding the screen.
-
-
-
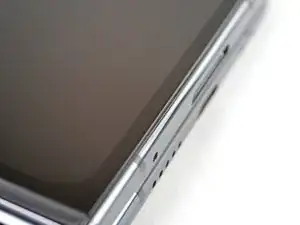
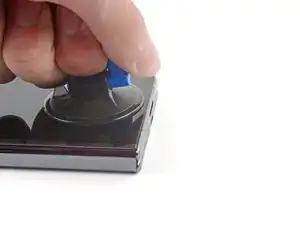
Apply a suction cup to the screen, as close to the center of the bottom edge as possible.
-
Pull up on the suction cup with strong, steady force to create a gap between the screen and the frame.
-
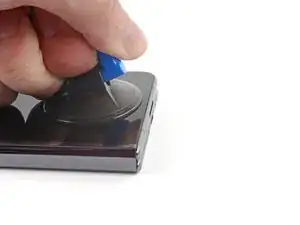
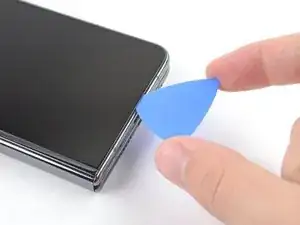
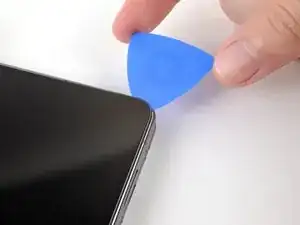
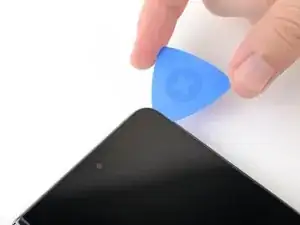
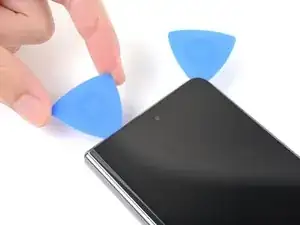
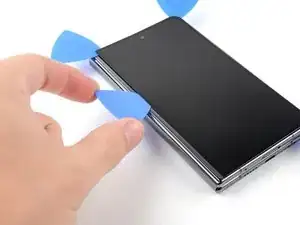
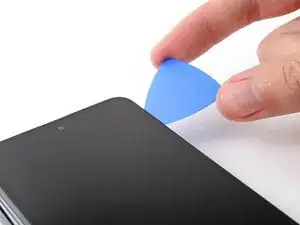
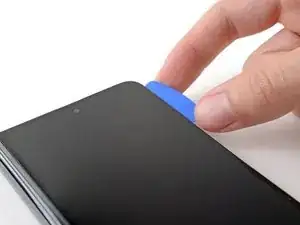
Insert an opening pick into the gap.
-
-
-
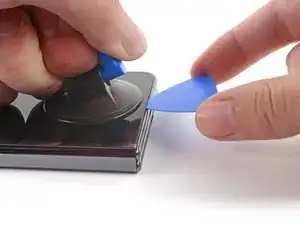
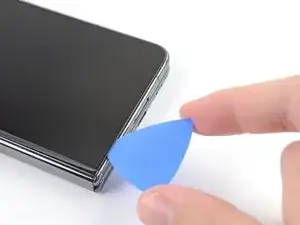
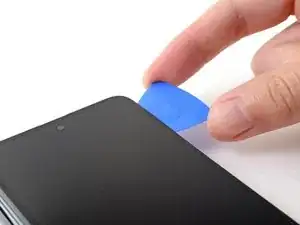
Slide the opening pick along the bottom edge to separate the adhesive.
-
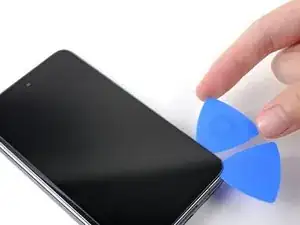
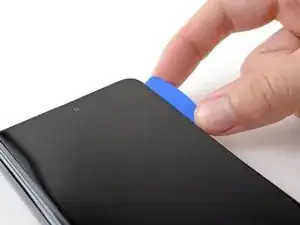
Leave the opening pick in the bottom right corner before continuing.
-
-
-
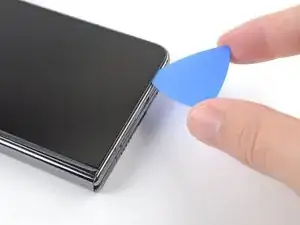
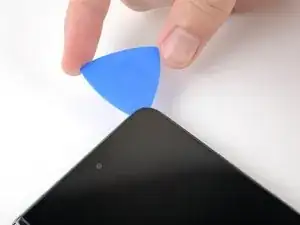
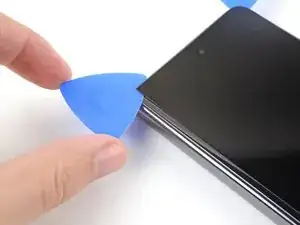
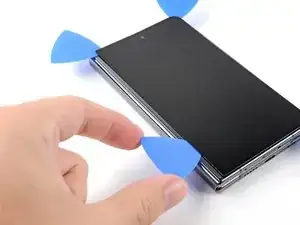
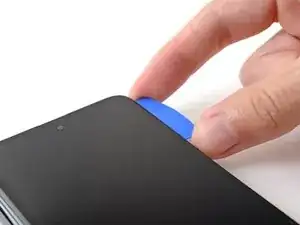
Insert a new opening pick in the bottom right corner.
-
Slide the opening pick toward the top right corner to separate the adhesive.
-
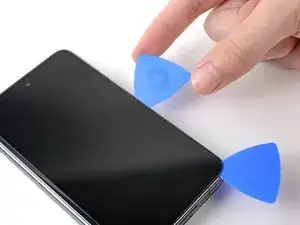
Leave the opening pick in the top right corner before continuing.
-
-
-
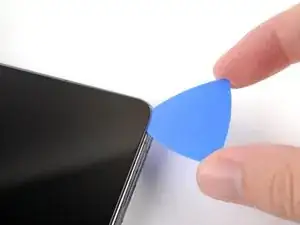
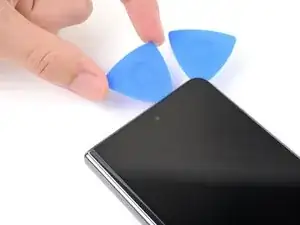
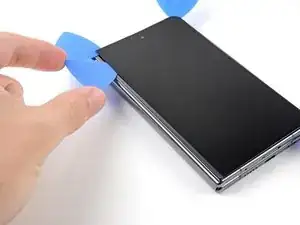
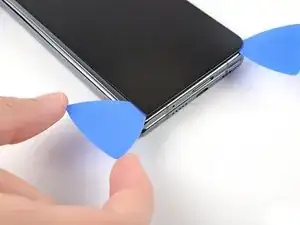
Insert a new opening pick in the top right corner.
-
Slide the opening pick toward the top left corner to separate its adhesive.
-
-
-
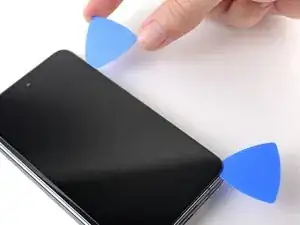
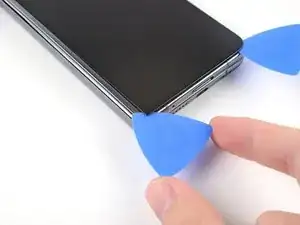
Angle your pick so it's as flat as possible to the screen.
-
Rotate the opening pick around the top left corner to separate the adhesive.
-
-
-
Insert a new opening pick in the top left corner.
-
Slide the opening pick toward the bottom left corner to separate the adhesive.
-
-
-
Angle your pick so it's as flat as possible to the screen.
-
Rotate the opening pick around the bottom left corner to separate the adhesive.
-
-
-
There's a small adhesive strip that secures the screen near the top right corner of the phone.
-
-
-
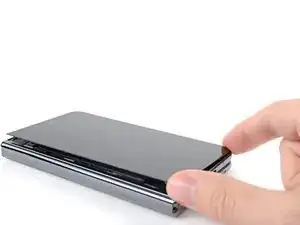
Insert an opening pick under the right edge of the screen, near the top right corner.
-
Push the opening pick under the screen as far you can go without losing your grip.
-
-
-
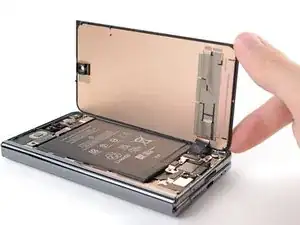
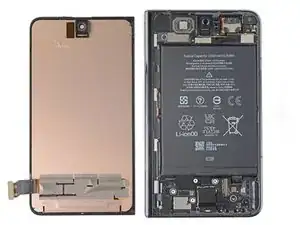
Swing the left edge of the screen up and over the right edge of the phone.
-
Let the screen rest next to the phone before continuing.
-
-
-
Use a Torx Plus 3IP screwdriver to remove the five 2.5 mm‑long screws securing the bottom bracket.
-
-
-
Insert the point of a spudger under the short edge of the screen press connector facing the bottom of the phone.
-
Pry up to disconnect the screen press connector.
-
-
-
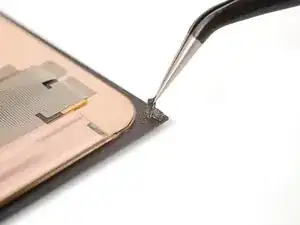
If you're reusing your screen, use tweezers to remove big chunks of adhesive from the perimeter of the screen.
-
Repeat for any adhesive on the frame, including the small adhesive at the top right of the phone.
-
Use isopropyl alcohol (>90%) and a lint-free cloth to remove any remaining adhesive residue.
-
Follow this guide to replace your screen adhesive.
-
-
-
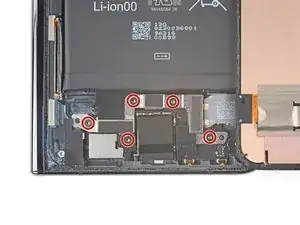
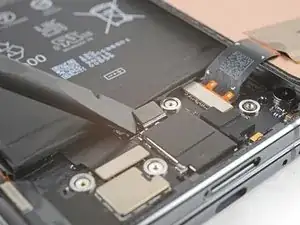
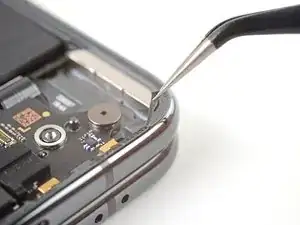
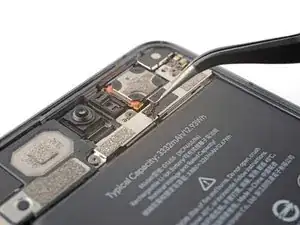
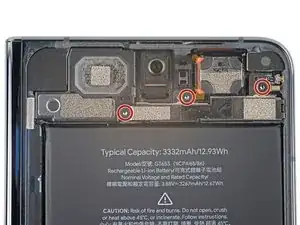
Use a Torx Plus 3IP screwdriver to remove the three 2.5 mm‑long screws securing the top bracket.
-
There's a magnet at the top right corner of phone. As you remove nearby screws, they might stick the magnet.
-
-
-
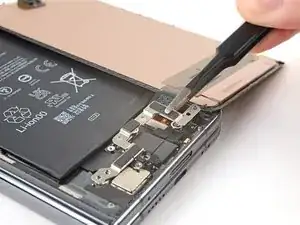
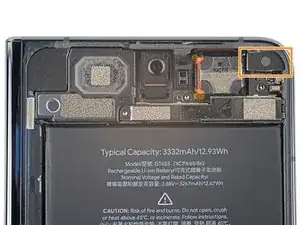
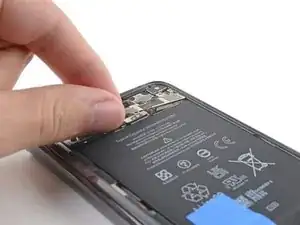
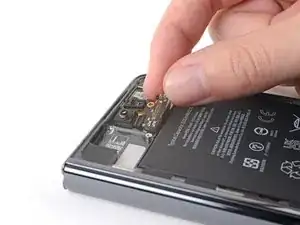
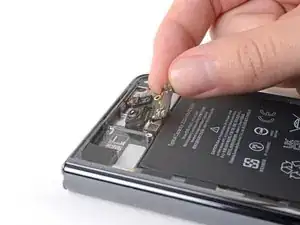
Pull the top bracket toward the left edge of the phone to separate it from its recess in the frame.
-
Remove the top bracket.
-
-
-
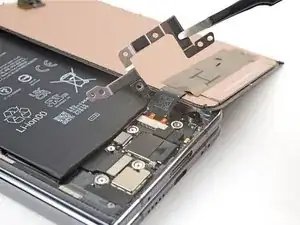
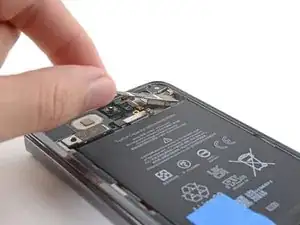
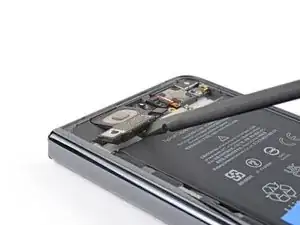
Insert the flat end of a spudger between the battery and the bottom edge of the top speaker.
-
Twist the spudger to separate the adhesive securing the bottom speaker.
-
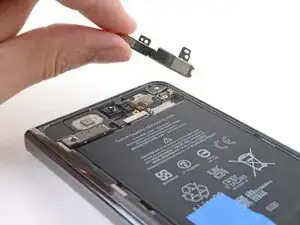
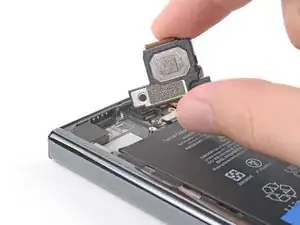
Remove the top speaker.
-
-
-
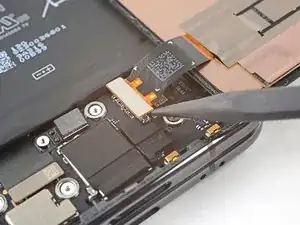
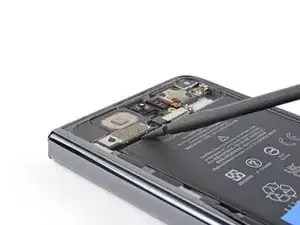
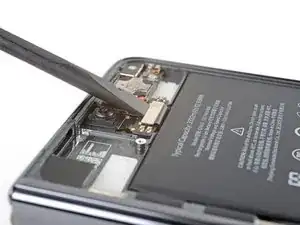
Use the flat end of spudger to pry up and disconnect the top interconnect cable press connector.
-
-
-
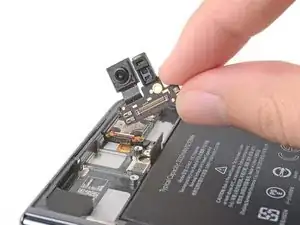
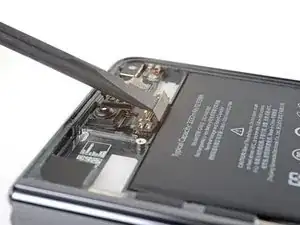
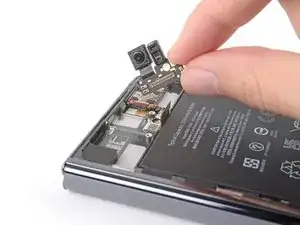
Pull the upper board toward the bottom of the phone to separate it from its recess in the frame
-
Remove the upper board.
-


To reassemble your device, follow these instructions in reverse order.