
Introduzione
Questa guida alla riparazione è stata redatta dallo staff di iFixit e non è stata approvata da Google. Scopri di più sulle nostre guide alla riparazione qui.
Utilizza questa guida per applicare un nuovo adesivo al tuo Google Pixel 6a in seguito a una riparazione. Lo schermo del tuo Pixel dovrebbe essere rimosso prima di seguire questa procedura. Segui questa guida per rimuovere lo schermo se non lo hai ancora fatto.
-
-
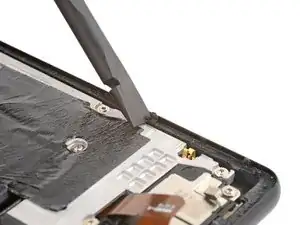
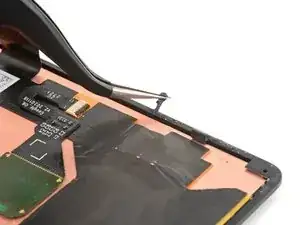
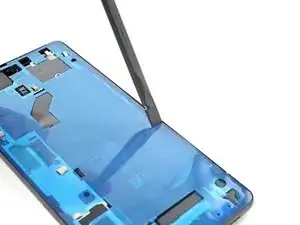
Utilizza l'estremità piatta del tuo spudger per raschiare via il maggior numero possibile di adesivo dalla cornice.
-
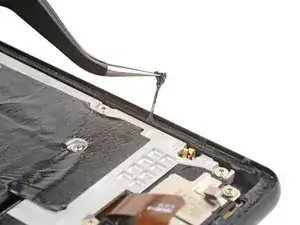
Utilizza una pinzetta o le dita per staccare e rimuovere eventuali residui di adesivo rimanenti.
-
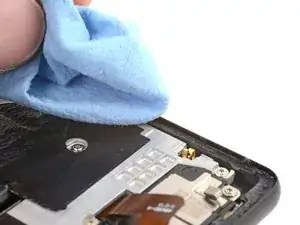
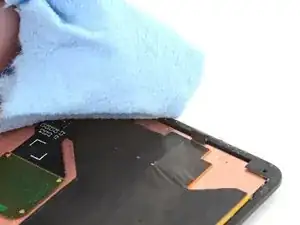
Pulisci il perimetro della cornice con una piccola quantità di alcool isopropilico altamente concentrato (oltre il 90%) e un panno privo di pelucchi o in microfibra.
-
-
-
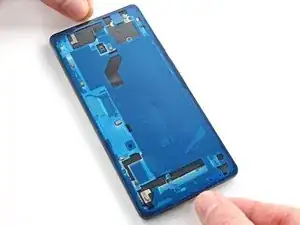
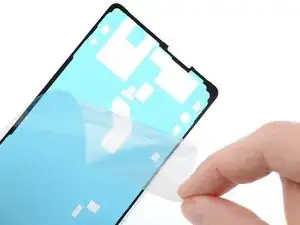
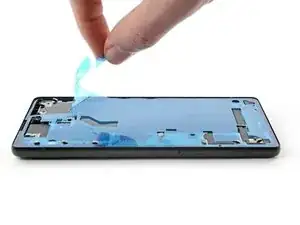
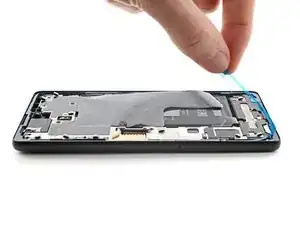
Prima di rimuovere qualsiasi pellicola, posiziona l'adesivo con la pellicola trasparente rivolta verso il basso sulla cornice per trovare il corretto orientamento.
-
-
-
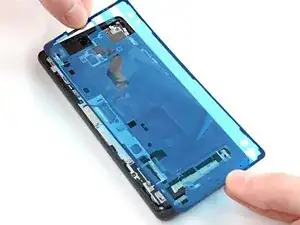
Posiziona l'adesivo sulla cornice, iniziando con il bordo inferiore o superiore. Effettua piccole correzioni mano a mano.
-
-
-
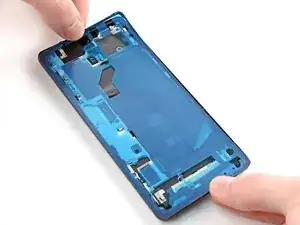
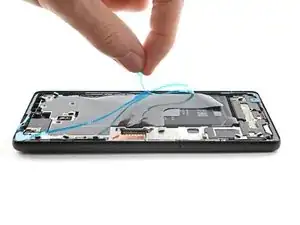
Utilizza uno spudger o le dita per premere lungo il perimetro dell'adesivo e attaccarlo alla cornice.
-
-
-
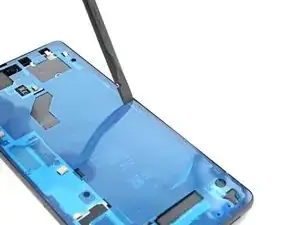
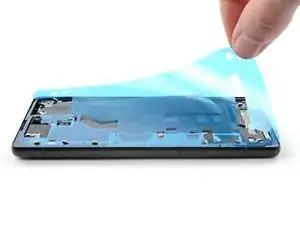
Afferra la linguetta di trazione nell'angolo superiore destro della cornice e stacca il rivestimento principale.
-
-
-
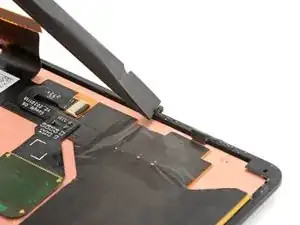
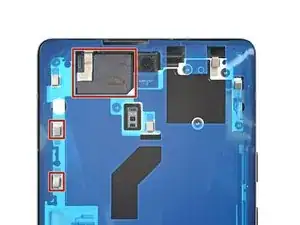
Controlla il foro della fotocamera frontale sullo schermo di ricambio e rimuovi eventuali rivestimenti protettivi rimasti al suo interno.
-
Controlla l'incavo del sensore sullo schermo di ricambio e rimuovi eventuali rivestimenti protettivi rimasti al suo interno.
-
-
-
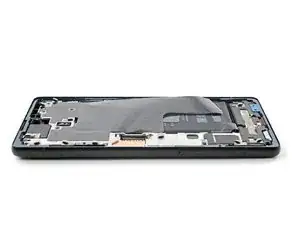
Torna alla guida del tuo telefono e continua con il rimontaggio.
-
Concludi questa guida quando lo schermo è installato e sei pronto per chiudere il telefono ermeticamente.
-
-
-
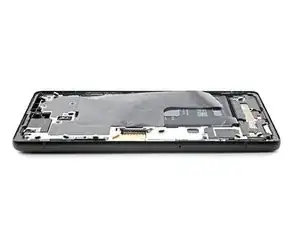
Afferra la linguetta di trazione sul bordo inferiore della cornice e stacca il rivestimento rimanente.
-
-
-
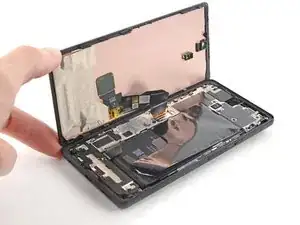
Gira lo schermo e posizionalo sulla cornice.
-
Premi lungo il perimetro dello schermo per fissarlo.
-


9 commenti
Yup. That worked, Don't rush it, and get a proper suction cup, but i have a perfectly repaired 6a, very happy, and thank you
Great advice, but there must be something I'm missing. Now my phone can't show the screen
Will this provide the same water resistance as the original screen?
Depends on how well you seat the adhesive, but generally speaking, it's very hard to get to the same level of water resistance. It will probably be somewhat resistant.
Water resistance should be treated as an additional protection, not as a feature. Do not submerge your electronic device in water by purpose. (even if it's factory new)
When I cleaned my frame I noticed I had dented 2 corners. I did not have my small file set so I had to improvise. I have a small set of electrical pliers with flat, ribbed sides and a 90 degree bend. I carefully ran these around the corners to get rid of the dents and used the ribbed edge to file them smooth. Would suggest getting a jewelers loop and a set of fine files if you at all suspect the frame/case may have a dent in the corner. Kind of obvious in hindsight - after all I dropped the thing and broke the glass, which got me here making this repair! My only other observation is to use plenty of alcohol - it only temporarily removes the stickiness of the adhesive so as it dries the adhesive re-sticks to the frame.
mark schneider -
fwiw - I found getting the original adhesive off the frame to be near impossible. But I pulled off any clumped up bits. Applying the new liner with adhesive went fine, as did placing the new glass and pressing around the edges to seal it. The seam looks as if brand new (i.e., it's not bigger or open because of too much adhesive). The phone is now in a case and it's not like I'm going swimming with it, so I'm confident the seal is adequate. Of course, YMMV.
Steve -
I found the adhesive very hard to remove. Tried Acertone, Methylated Spitits and Isopropyl Alcohol. I found the Metylated spirits worked best but it still took about 40 minutes to remove all of the adhesive.
Aaran Stent -
I couldn't remove all the adhesive, so just removed as much as I could. Placed the new adhesive on top and phone still seems to hold up well.
Leon -
Work one edge at a time.
Tilt phone so working edge is lowest.
Wet adhesive channel with isopropyl 90%. Tilt will keep it in channel. Wet, not soak.*
While wet, spudge from inner to outer edge, i.e. perpendicular to channel. Adhesive will pill up.
Repeat until adhesive pills are large enough to remove with tweezers or spudger.
When channel is mostly clean, finish by scraping spudger sideways into channel.
Repeat for all sides.
*Idea is that wetting will make adhesive less tacky on surface but remain tacky to the inside. Resulting pills are easier to remove because of the resulting structure
Andrew Olney -
I found tearing a little bit of the alcohol wipe, rolling it into a ball and using the pin head tweezers to rub it along the glue line quite vigorously helped break up the adhesive up.
Richard Collins -