
Introduzione
Questa guida mostra come rimuovere e sostituire il gruppo dello schermo del Google Pixel XL, che include lo schermo e il digitizer.
Il pannello dello schermo non rinforzato del Pixel XL è delicato ed è incollato alla cornice con del forte adesivo, rendendo le riparazioni difficili. C'è una buona probabilità di rompere lo schermo, specialmente se ci sono già delle micro fratture. Assicurati di scaldarlo per bene e di essere estremamente attento durante la procedura.
Ricambi
-
-
Scalda un iOpener ed appoggialo al bordo superiore dello schermo per due minuti.
-
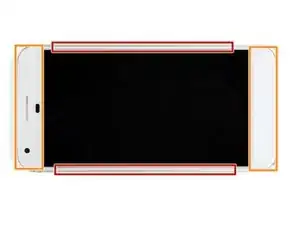
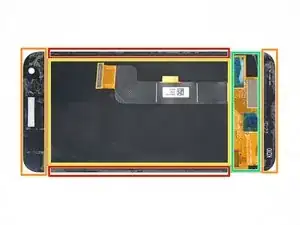
Prendi nota delle seguenti aree prima di iniziare a fare leva:
-
Adesivo sottile allineato contro il pannello dello schermo
-
Adesivo spesso
-
Il pannello OLED dello schermo, che è molto delicato
-
Il cavo dello schermo, che può essere danneggiato mentre fai leva
-
-
-
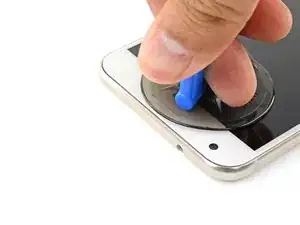
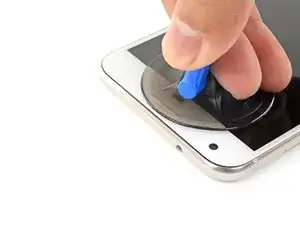
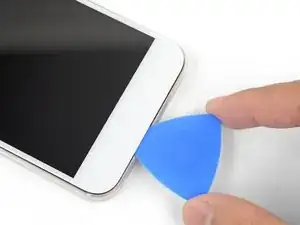
Quando il bordo è caldo al tatto, fai aderire una ventosa vicino al bordo stesso.
-
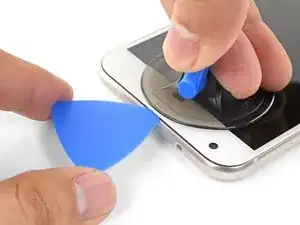
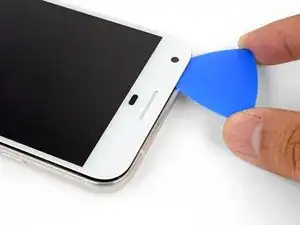
Tira verso l'alto la ventosa ed infila un plettro nella fessura.
-
Se hai problemi nel creare una fessura, riscalda il bordo e riprova.
-
-
-
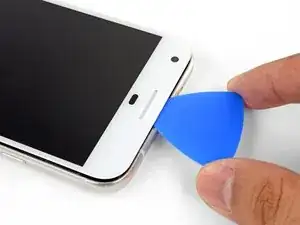
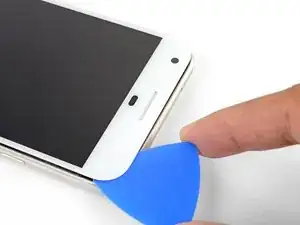
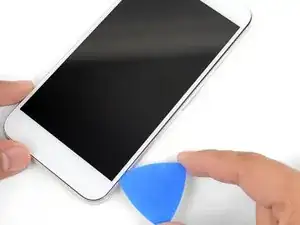
Fai scorrere il plettro sotto il bordo superiore per tagliare l'adesivo.
-
Lascia il plettro infilato sotto il bordo per evitare che l'adesivo si reincolli.
-
-
-
Scalda l'iOpener ed appoggialo al bordo destro del telefono per due minuti.
-
Infila un plettro vicino al bordo superiore del telefono, dove hai già tagliato l'adesivo.
-
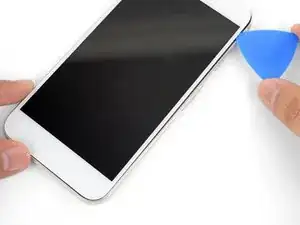
Fai scorrere lentamente il plettro attorno all'angolo destro.
-
Fai scorrere attentamente il plettro sotto il bordo destro del telefono per tagliare l'adesivo.
-
Ripeti i passaggi precedenti per il bordo sinistro dello schermo.
-
-
-
Scalda il bordo inferiore con l'iOpener per due minuti.
-
Infila un plettro vicino al bordo destro dove hai già tagliato l'adeesivo.
-
Fai scorrere attentamente il plettro attorno all'angolo.
-
Fai scorrere il plettro sotto il bordo inferiore per tagliare l'adesivo.
-
-
-
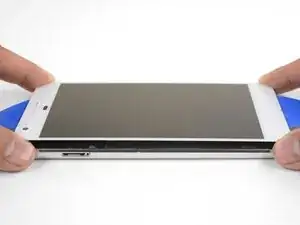
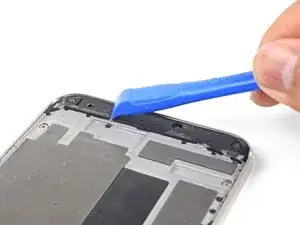
Dopo aver tagliato lungo tutto il perimetro del telefono, solleva leggermente il gruppo dello schermo con attenzione dagli angoli a destra.
-
Usa un plettro per tagliare tutto l'adesivo rimasto.
-
-
-
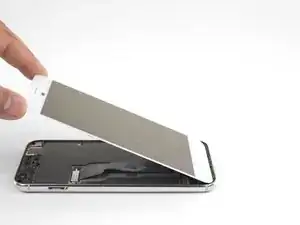
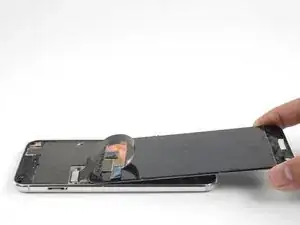
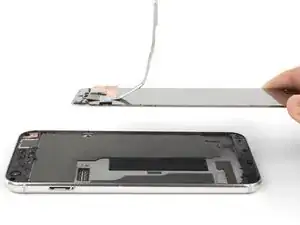
Solleva il gruppo dello schermo dal bordo superiore e ruotalo in modo che si appoggi a faccia in giù sulla cornice.
-
-
-
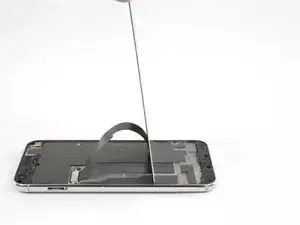
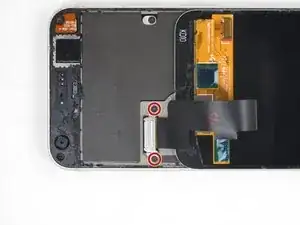
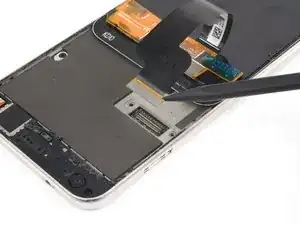
Svita le due viti Torx T5 da 4 mm che tengono ferma la copertura del cavo dello schermo.
-
Rimuovi la copertura del cavo dello schermo.
-
-
-
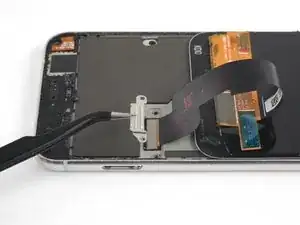
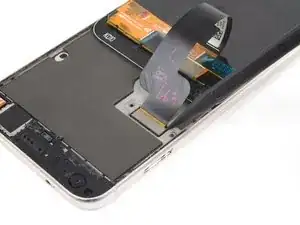
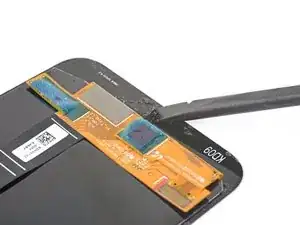
Usa la punta di uno spudger per sollevare e scollegare il cavo dello schermo dal suo connettore.
-

Confronta la tua parte di ricambio con quella originale: potrebbe essere necessario il trasferimento di alcuni componenti o la rimozione di protezioni adesive dalla nuova parte prima di installarla.
Se il tuo Pixel non si accende dopo aver sostituito lo schermo, c'è la possibilità che il telefono si sia acceso da solo quando hai ricollegato la batteria. Tieni premuto il tasto di accensione per qualche secondo finché il telefono non vibra per spegnersi. Dopodiché, ricollega lo schermo e riprova.
Per rimontare il tuo dispositivo, segui le istruzioni in ordine inverso.
Porta i tuoi rifiuti elettronici a un riciclatore certificato R2 o e-Stewards.
La riparazione non è andata come previsto? Prova delle soluzioni di base ai problemi, oppure rivolgiti alla nostra comunità Risposte per trovare aiuto.

11 commenti
I just connected the screen to the phone, but the screen doesn’t start. Do I have to restart in a special way the phone to make it works? All possible button combinations to restart the phone doesn’t work
The iFixIt iOpener tool is a complete waste of money. It didn’t loosen up the glue at all. I am requesting a refund on Amazon.com
Hi Drew, sorry to hear that your iOpener didn’t work too well in your repairs. We like to think it’s a pretty valuable and inexpensive tool, but it does have its quirks — namely, not everyone’s microwave is specced to operate at the same temperatures, so not everyone will achieve the most optimal temperature during that heating process.
For what it’s worth, we do put a Lifetime Warranty on the iOpener tools, so our Support team would be happy to replace that one for you, if you’d like. If so, please reach out to them by using the Contact link on the help page: http://help.ifixit.com. Otherwise, you are welcome to request a refund via Amazon and we will oblige.
We wish you all the best in your future repairs.
I am sure the iOpener does work, but it probably takes a long time to heat the adhesive enough for screen removal and would require several applications. I got one as part of my screen replacement kit, although I have a heat gun so I didn’t end up using it. That being said my screen took at least four minutes of heating, with some re-heating to remove the broken shards. I would also imagine that adhesives vary from manufacturer, since this is my first screen replacement all I know is that the adhesive on the Pixel XL is really strong!
Dan E -
Don’t forget to transfer the speaker cloth to the new screen. I got it all back together before realizing that there was just an ugly hole.
Thanks! I probably would have missed it. Since I changed the screen color from white to black I colored the screen black with a permanent Sharpie, worked perfectly.
Dan E -
From my experince, it’s better to use a heat gun (if iFixit sold a good heat gun in volume, they should spruik that). Also, heat ALL sides at the same time BUT concentrate on the top part of the phone where the foam adhesive tape is thickest, second on the bottom where the foam is almost as thick. It also helps to use the 2nd & 3rd images in the series to visualise where the adhesive is.
Jon T. -
Ty for the advice I prefer heat gun but my first pixel
Michael Koch -